Gable Box
Build a gable box out of cardstock — the handled, ridge-topped box you get party favors in. It’s a step up from the Vinyl Sticker learning activity: you’ll import someone else’s design file, edit it in Design Space, and cut score lines and outlines in the same job.
Read this first: the Cricut (Explore 4) manual.
1. Download the template
Section titled “1. Download the template”Go to Free Large Gable Box Template SVG, scroll to the download section, click the blue click here to download button, and unzip the files.
2. Upload it to Design Space
Section titled “2. Upload it to Design Space”-
Open Design Space and choose the Cardstock Cutout project type.
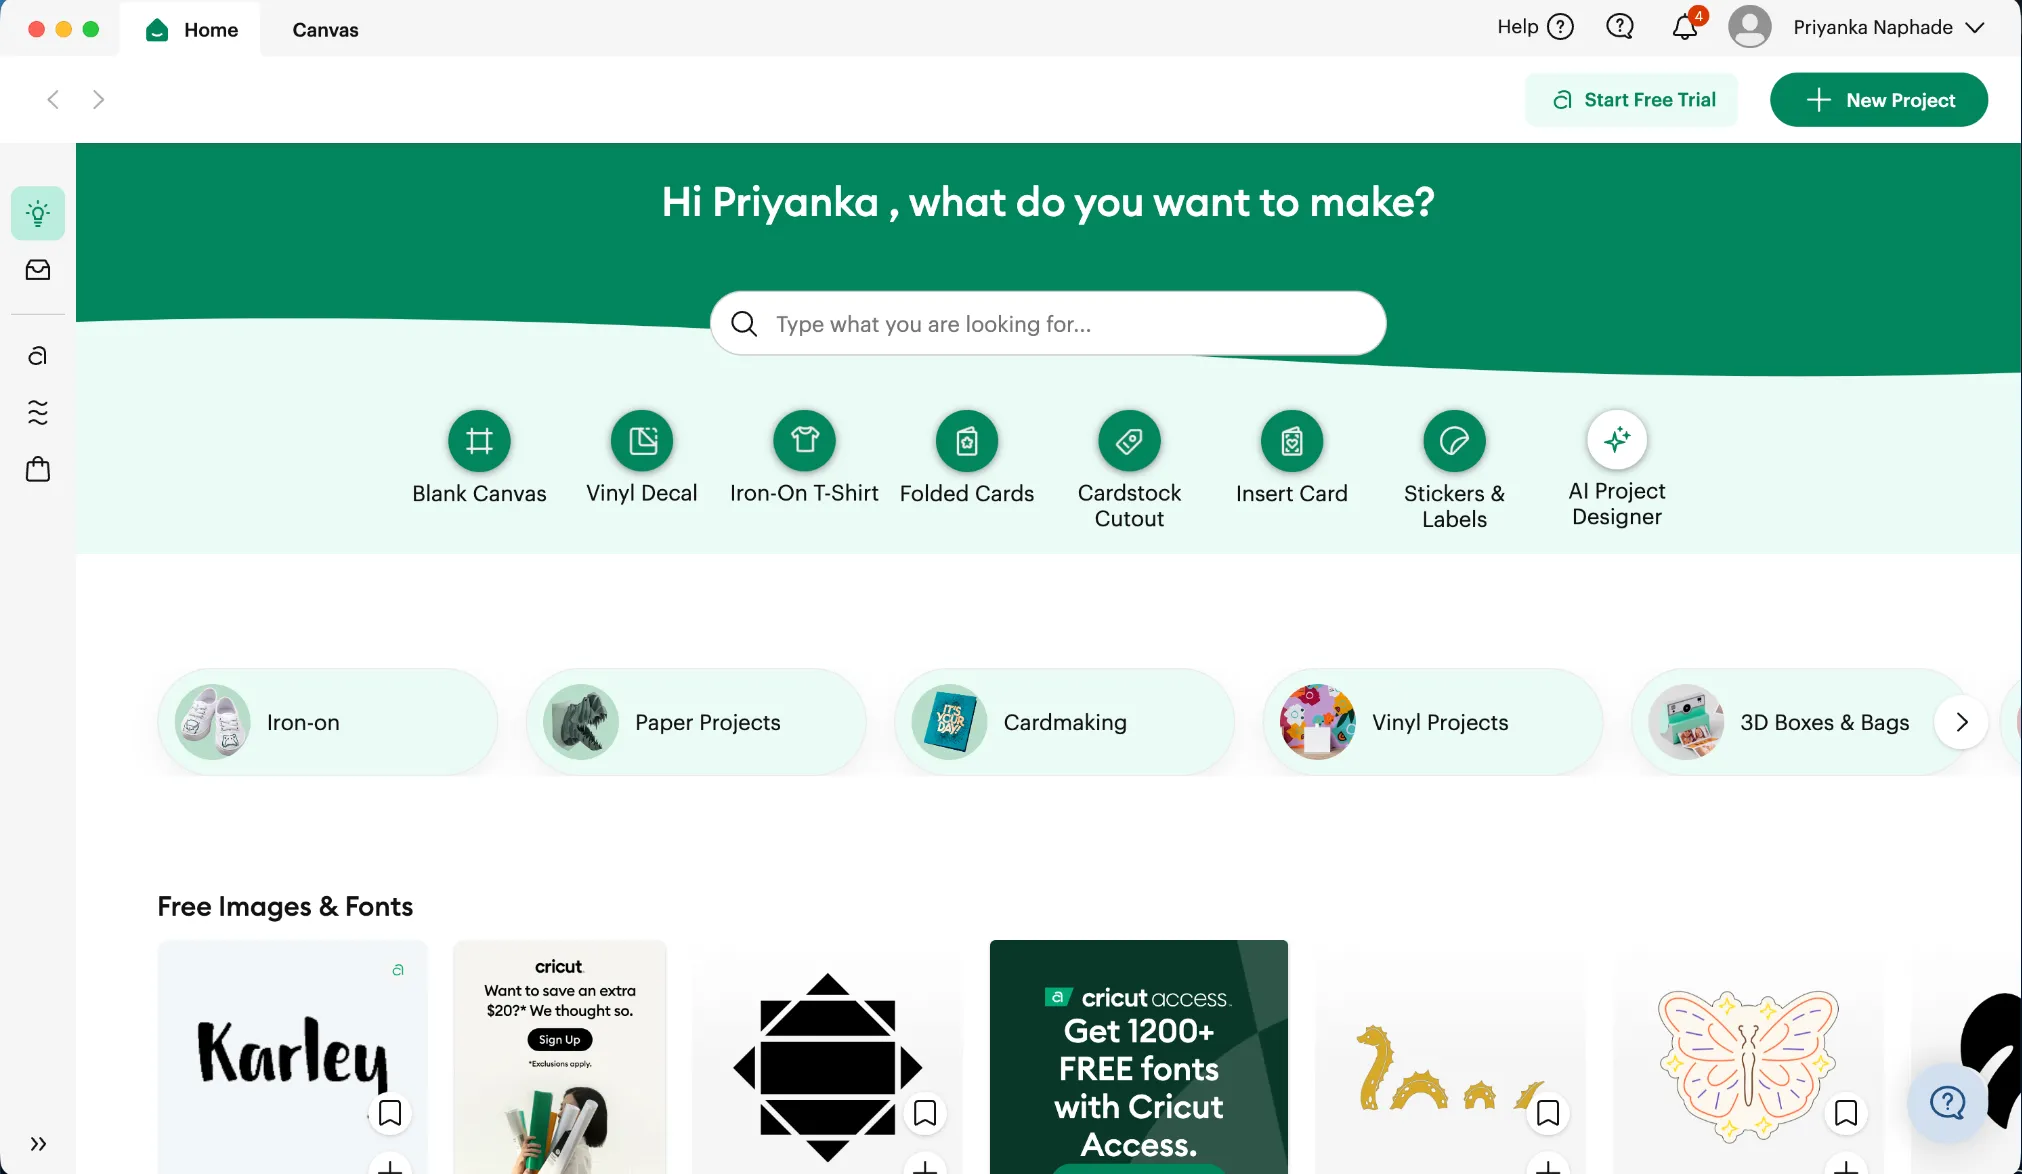
-
Choose Custom Size, set the design area to 11.7 in × 12 in, and click Create.
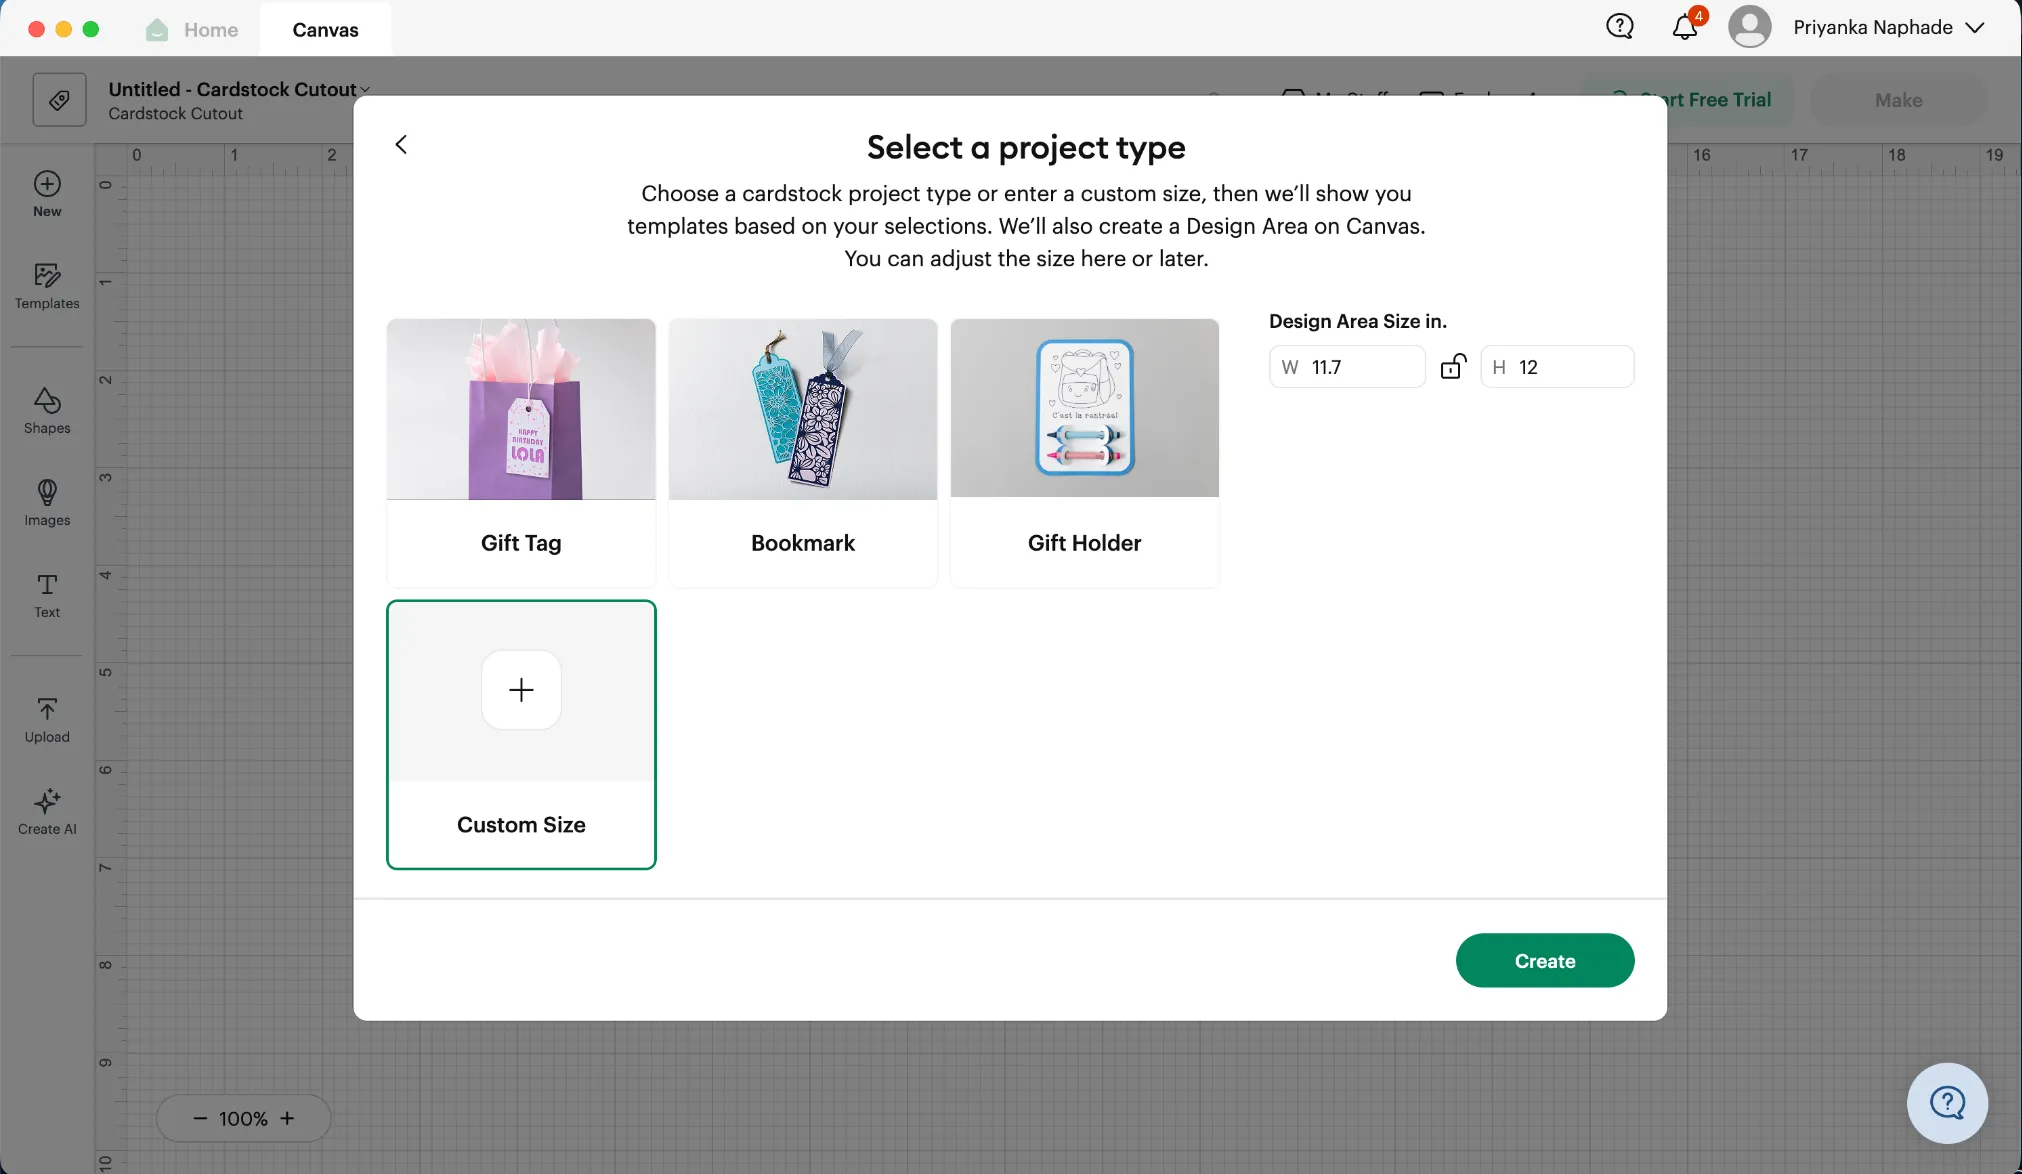
-
Click Upload in the sidebar, then Upload Image under the Image tab.
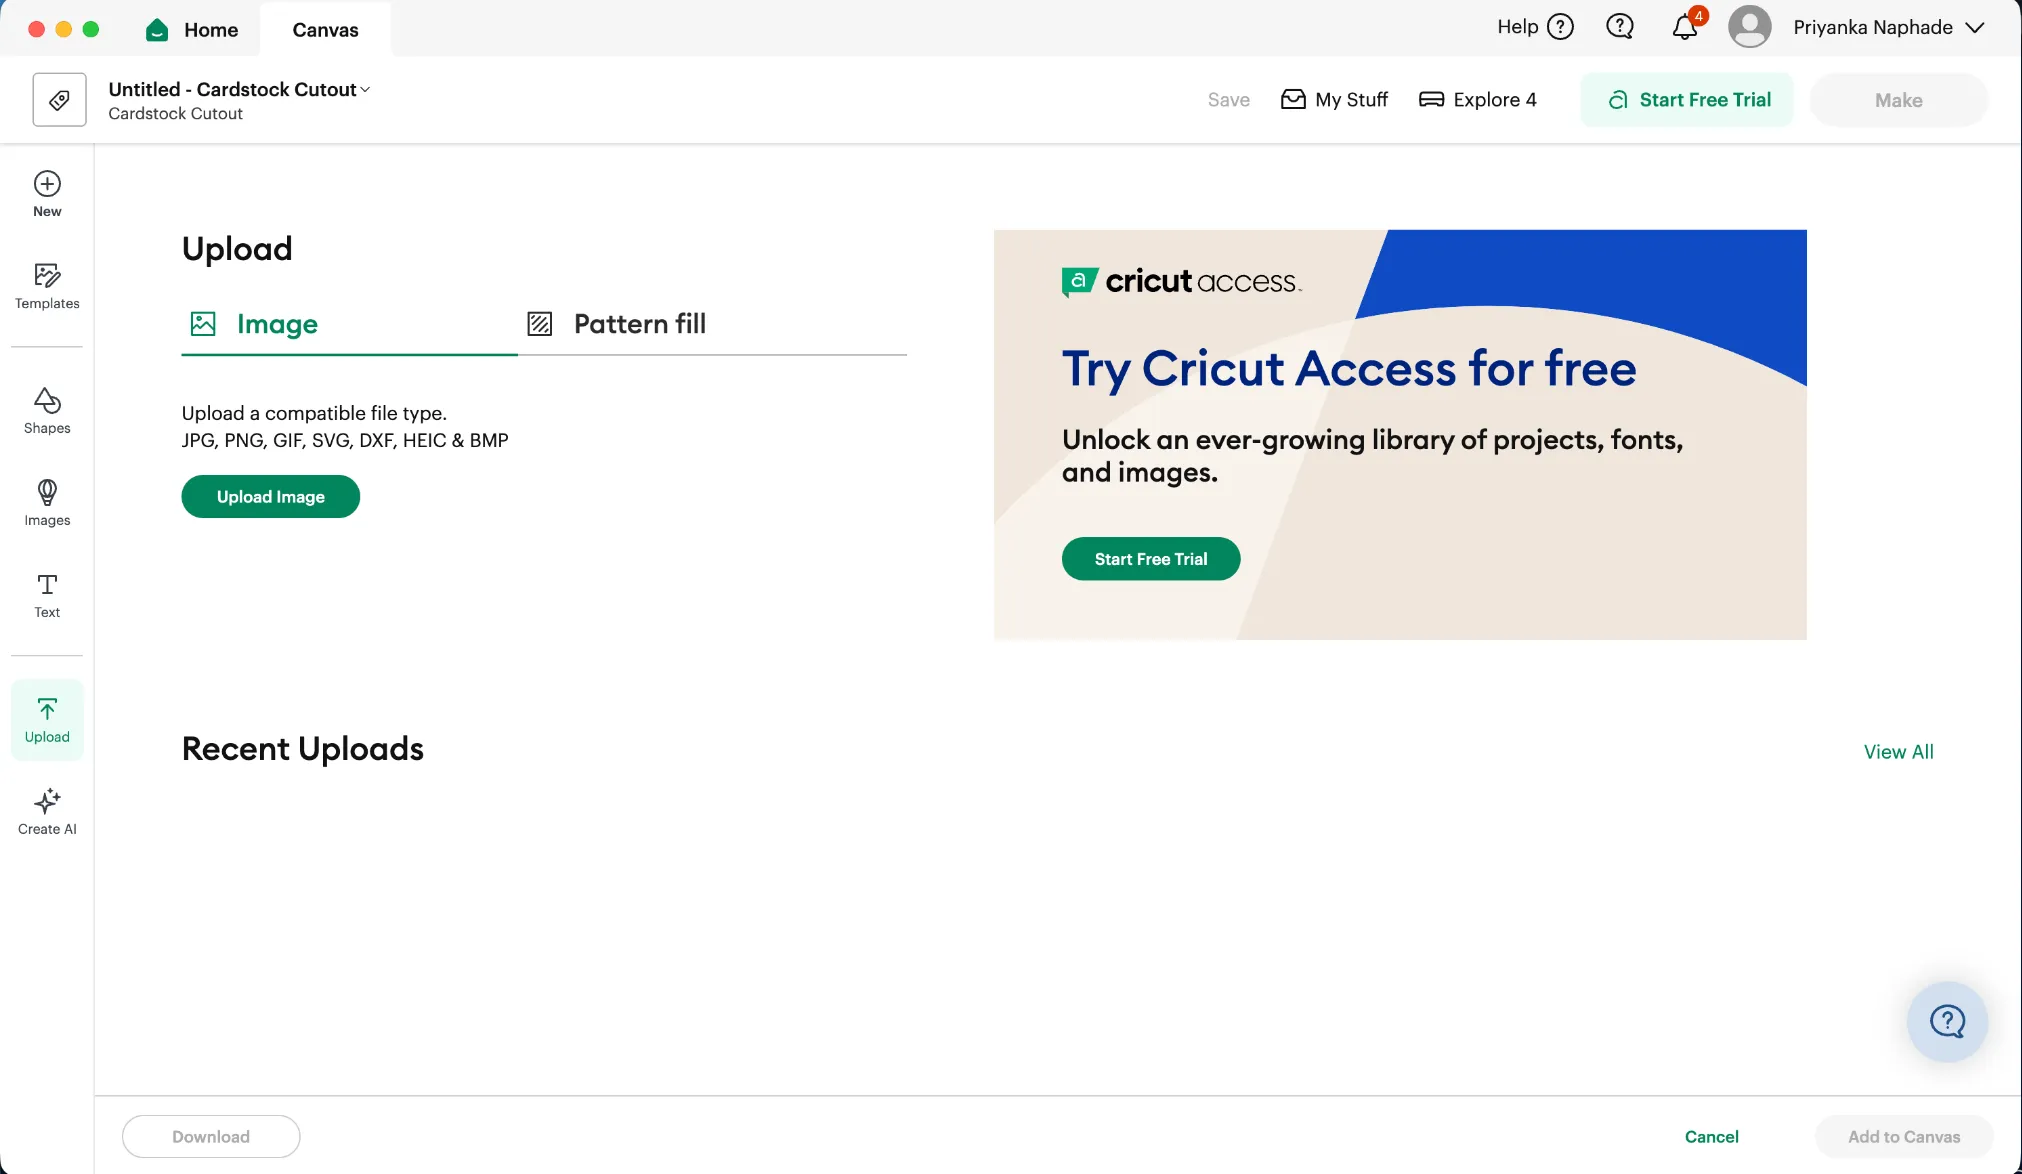
-
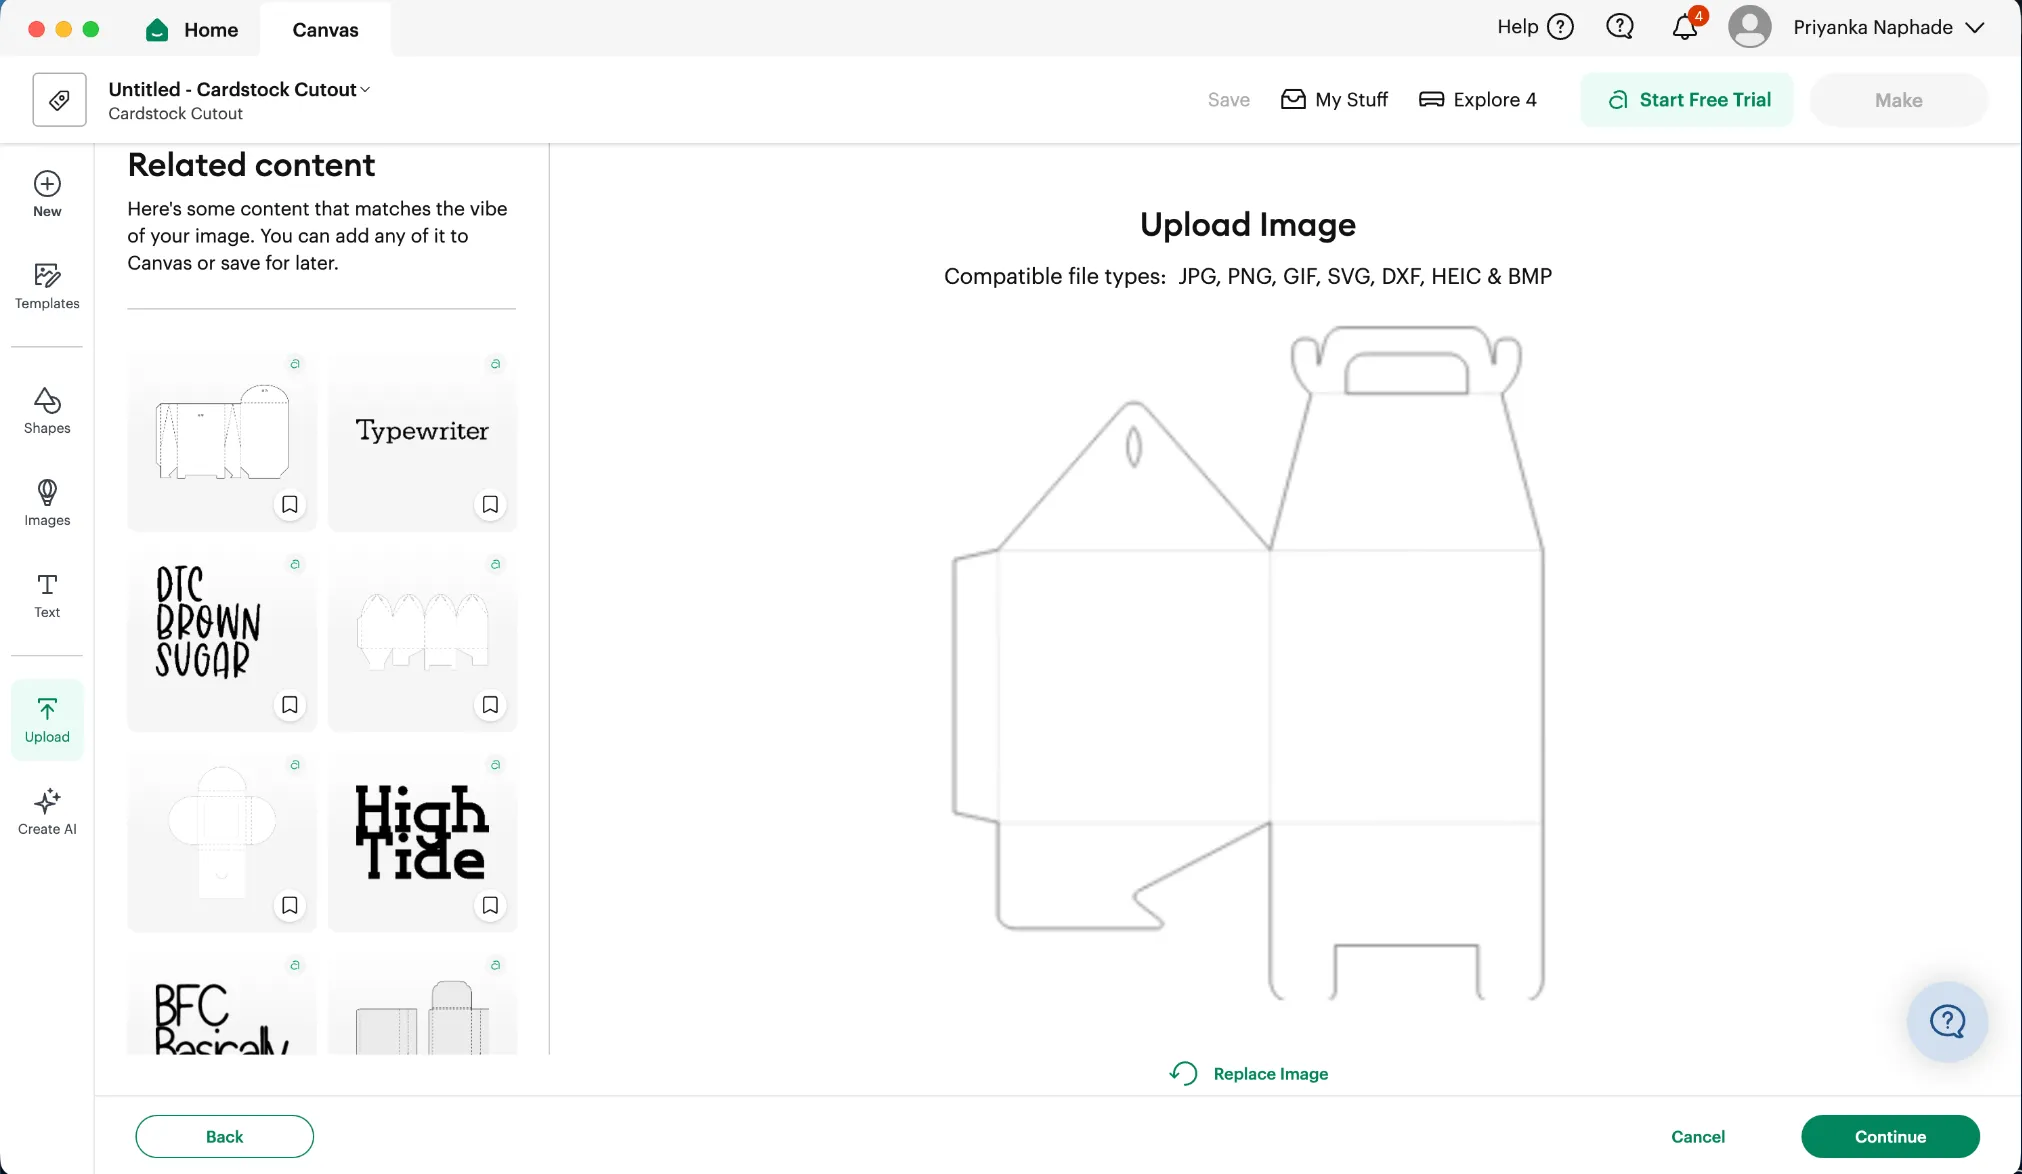
Pick the part 1 SVG from inside the unzipped folder. The template ships as two identical parts — you only need one, because you’ll cut it twice.
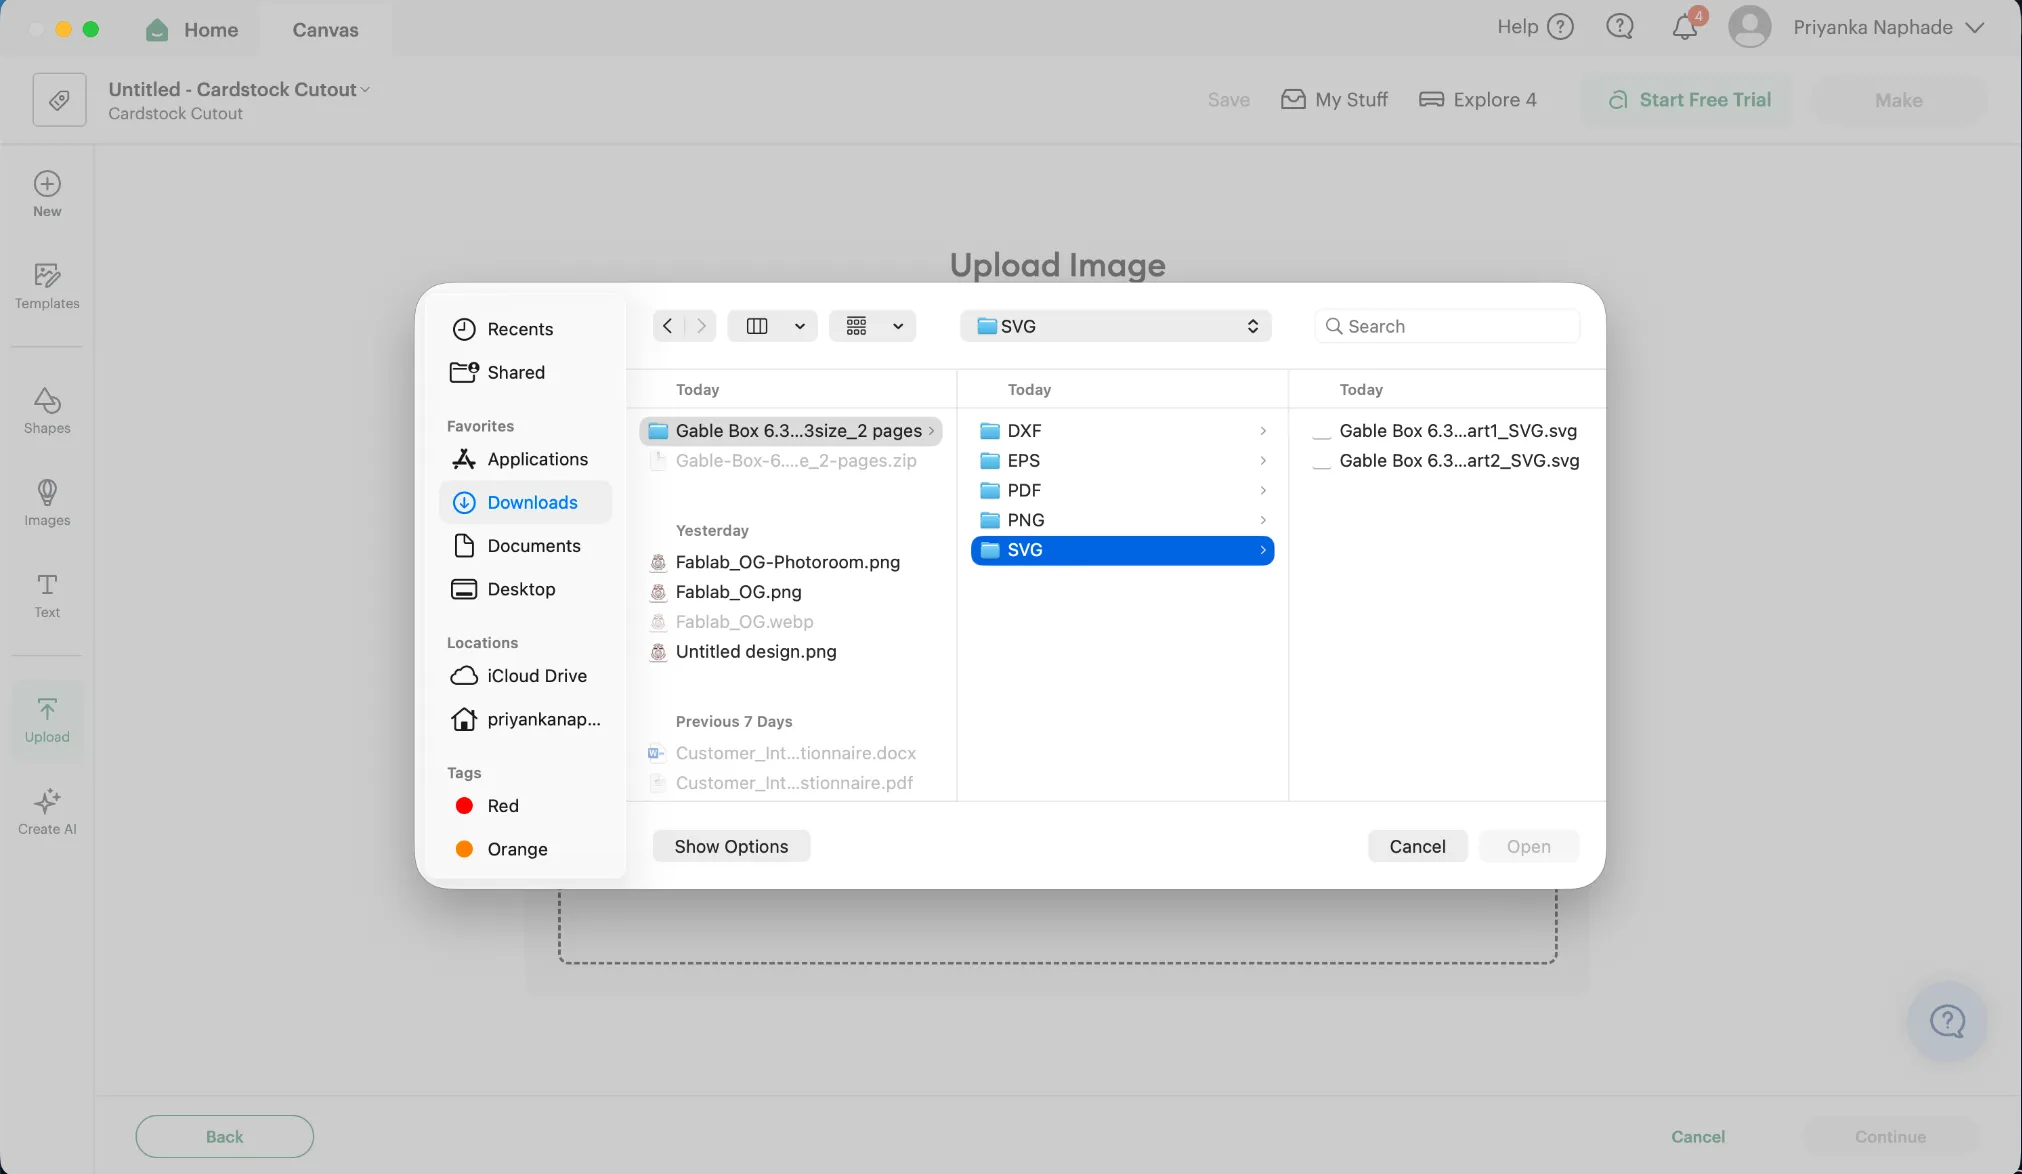
-
Design Space previews the box outline. Click Continue.
-
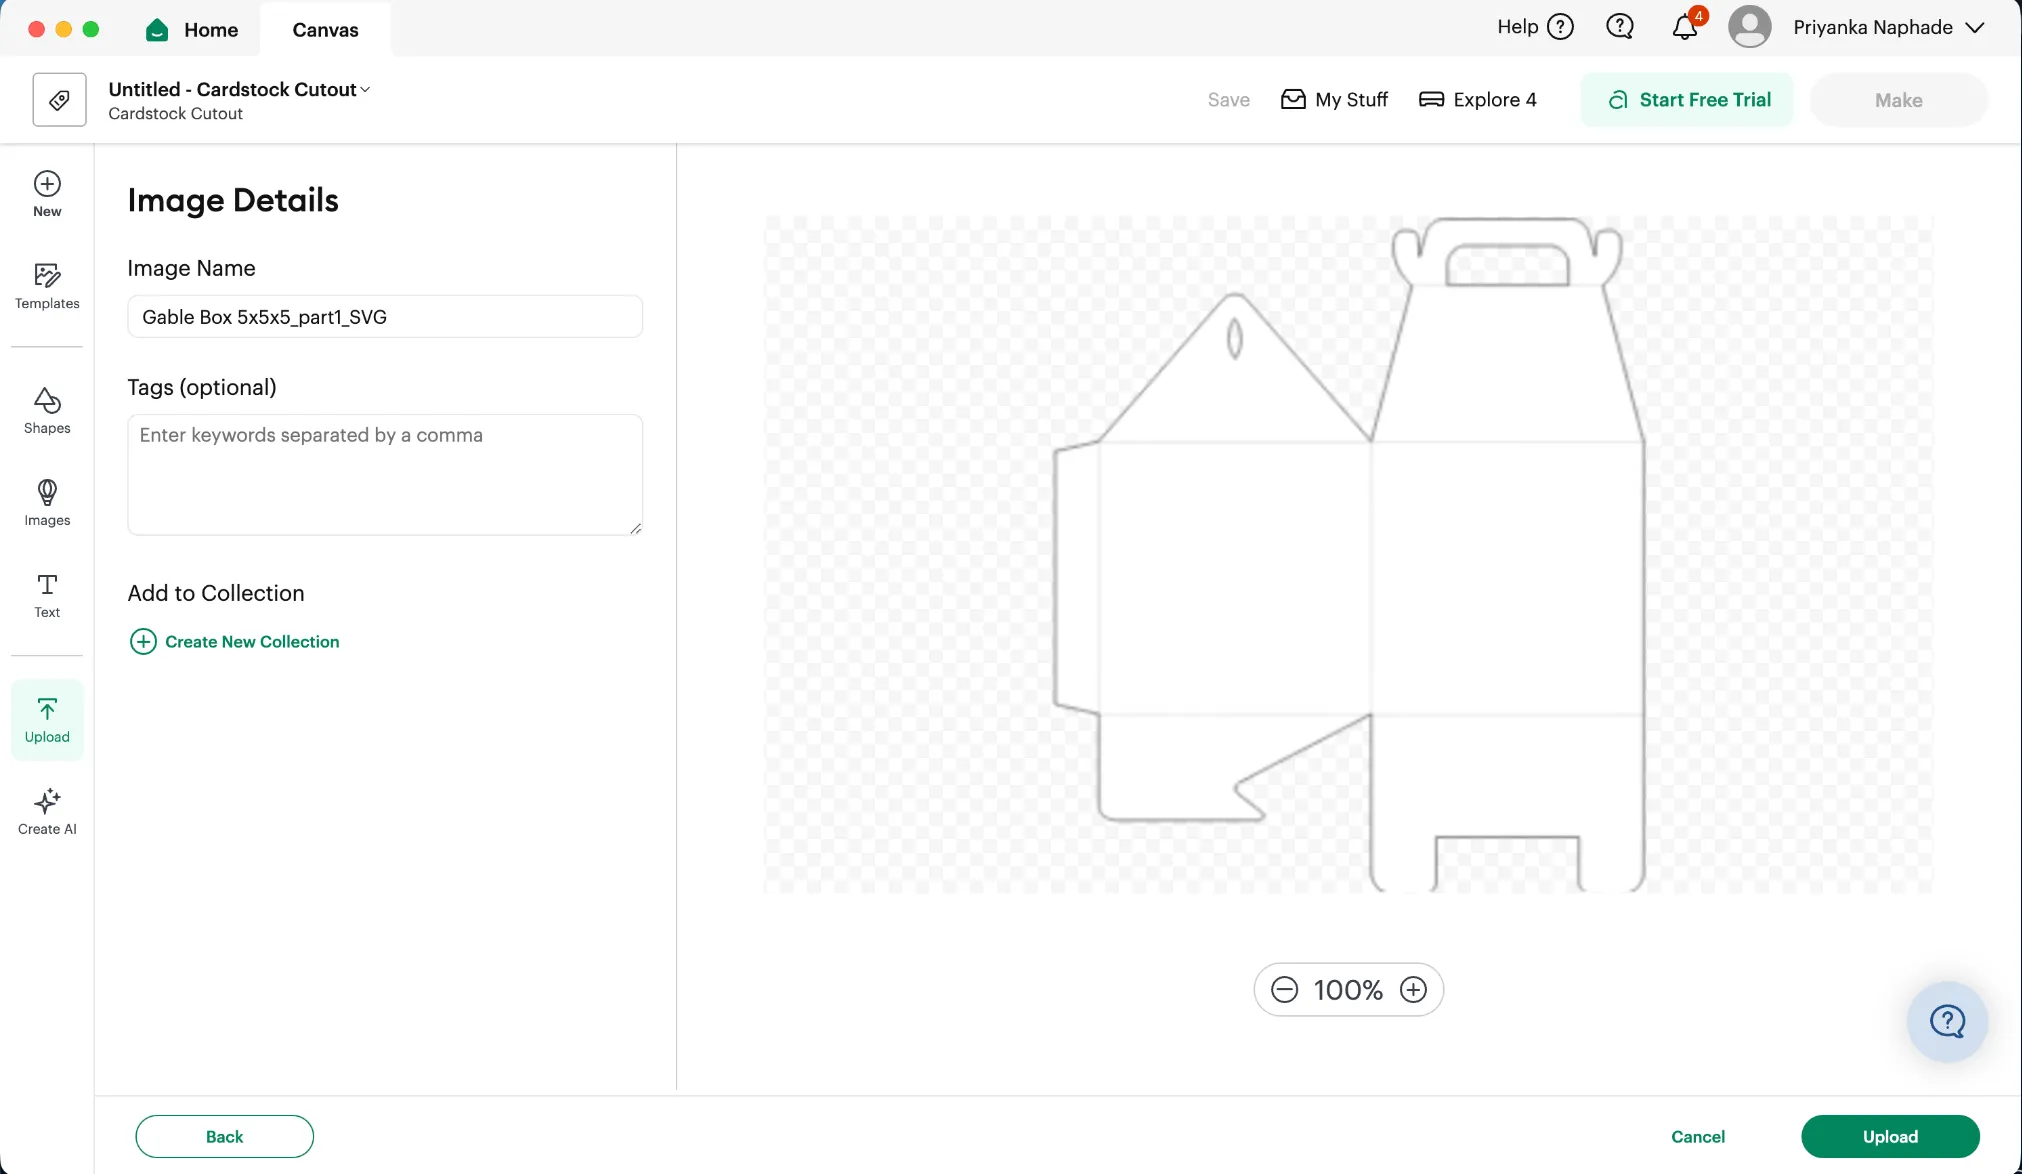
Leave the image name and tags alone and click Upload.
-
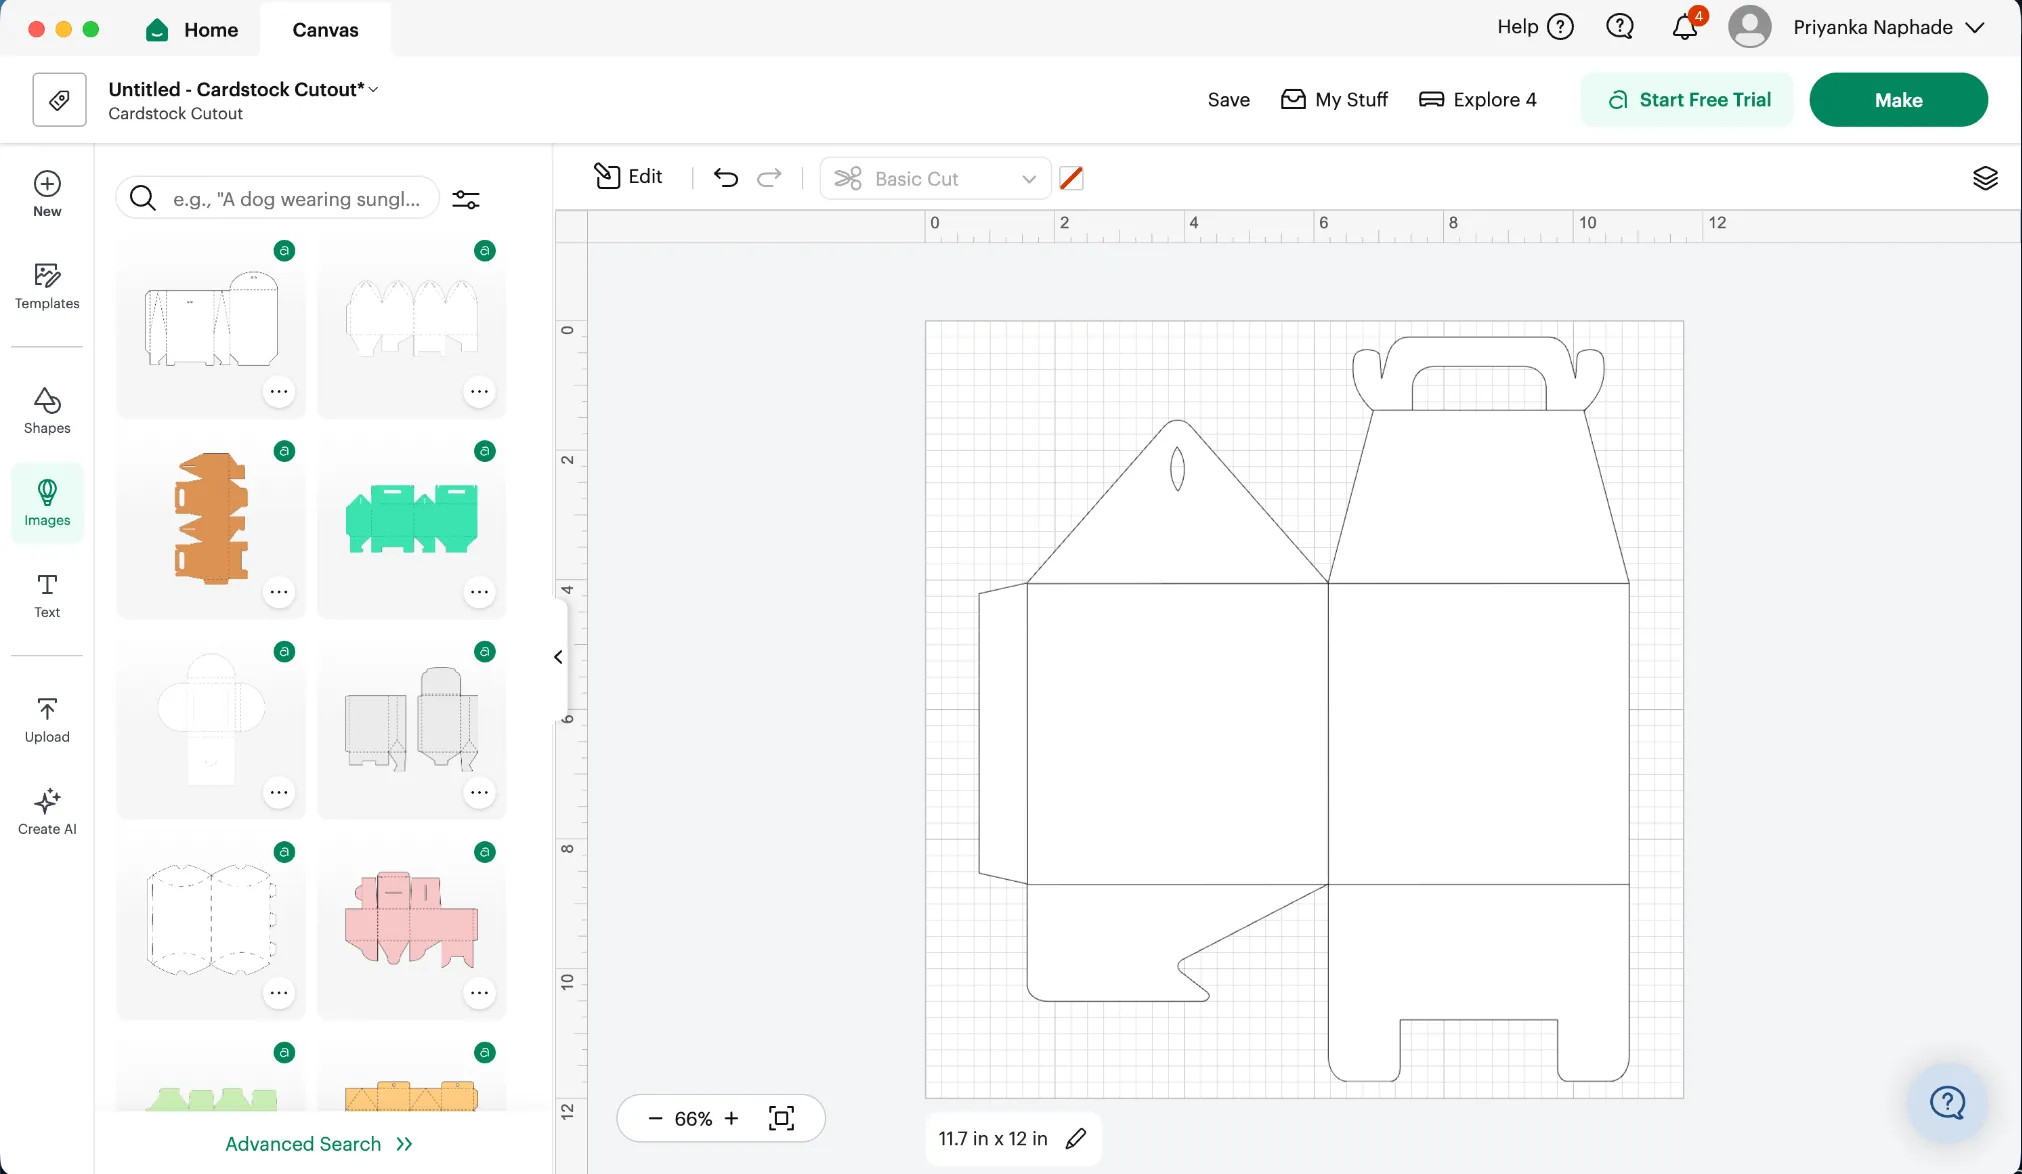
Add the uploaded image to your canvas. It should look like this:
3. Close the bottom of the box
Section titled “3. Close the bottom of the box”The template is open at the bottom. You’ll weld two rectangles over the bottom panels so the box has a floor.
-
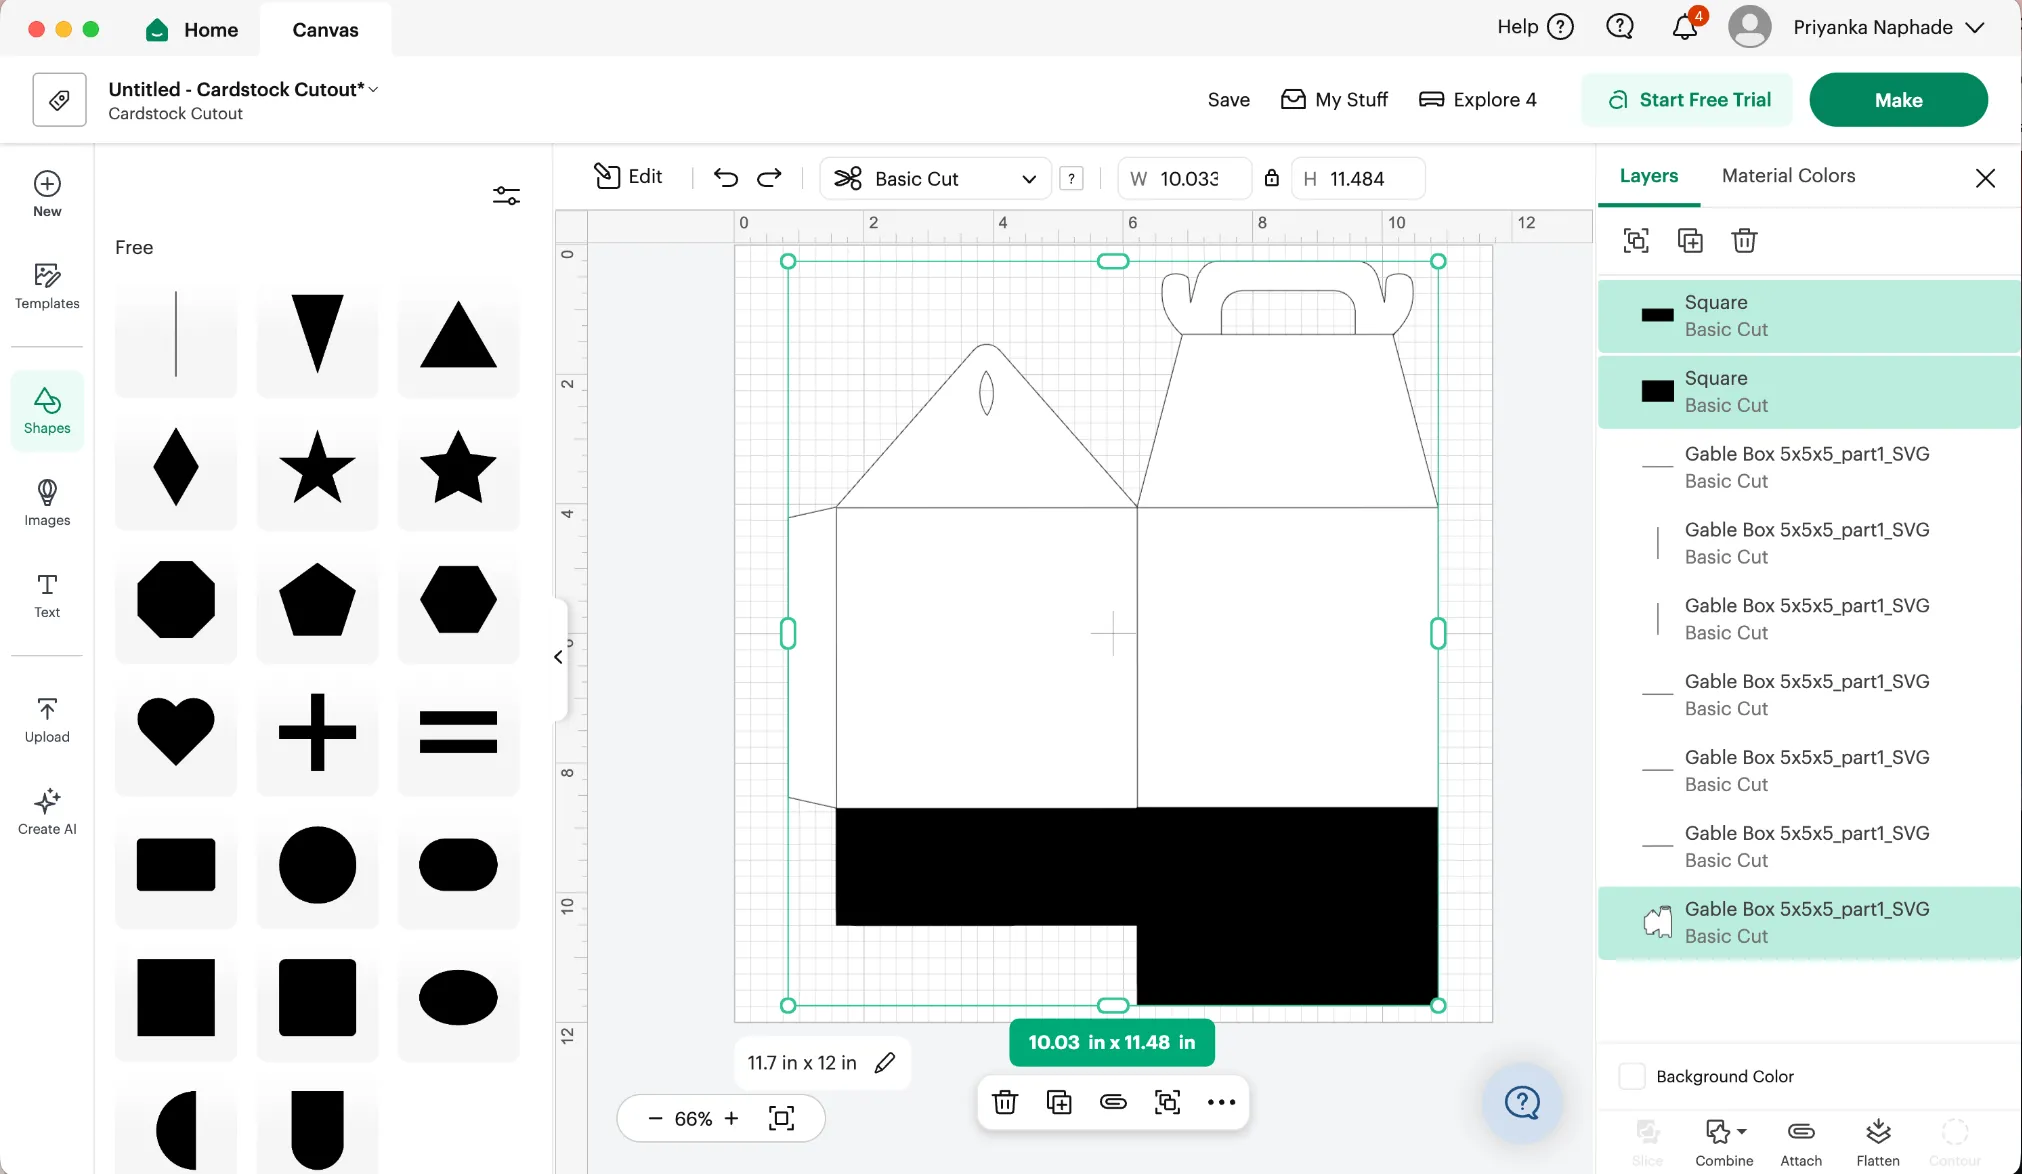
Using the rectangle shape, draw two separate rectangles covering the bottom panels of the box.
-
Open the Layers panel at the top right. Hold Shift and select both new rectangles along with the template shape, then click Combine at the bottom of the panel and choose Weld.
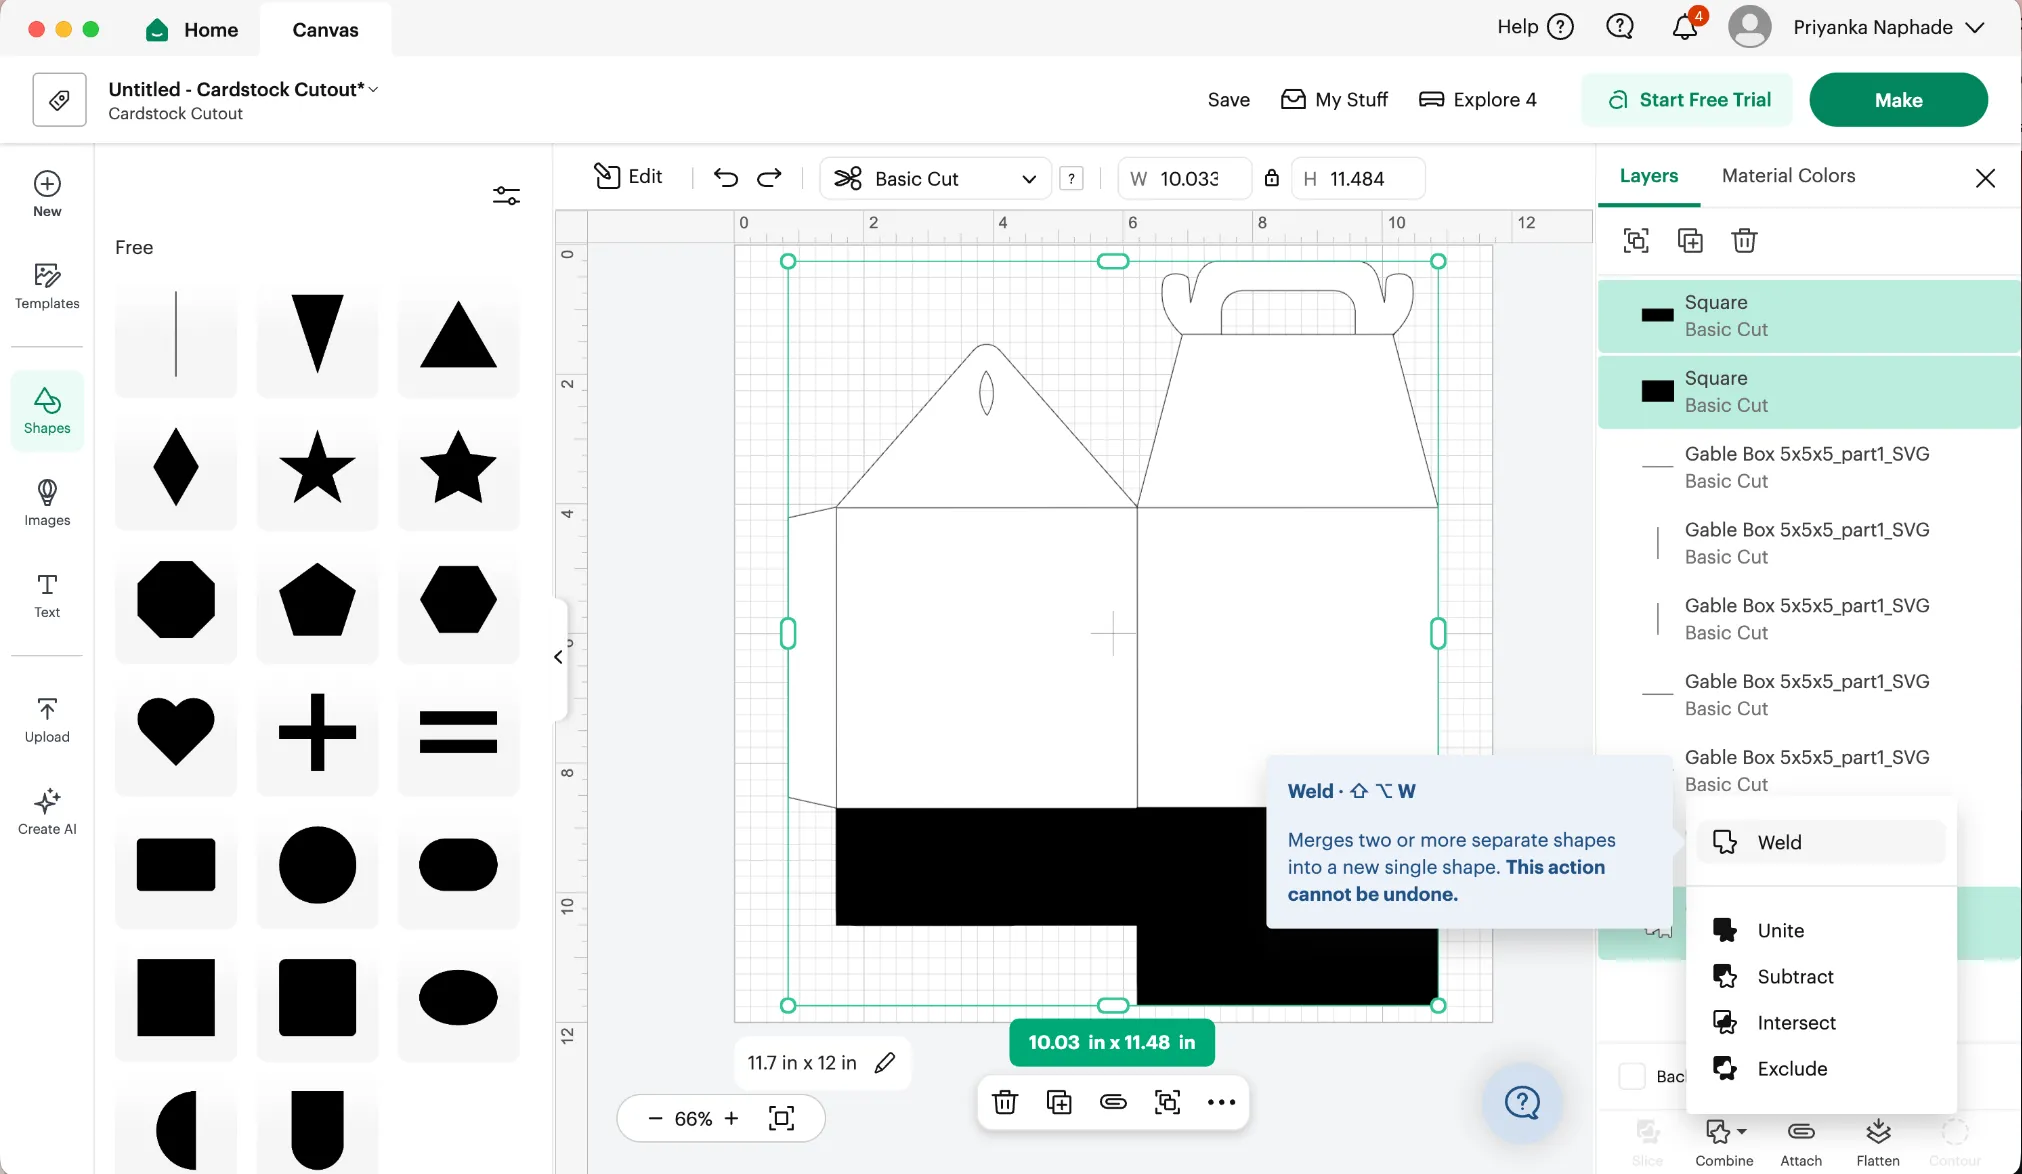
Weld merges the selected shapes into one and can’t be undone, so make sure the rectangles are positioned before you weld.
-
Add a line from the Shapes menu between the two new rectangles, and weld that to the shape as well.
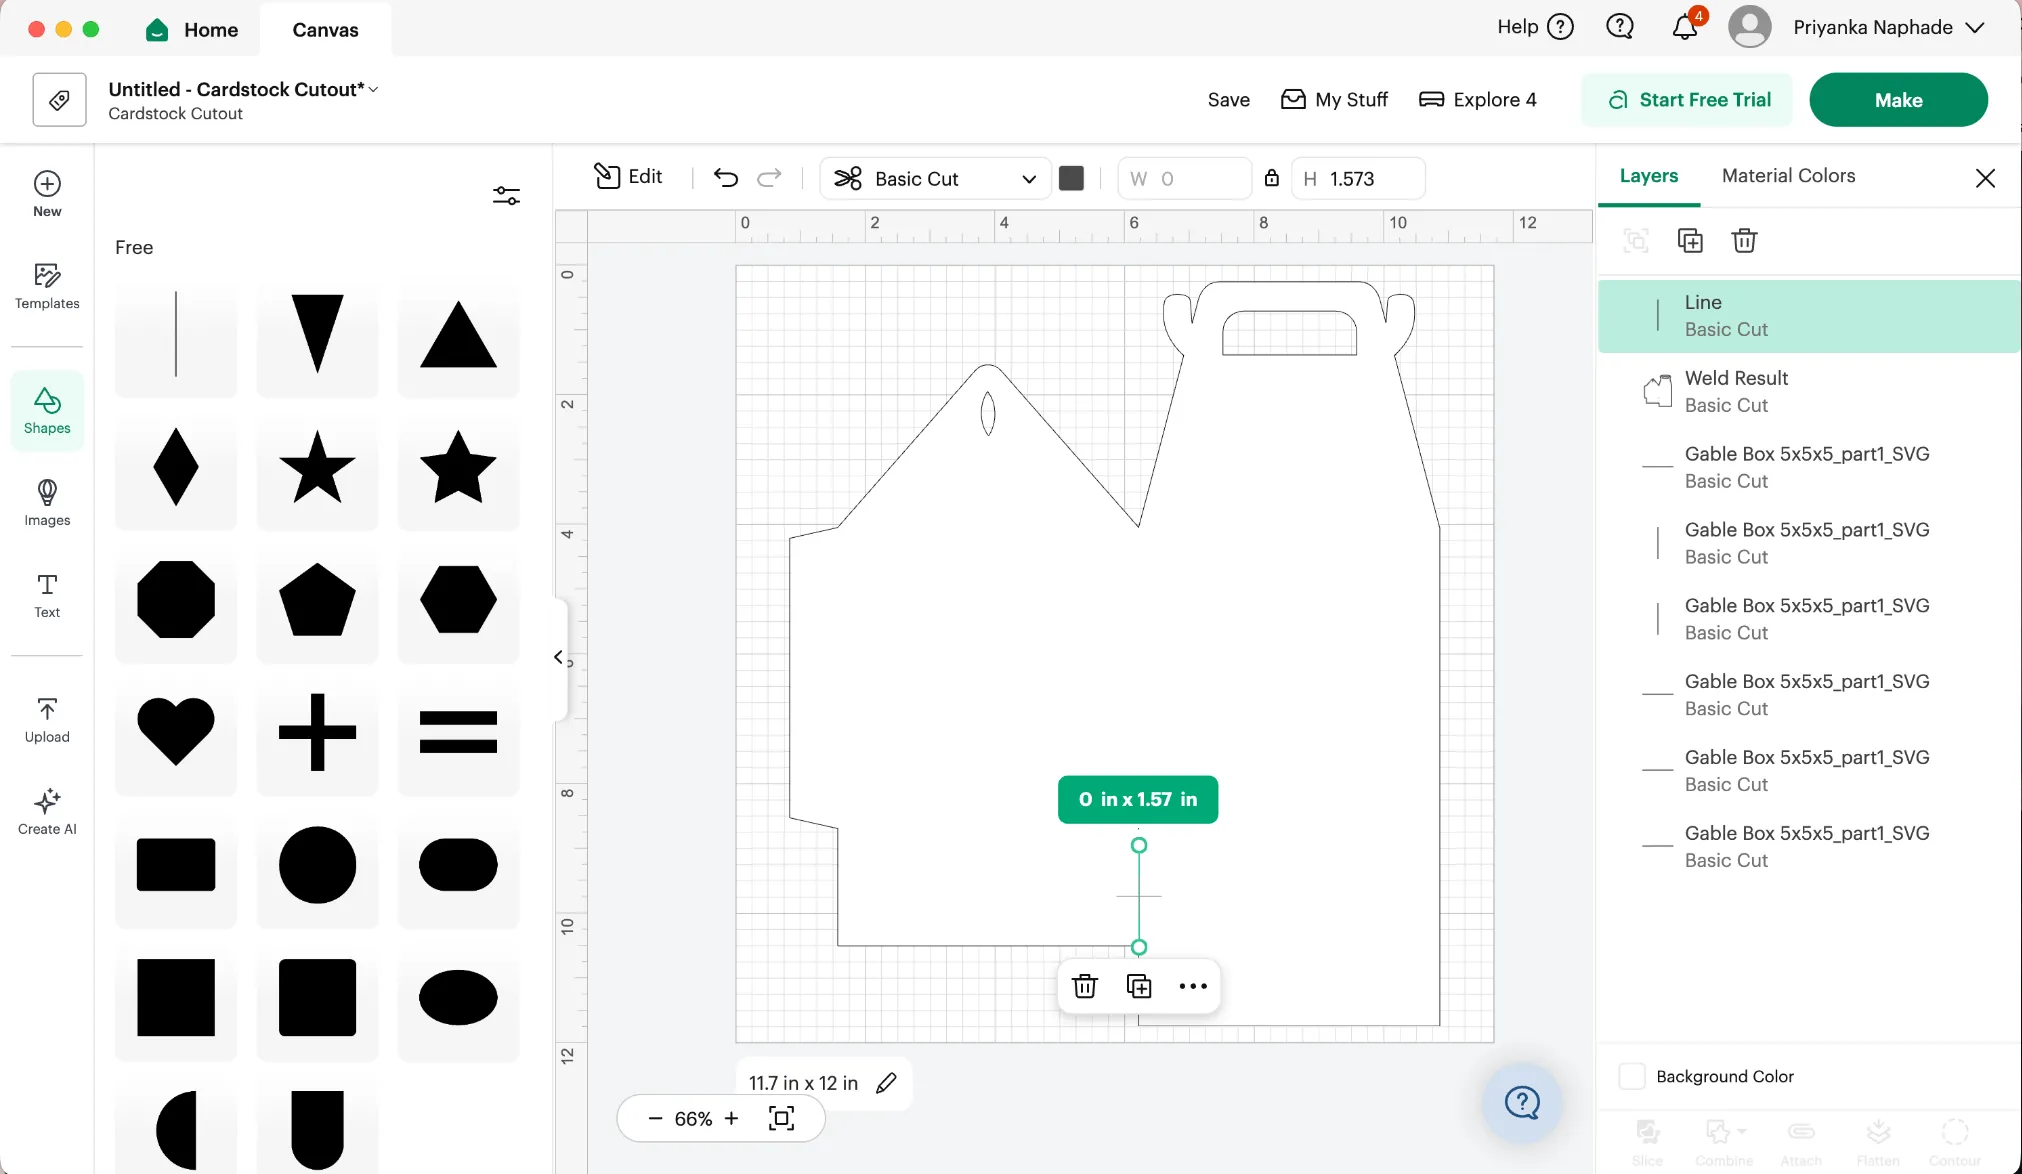
-
Your outline is now a single closed shape with the template’s fold lines still on top of it.
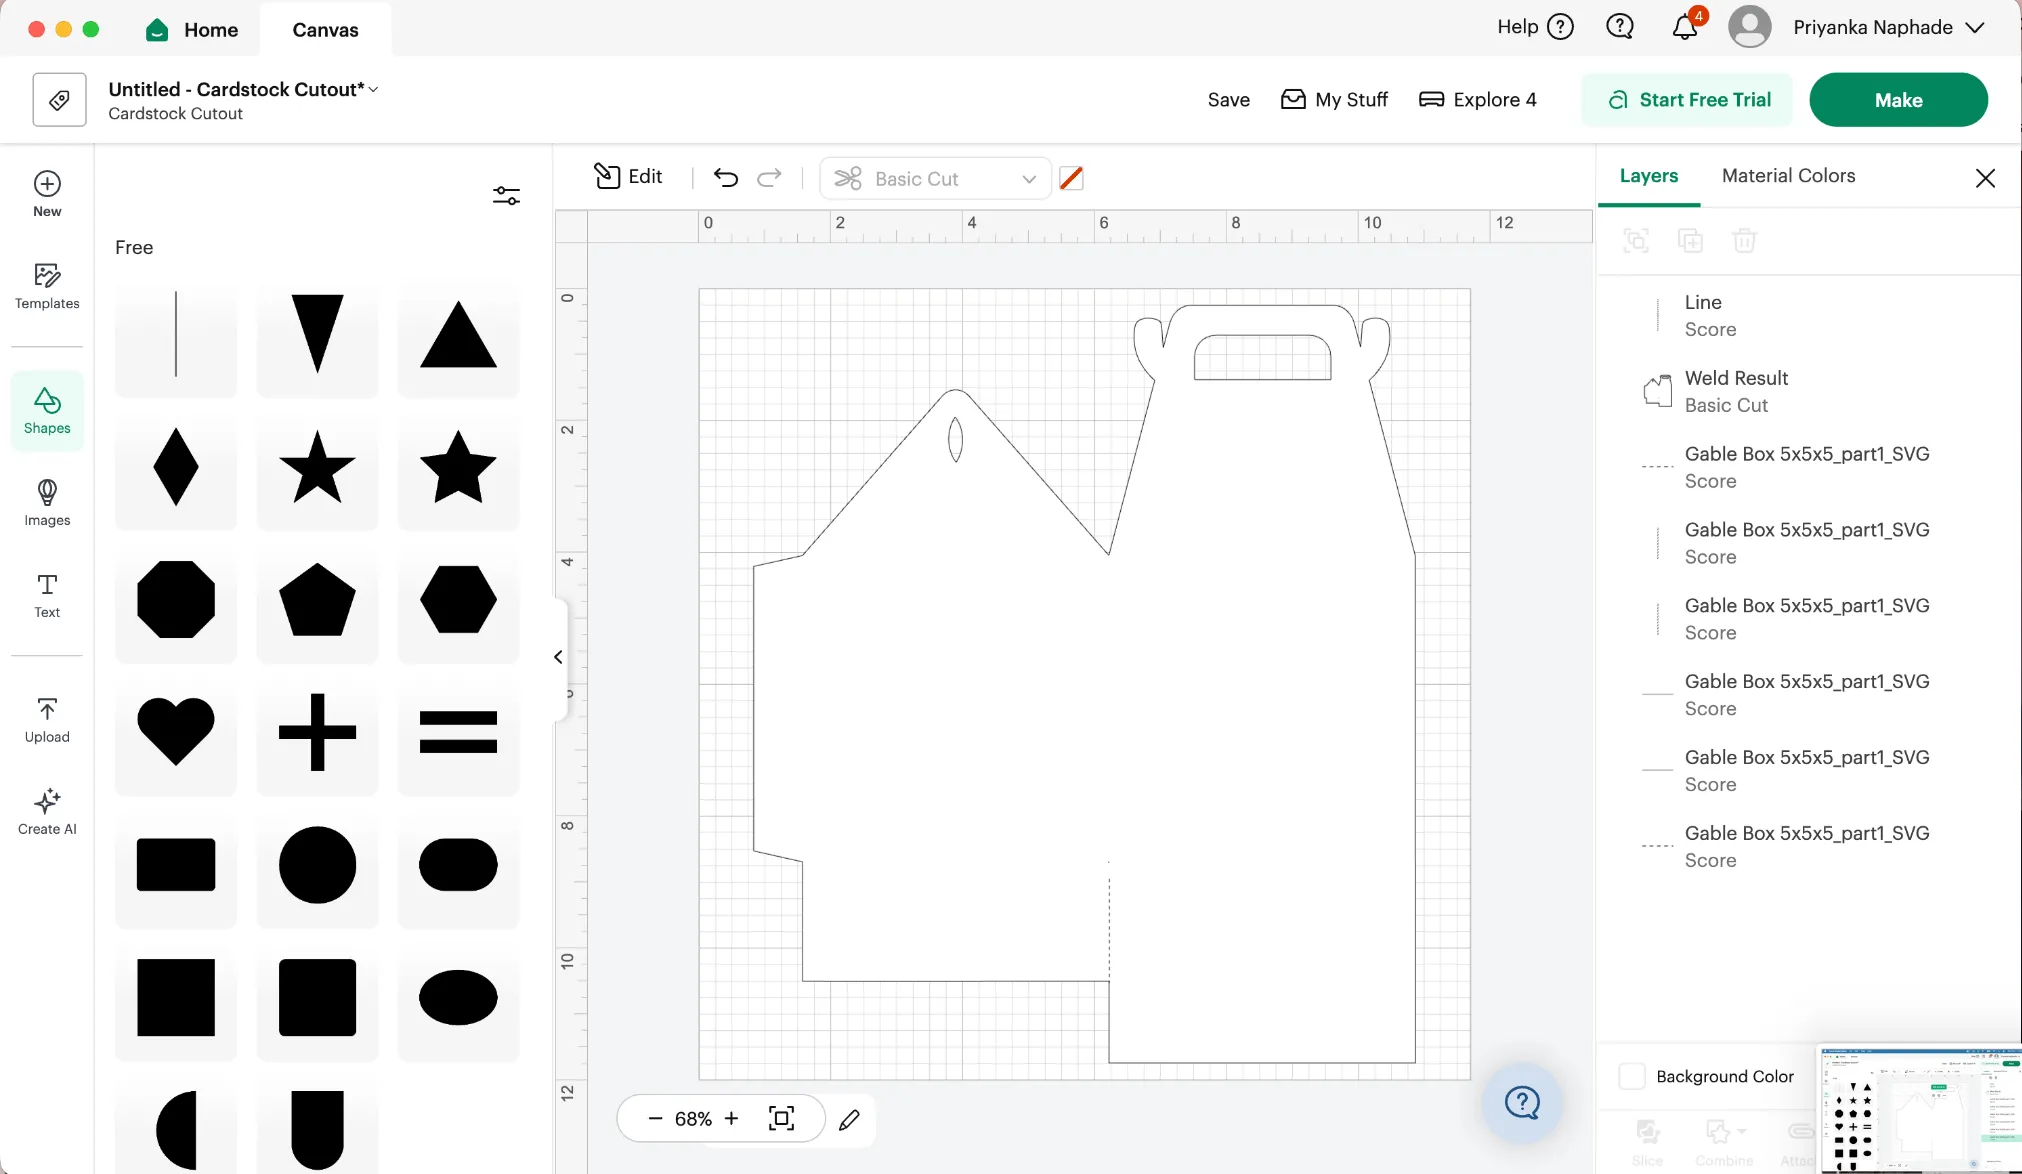
-
Select all the fold lines the same way — Shift and click — then press Attach.
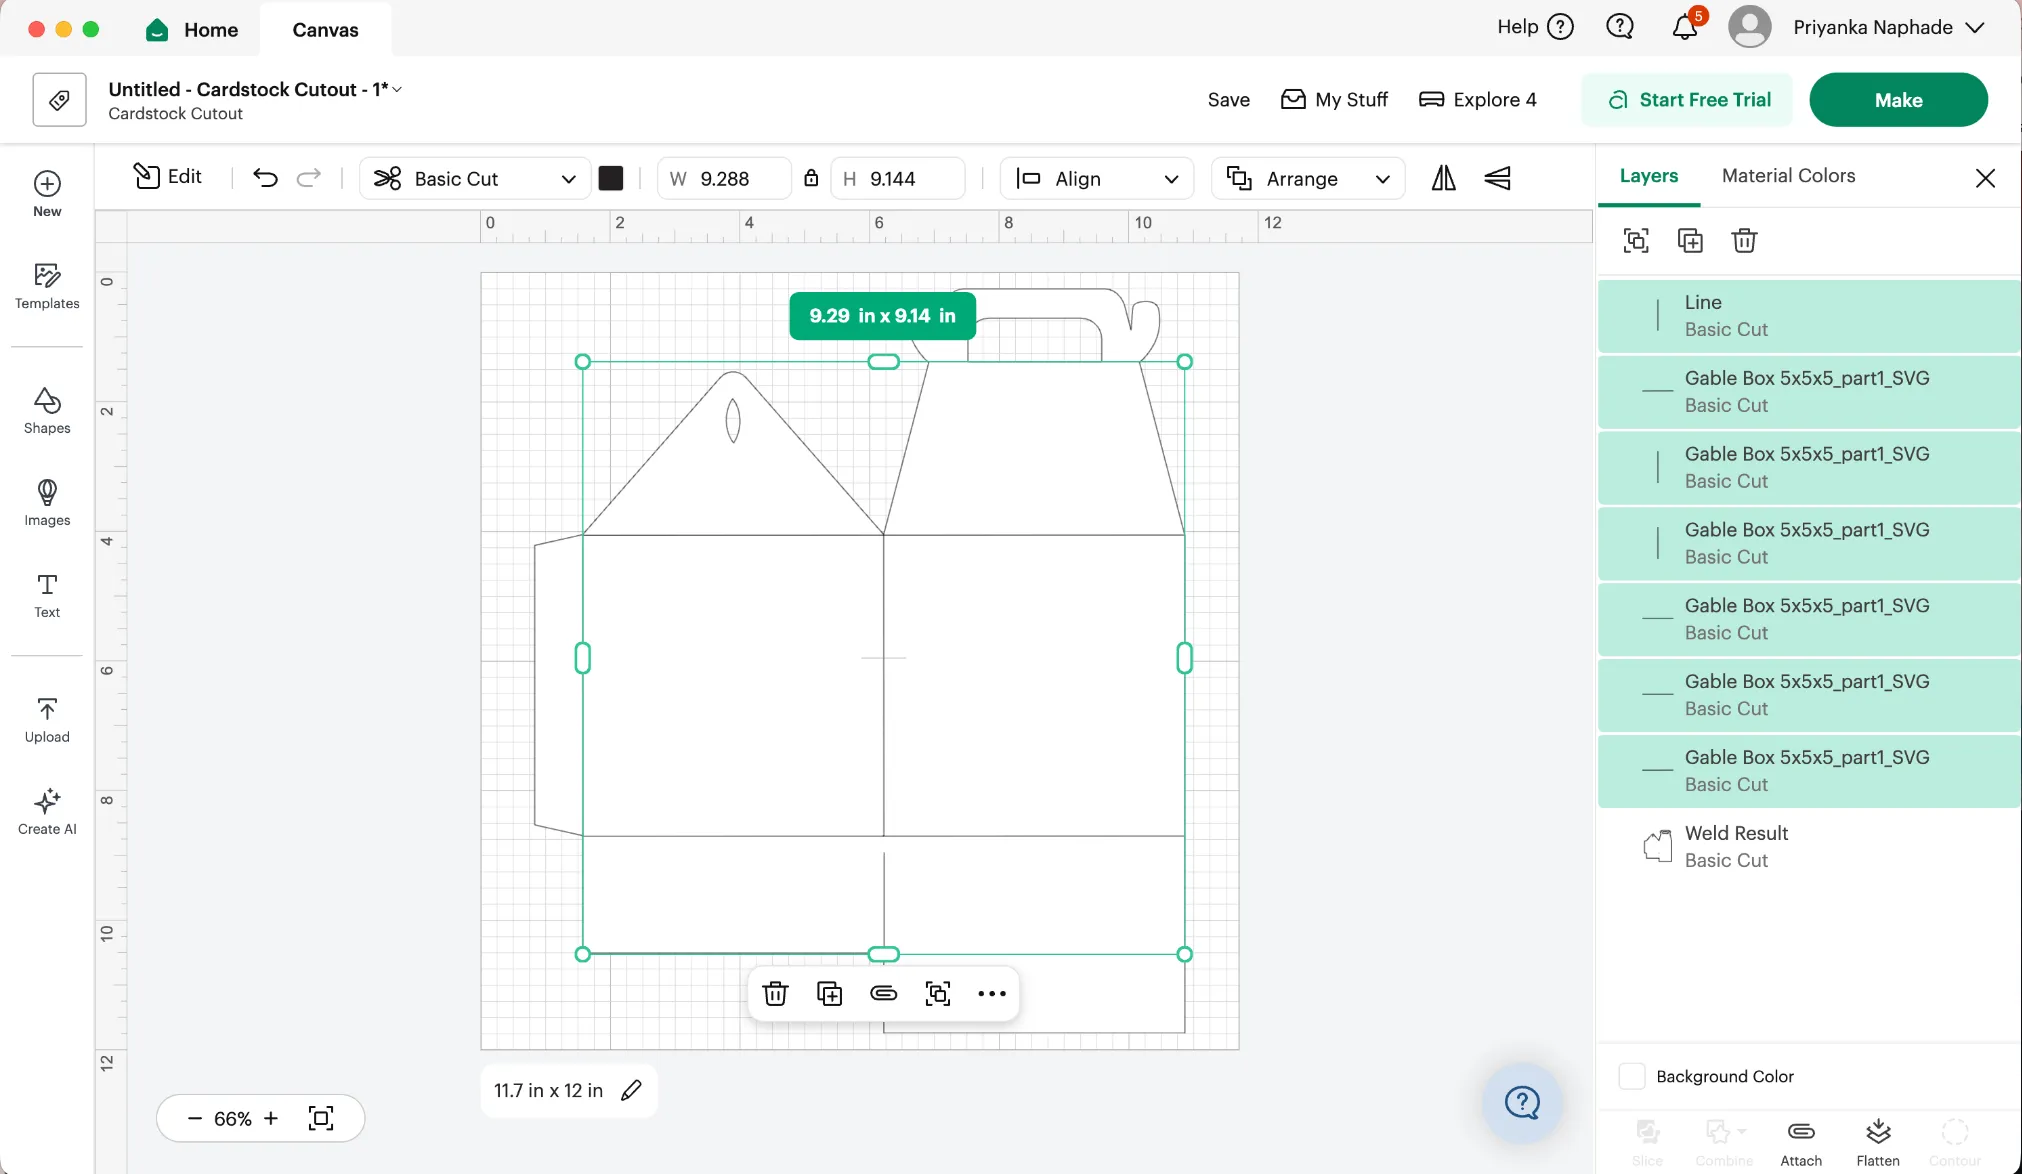
Attach is what keeps the fold lines in position relative to the outline. Skip it and Design Space will rearrange them anywhere it likes on the mat.
4. Cut it
Section titled “4. Cut it”The screenshots below use copy paper, but cut yours from cardstock — the box won’t hold its shape in copy paper.
-
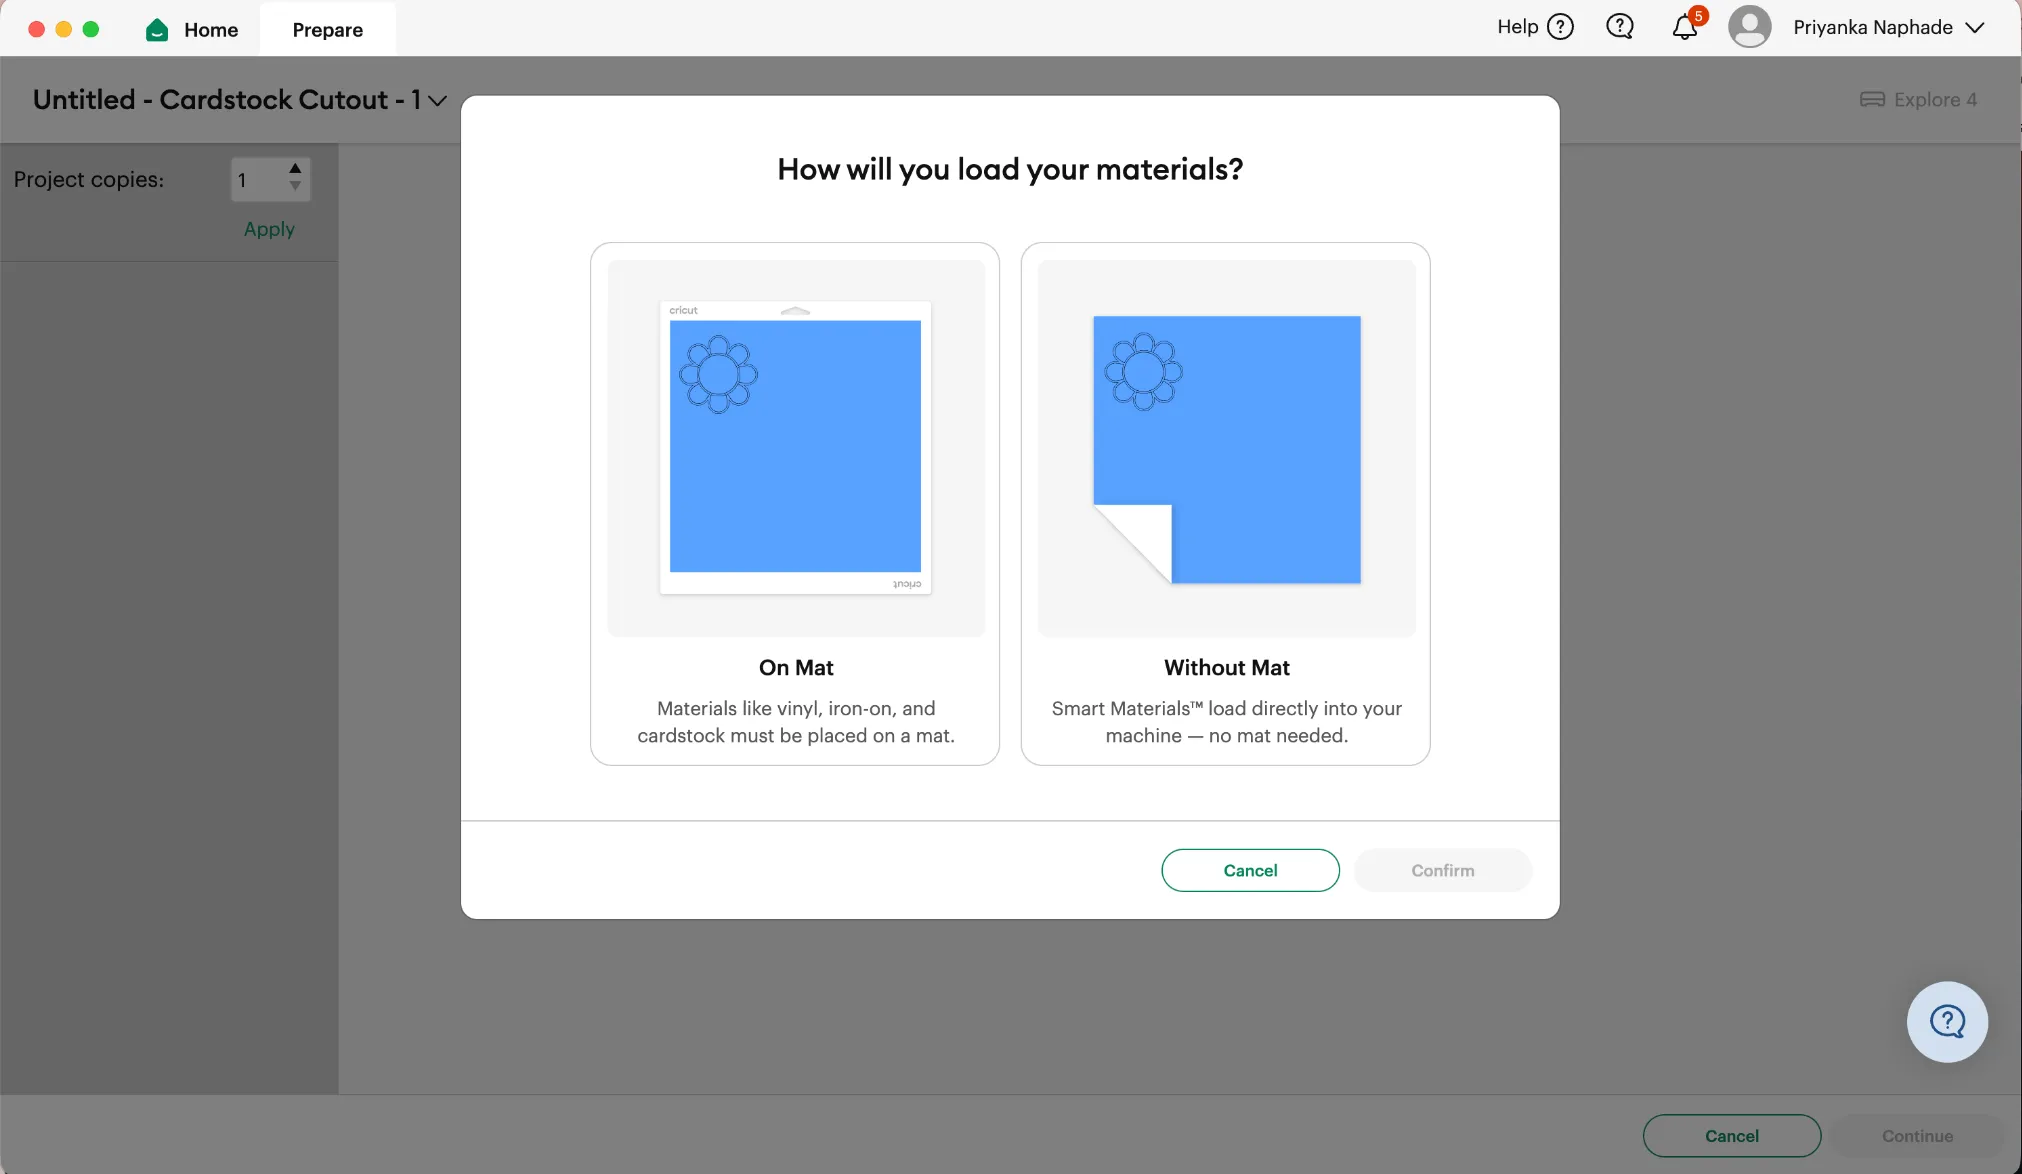
Press Make at the top right, then choose On Mat and confirm the mat size matches the mat you’re holding — 12 in × 12 in here.
-
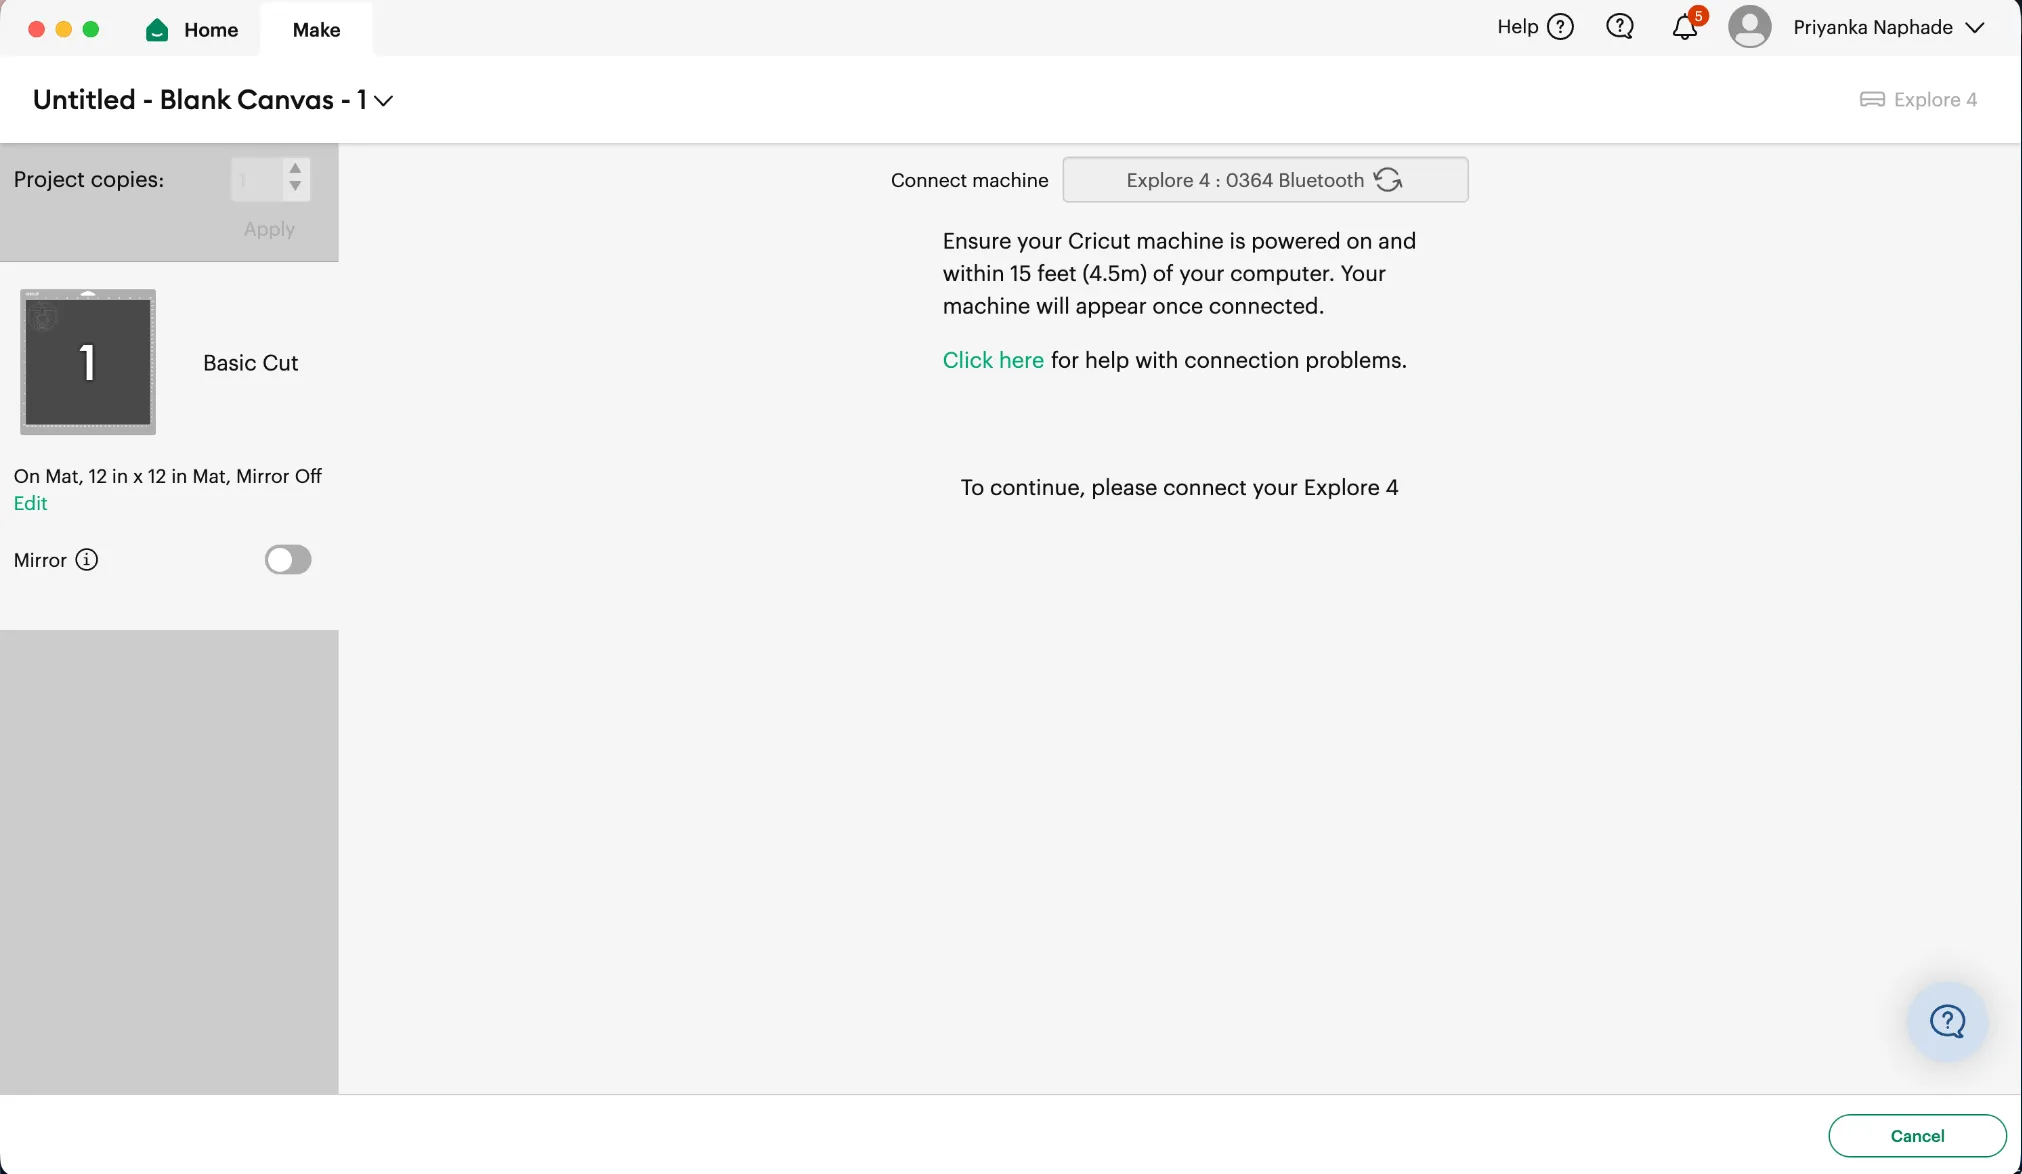
Wait for Design Space to connect to the machine.
-
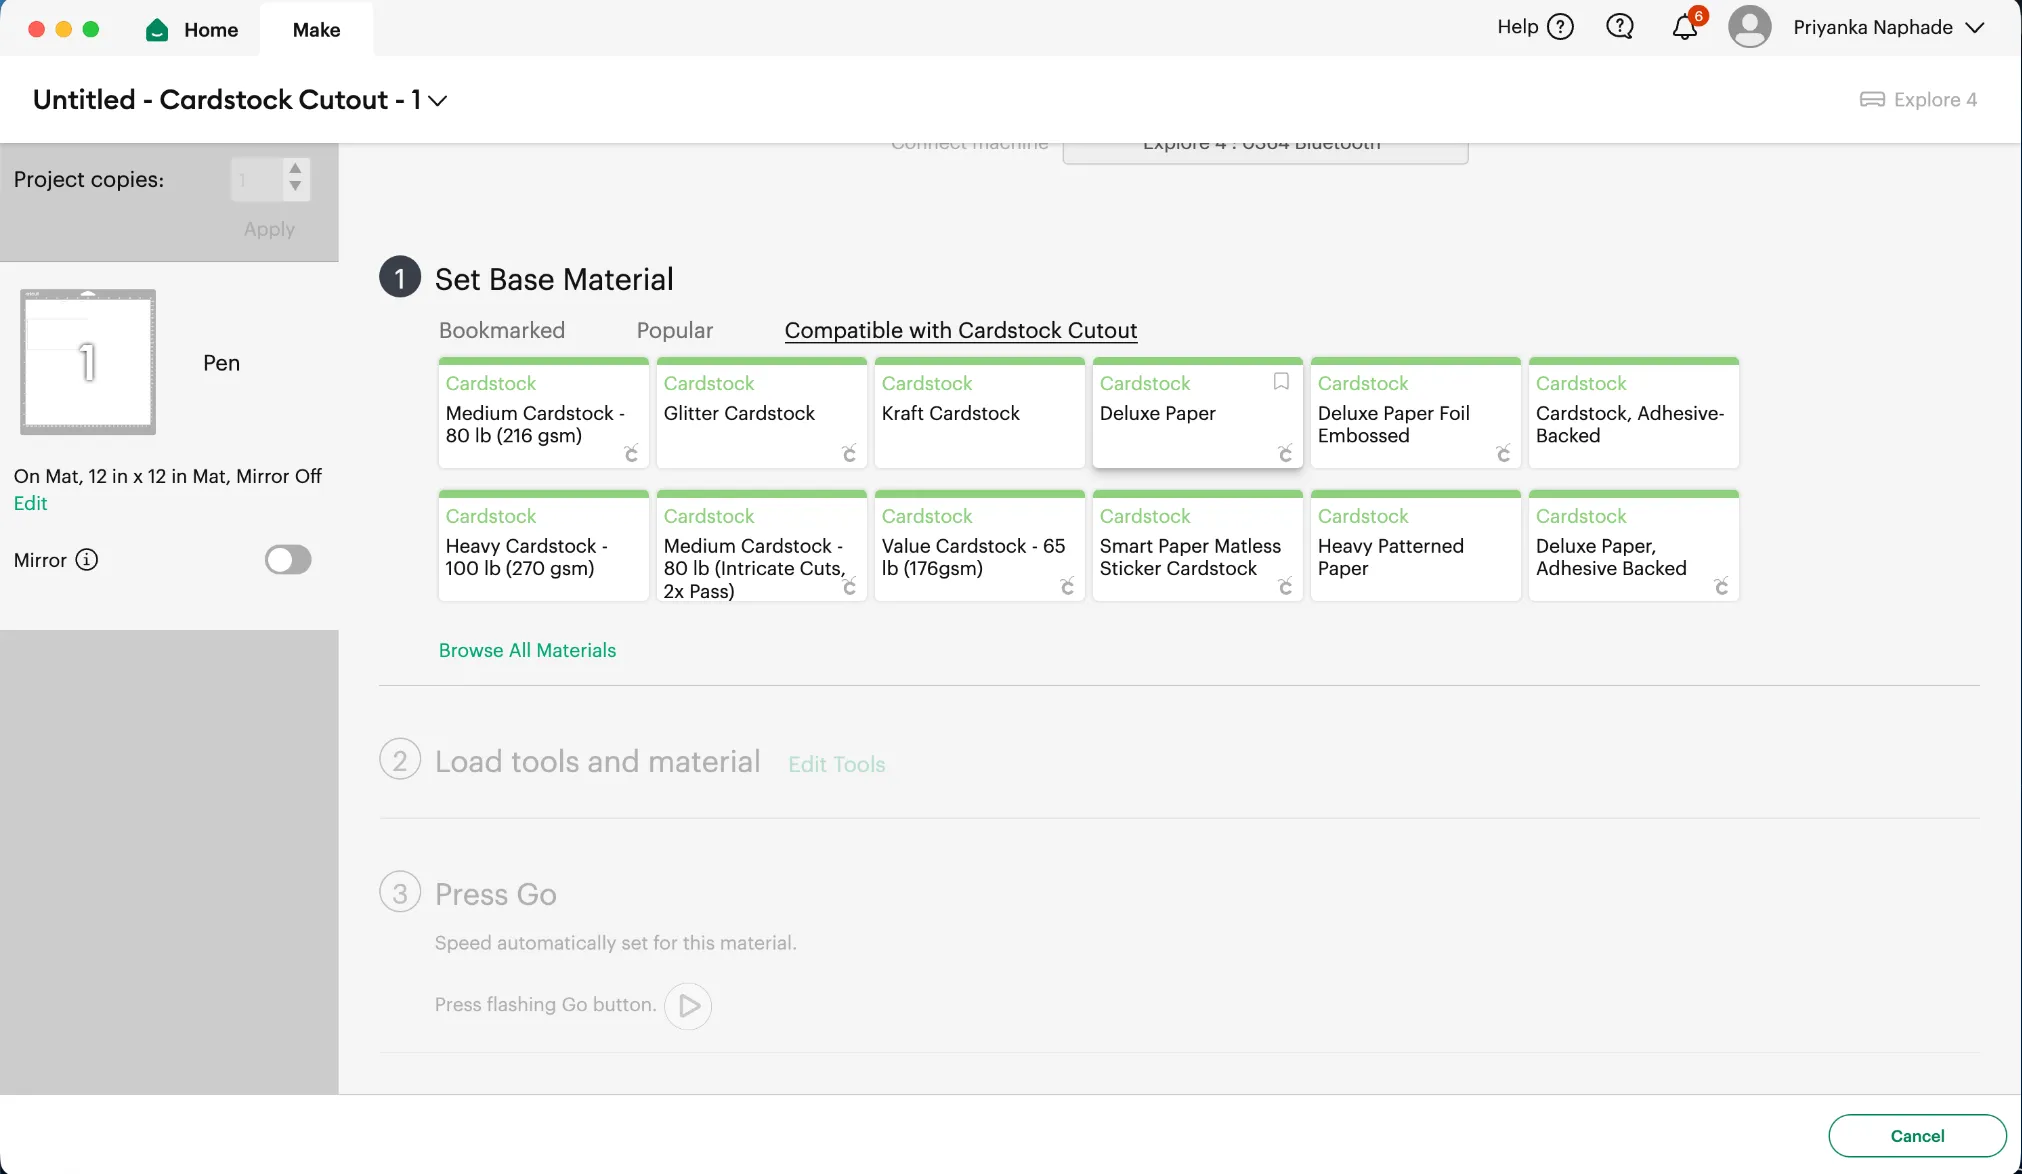
Set the base material to the matching cardstock option.
-
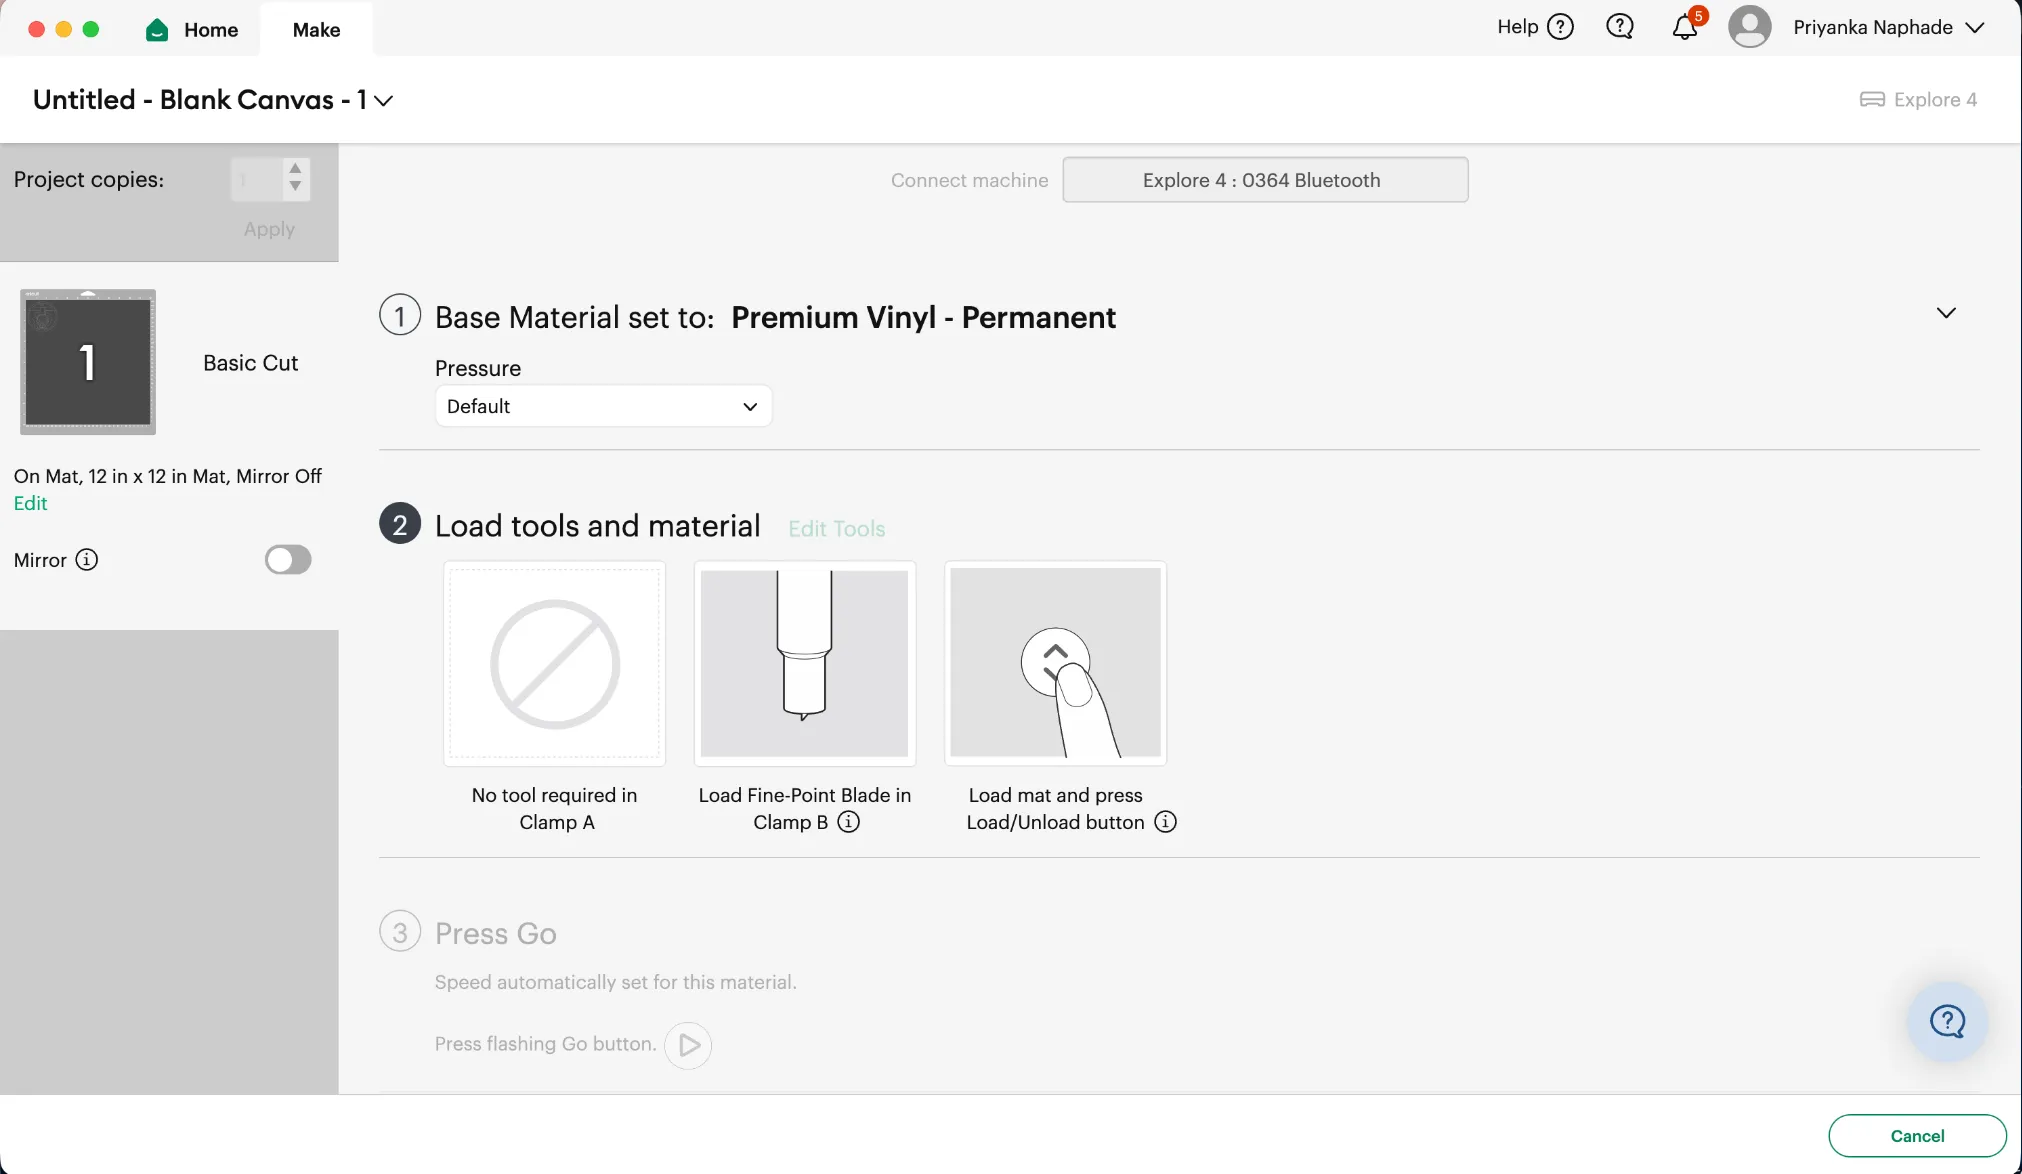
Load the tools Design Space asks for — the fine-point blade in Clamp B, nothing in Clamp A.
-
Stick the cardstock to the mat, seat the mat inside the machine’s material guides, and press Load.
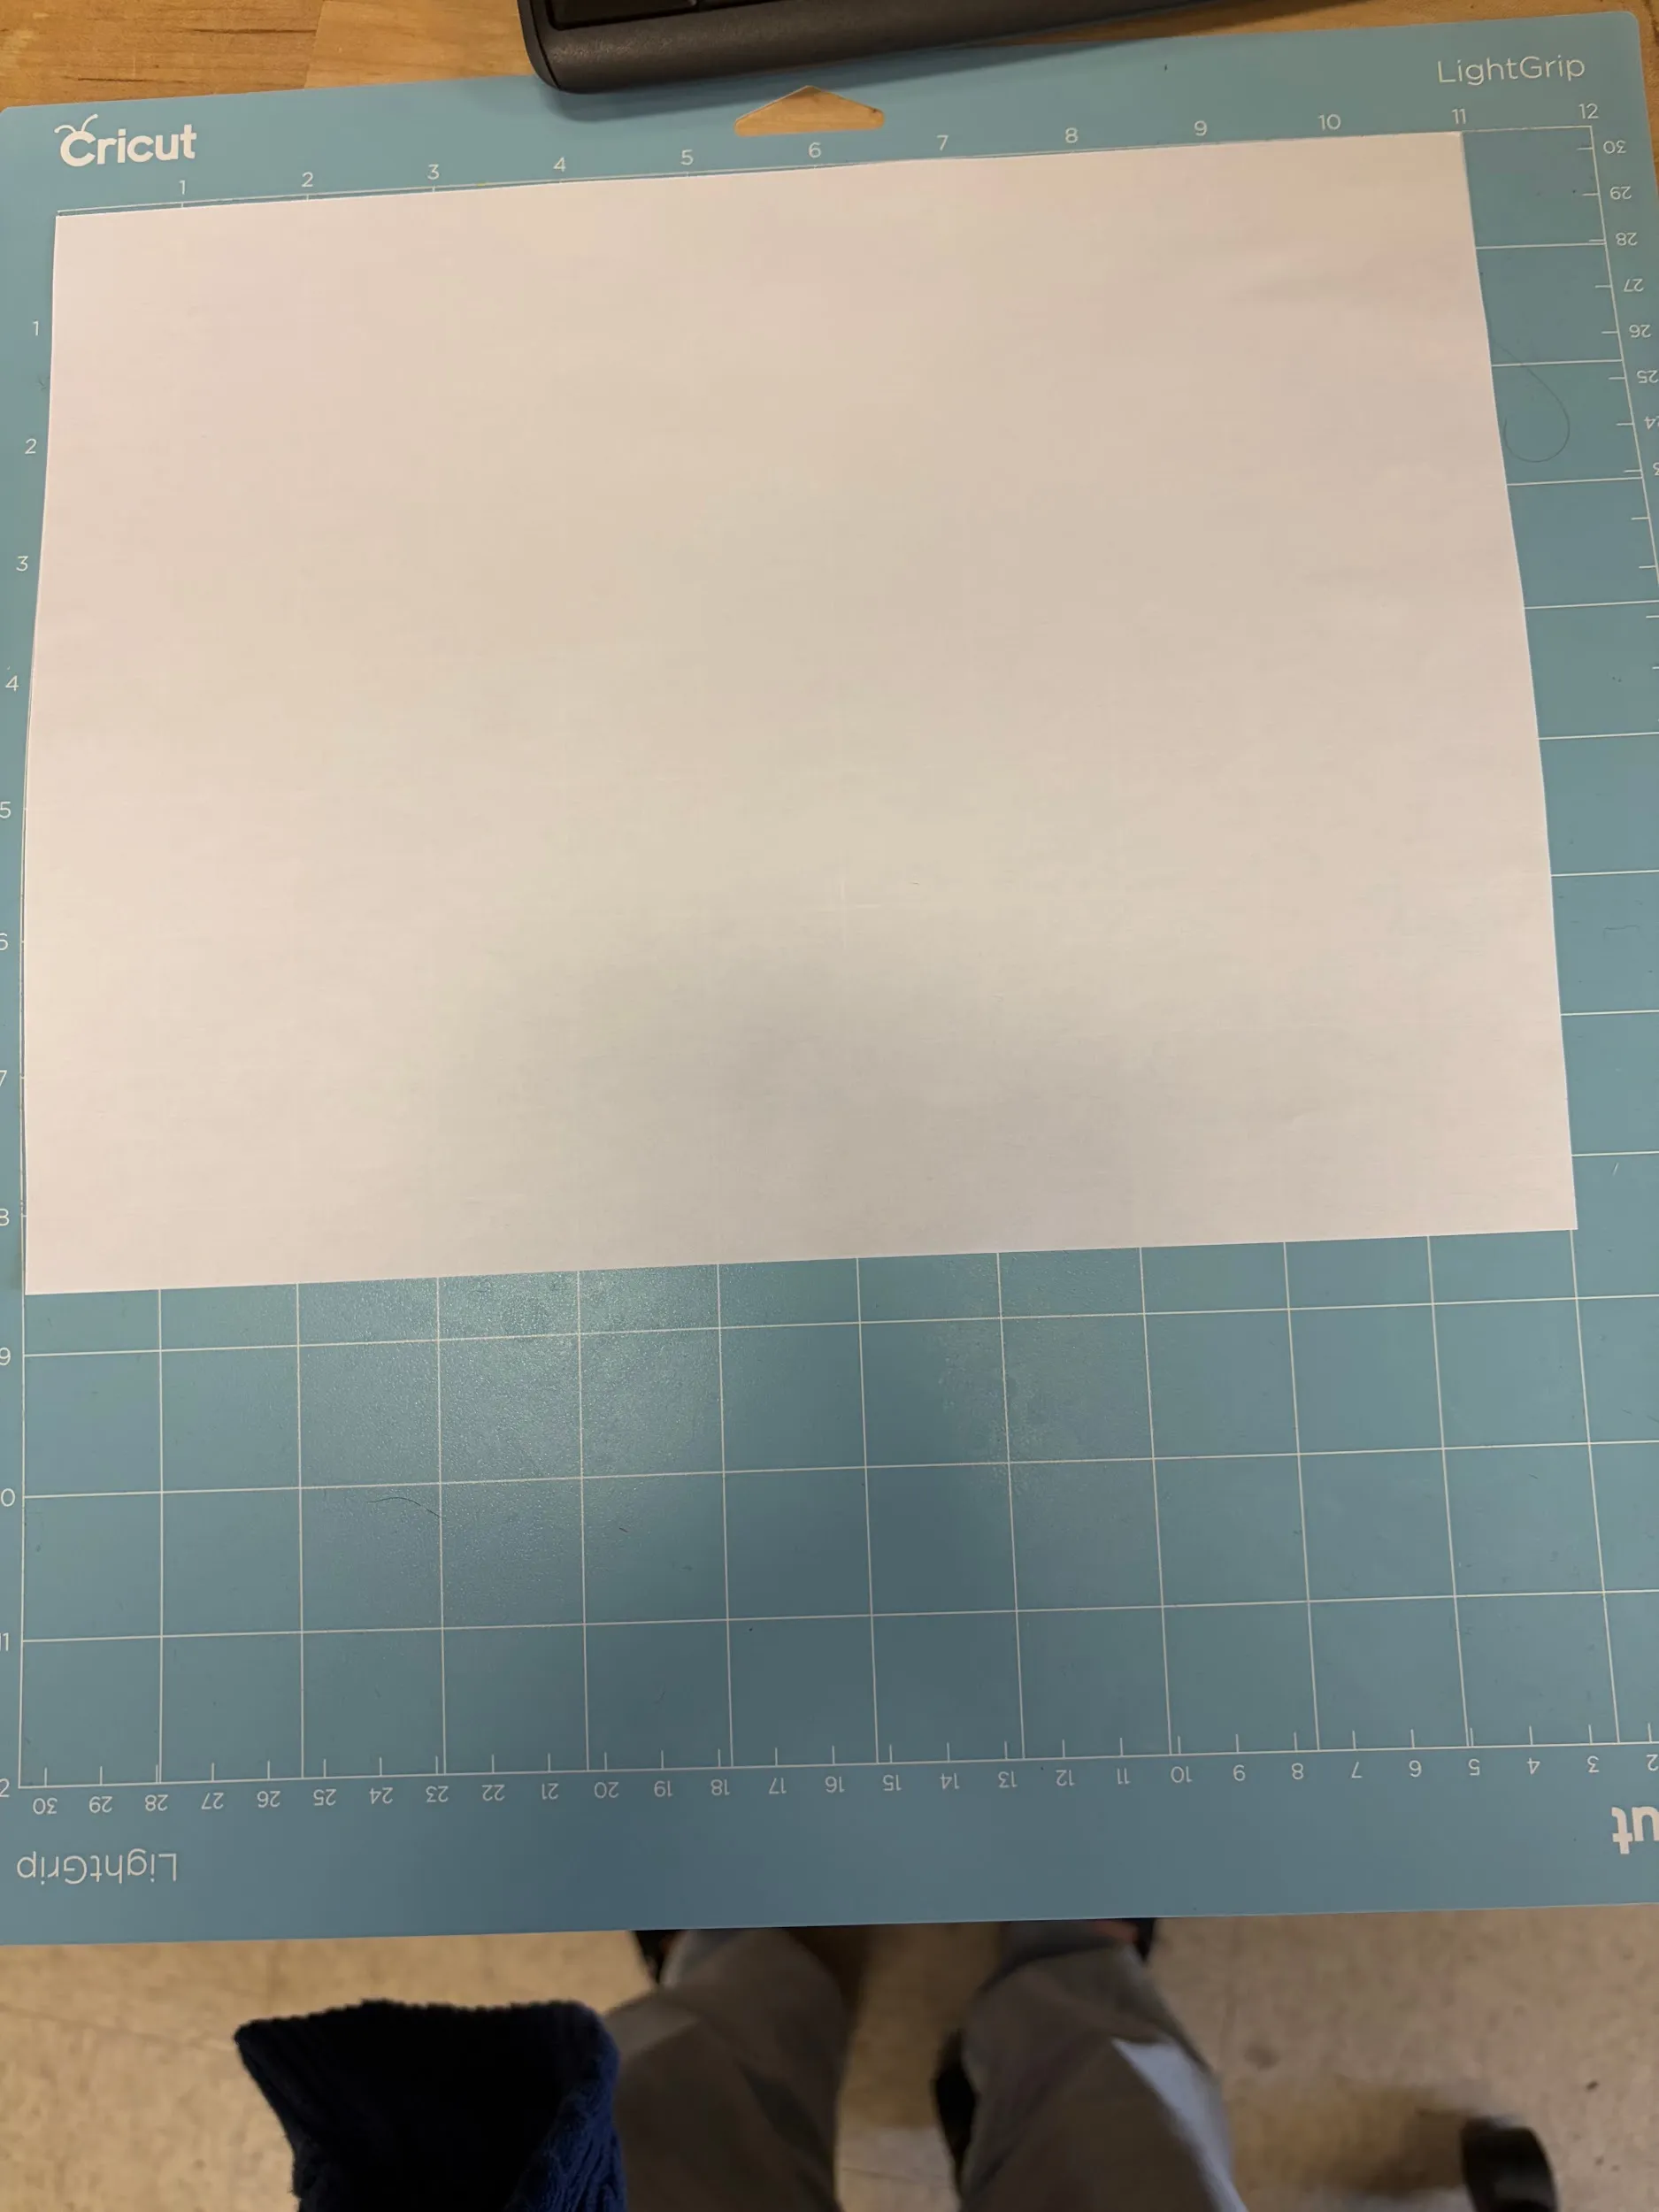
-
Press Go.
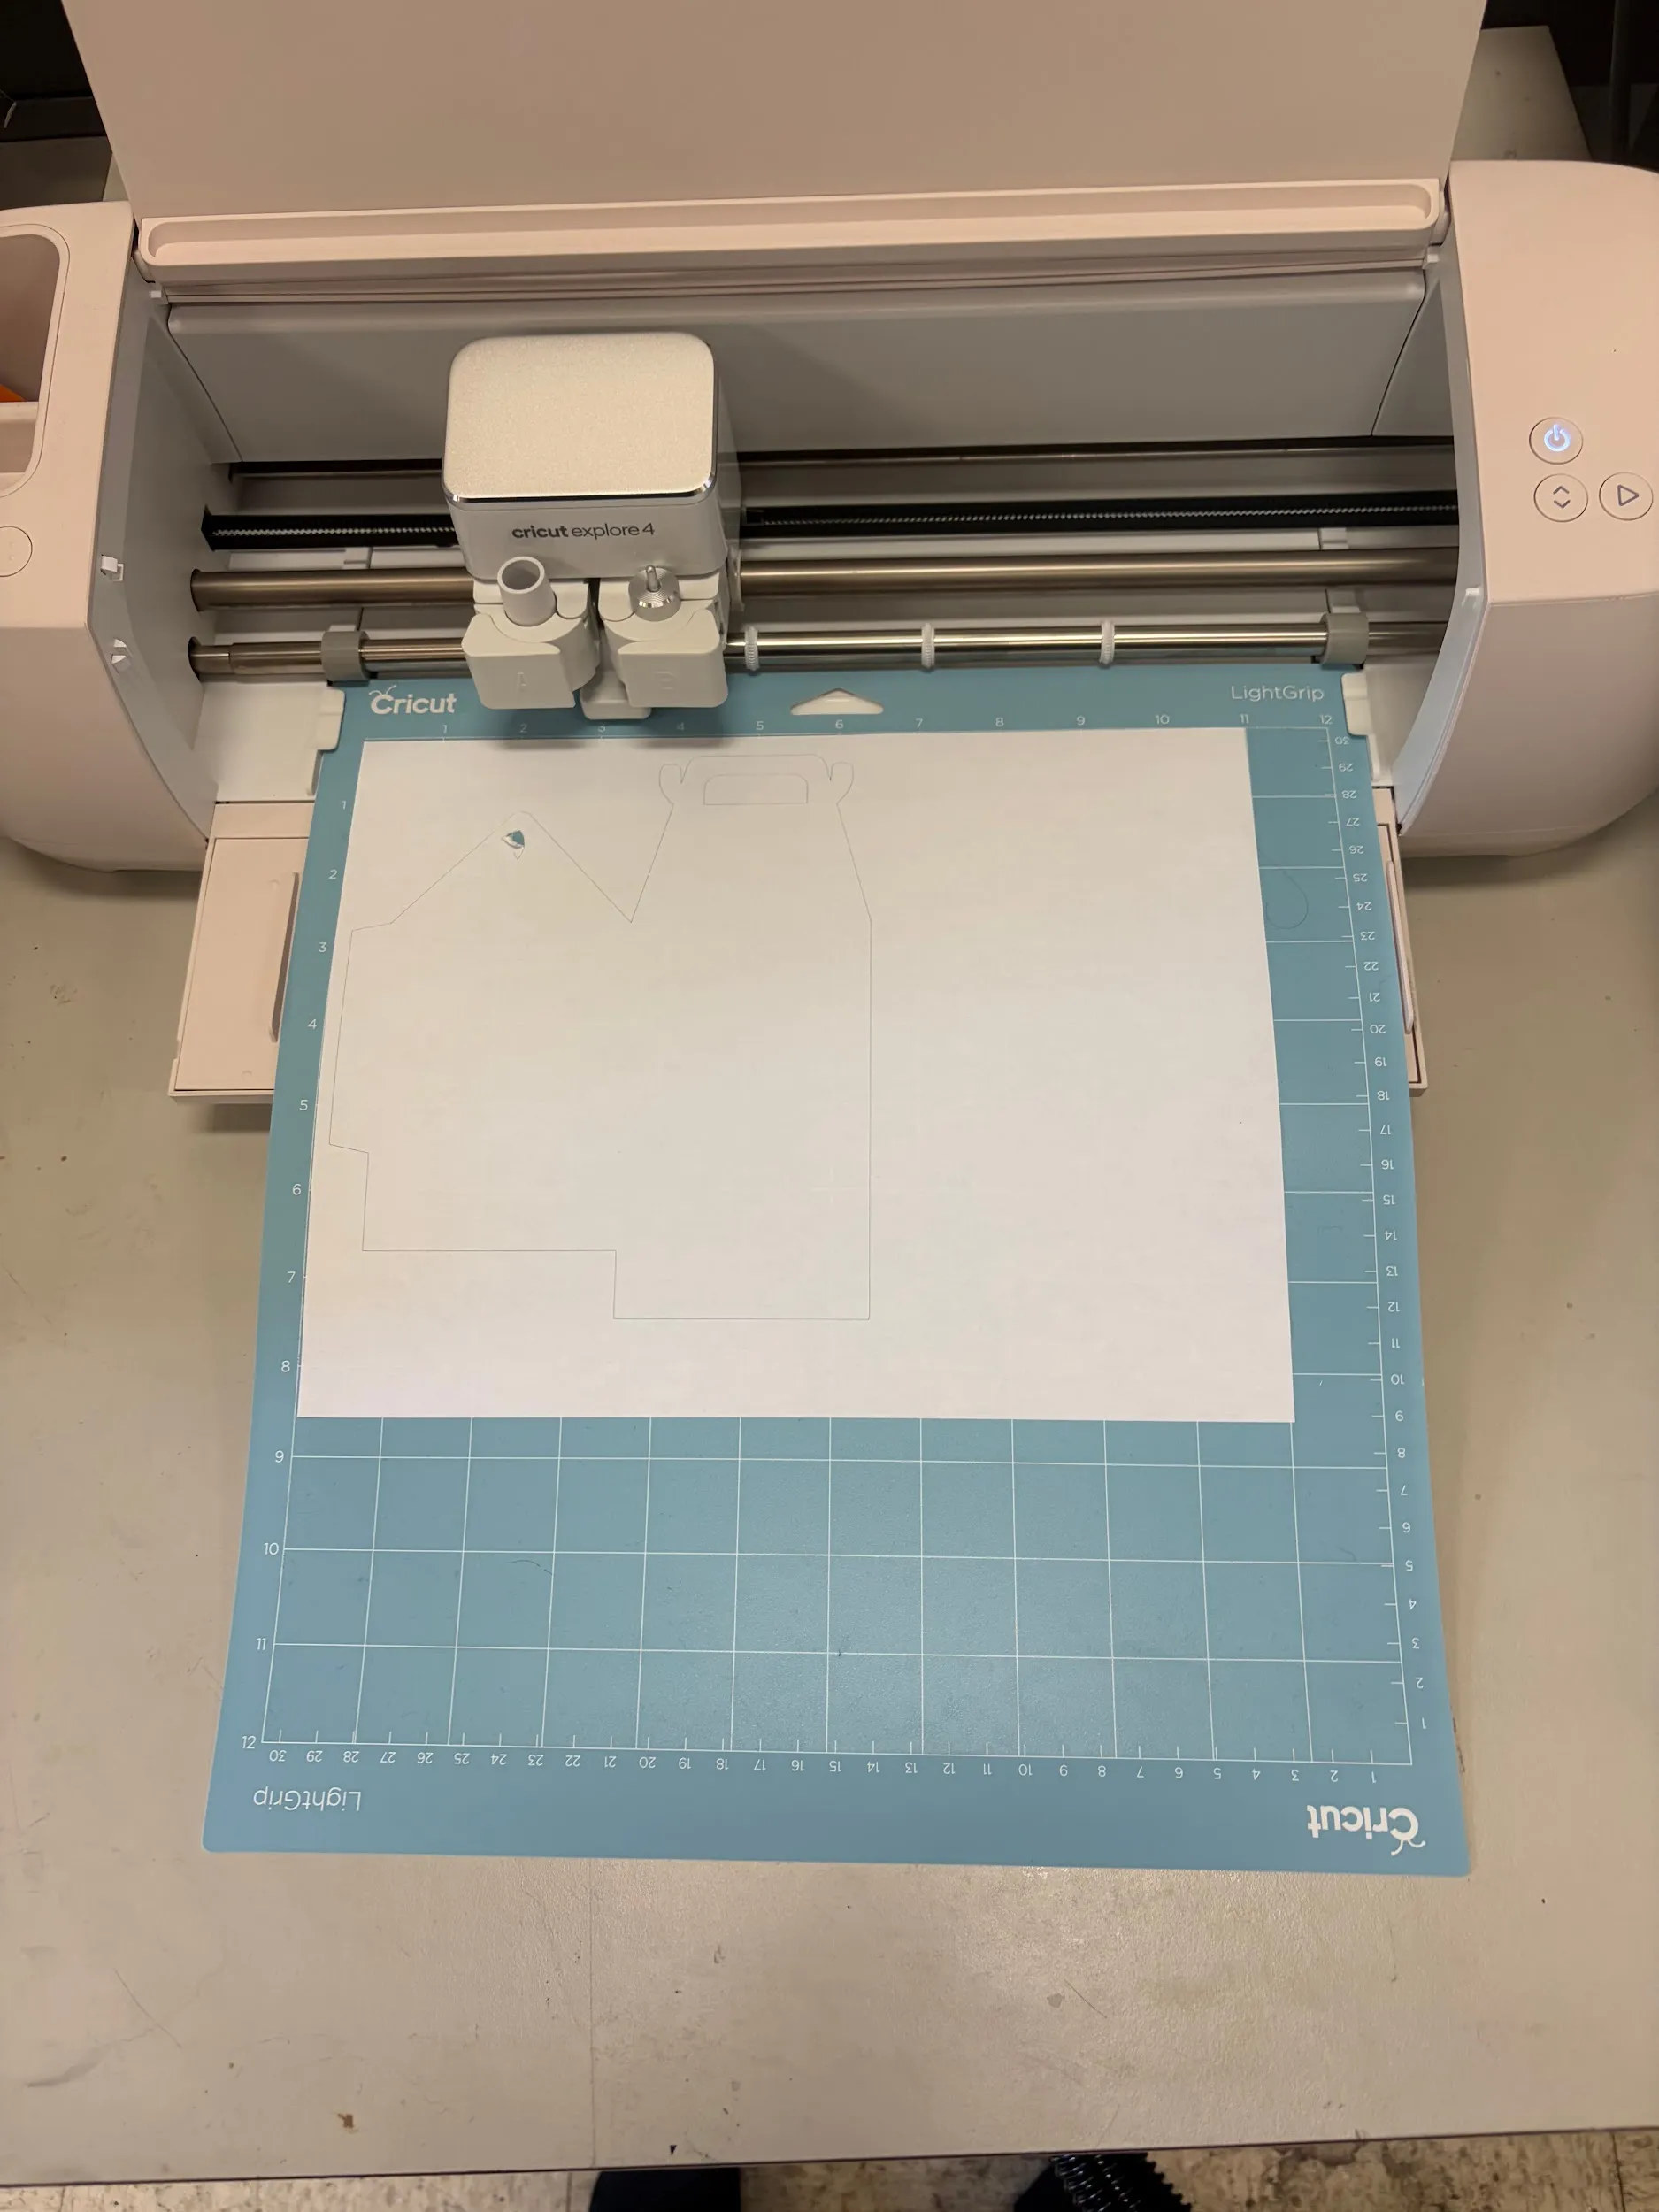
Cut this shape twice — you need two identical pieces to make one box.
5. Fold and assemble
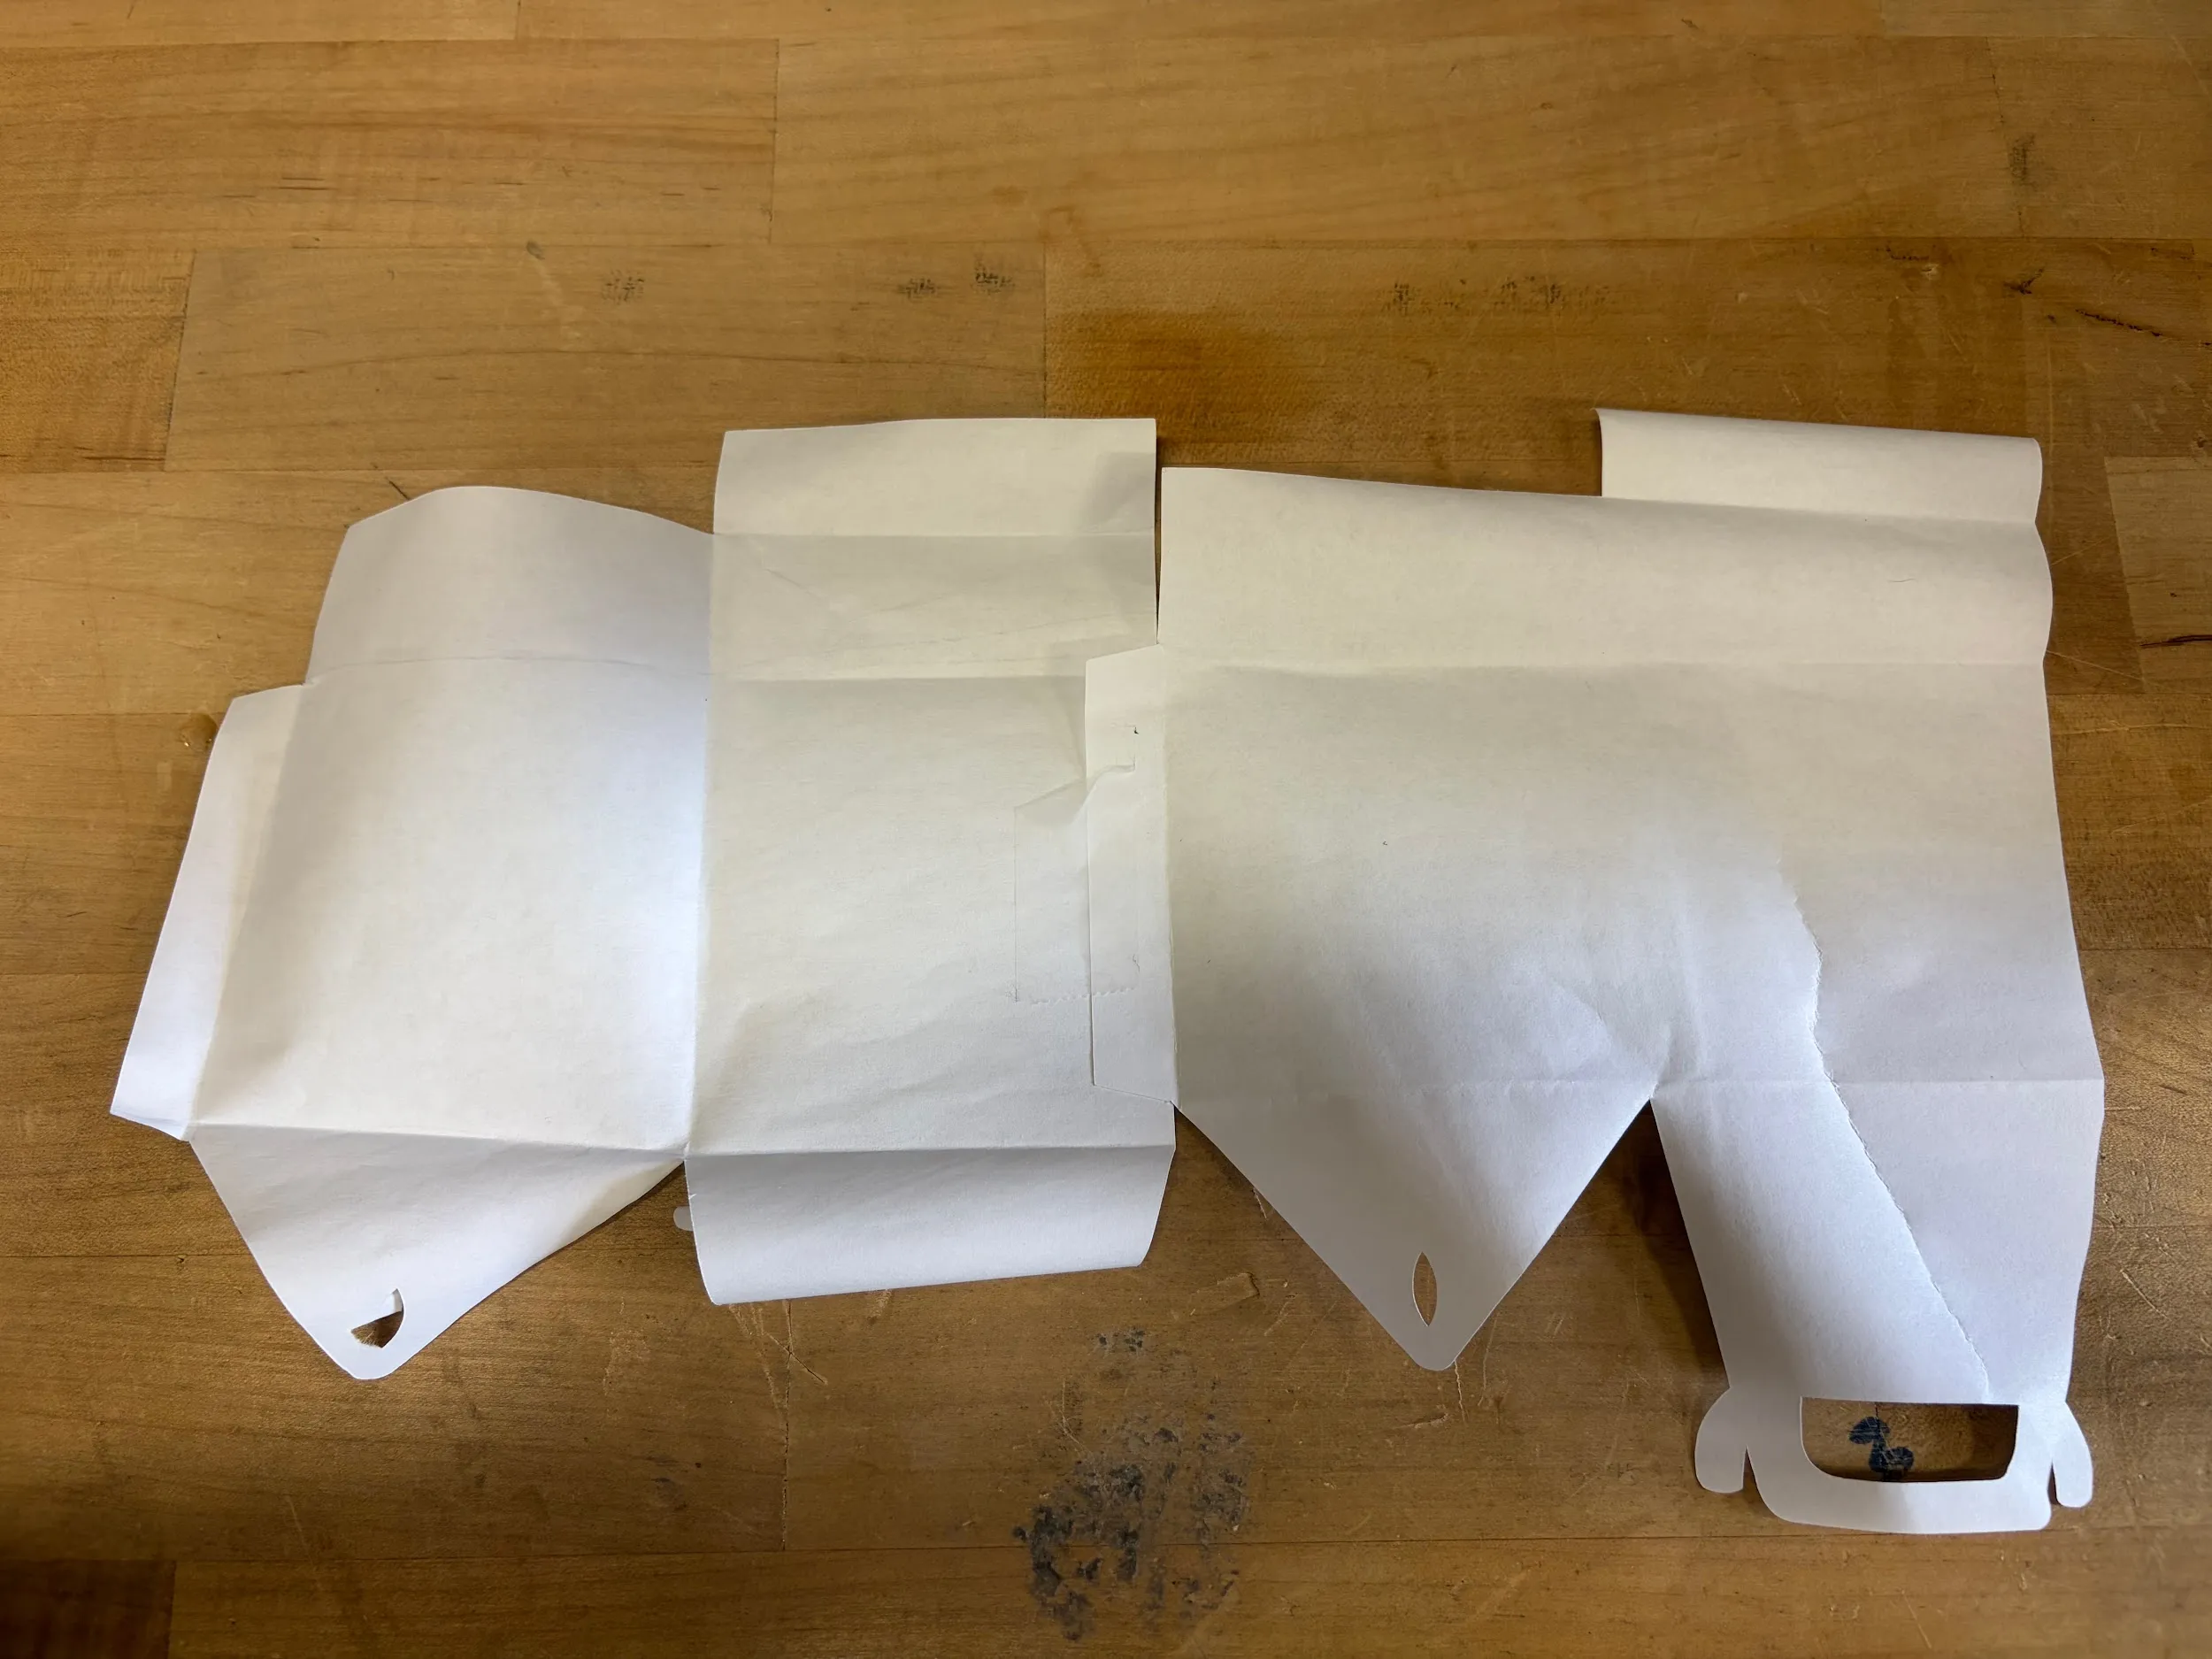
Section titled “5. Fold and assemble”Fold along the score lines on both pieces.
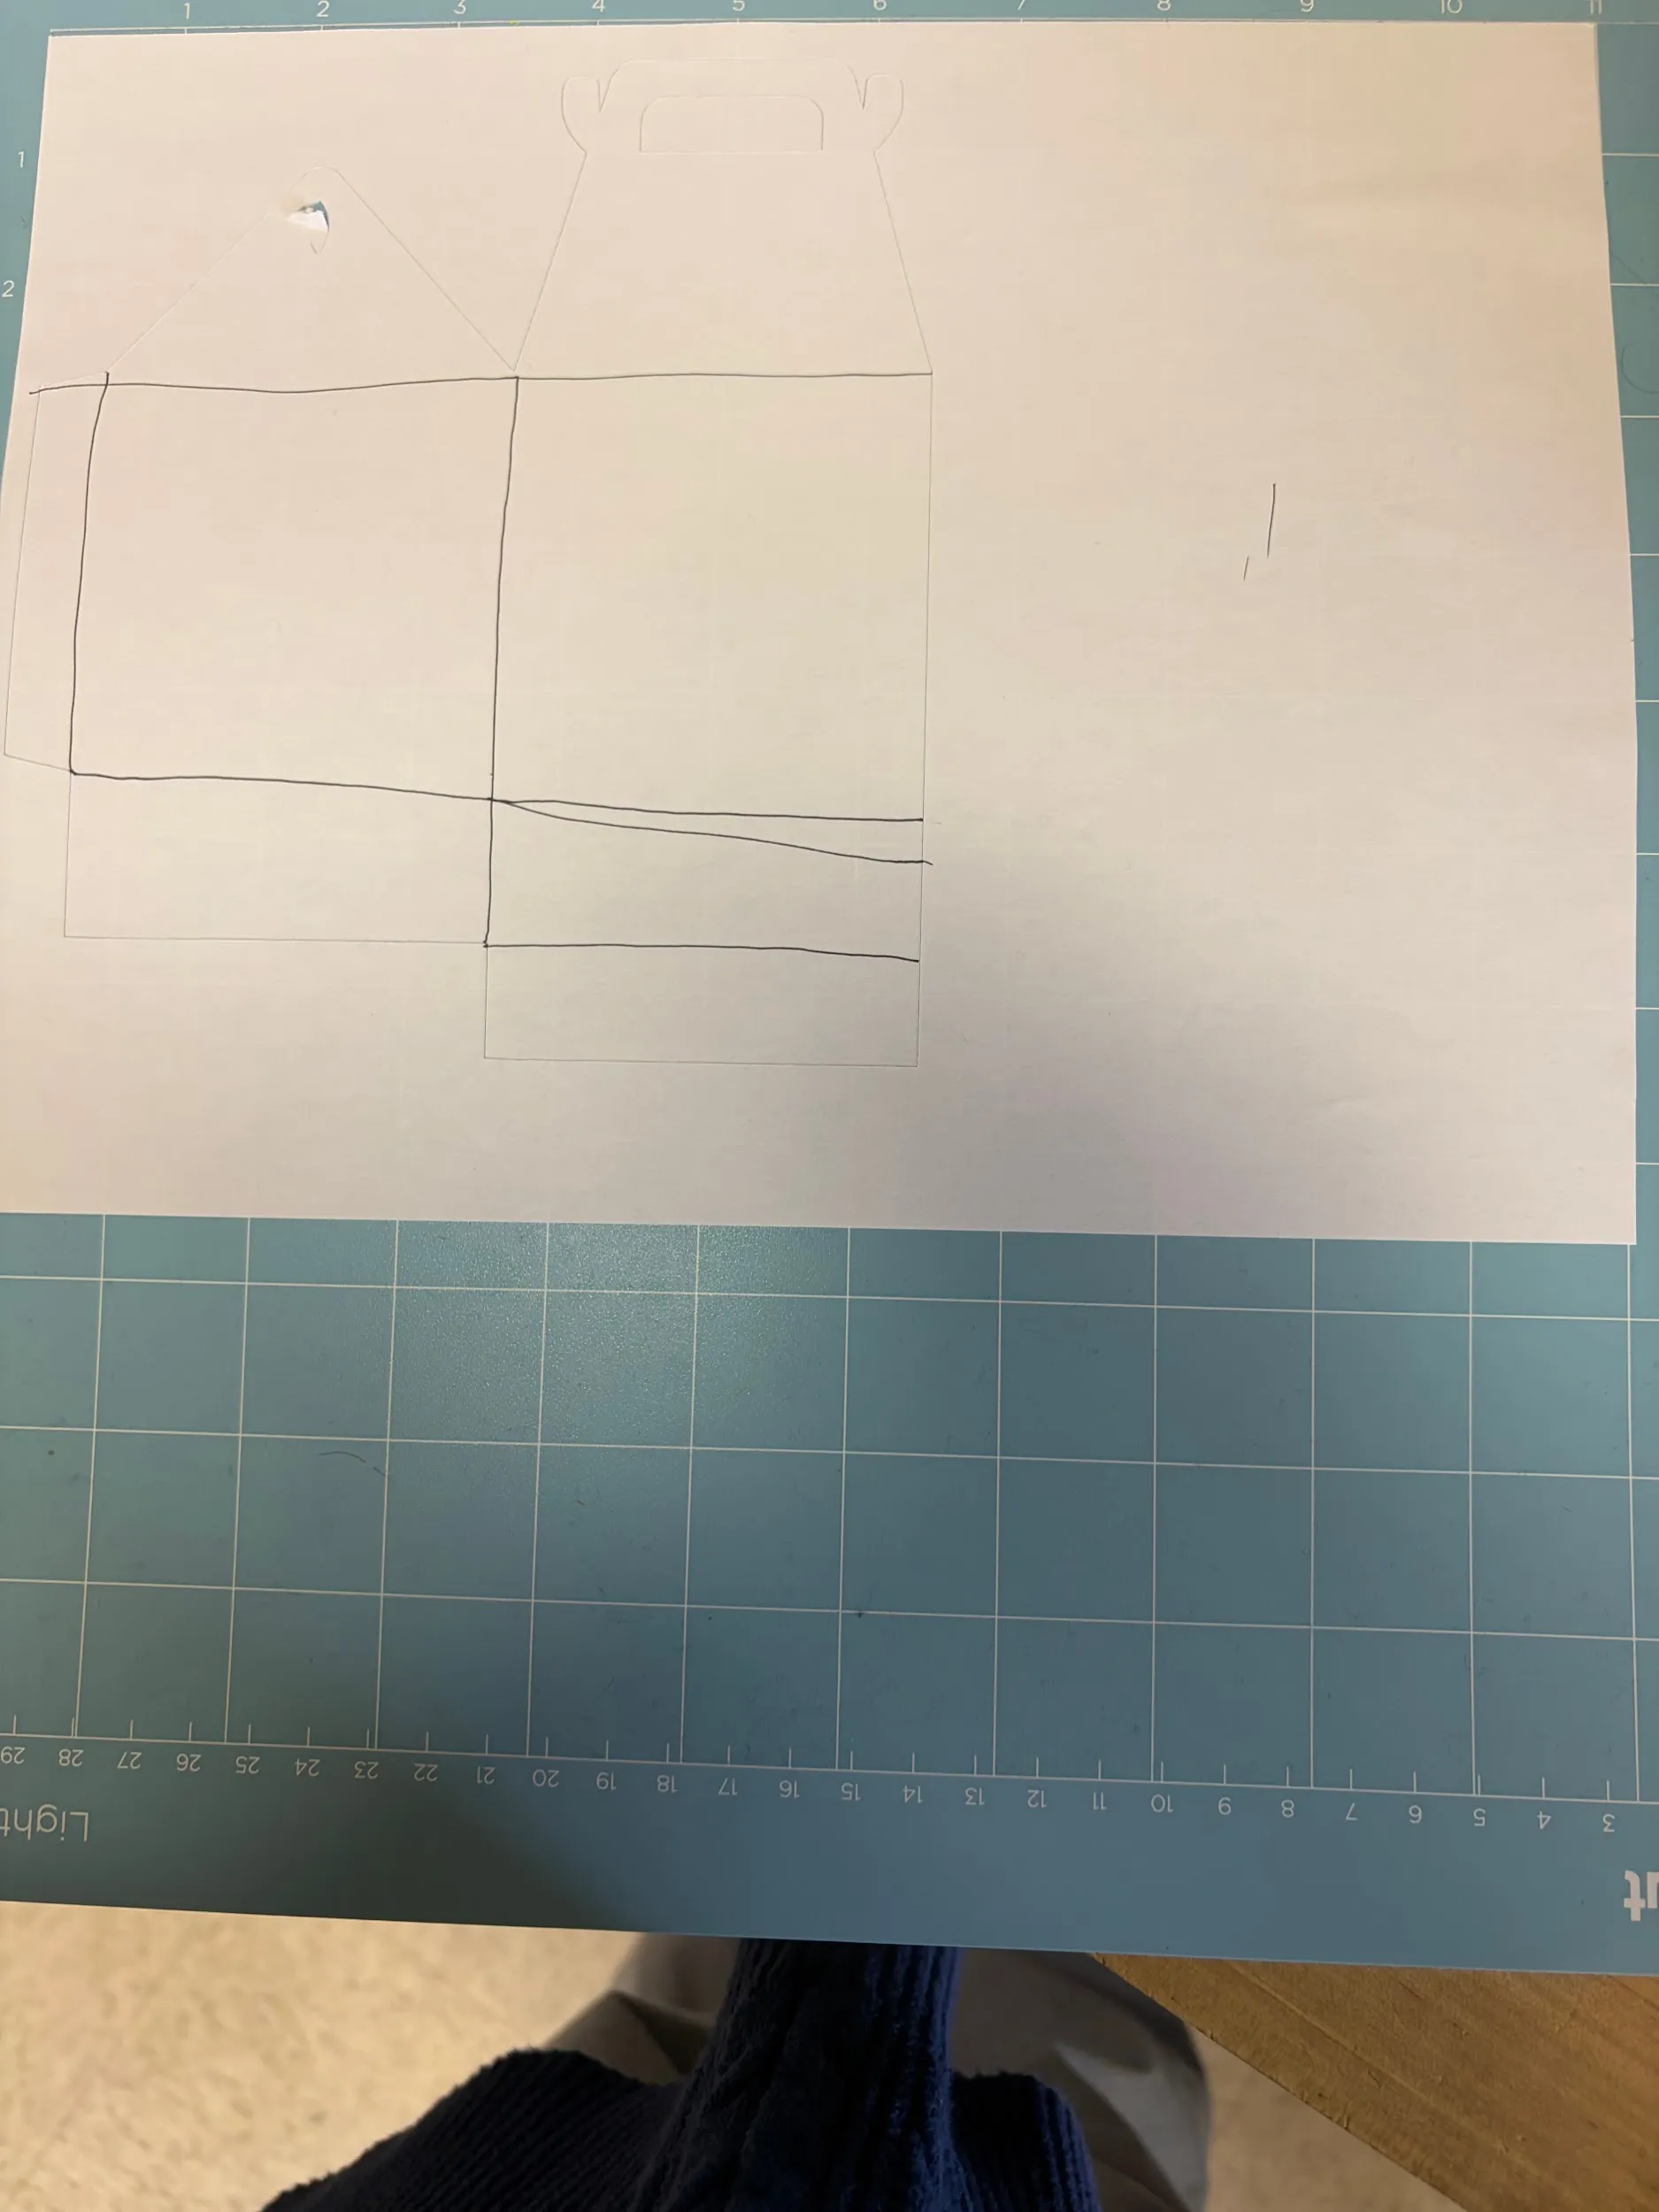
Lay the two pieces side by side:
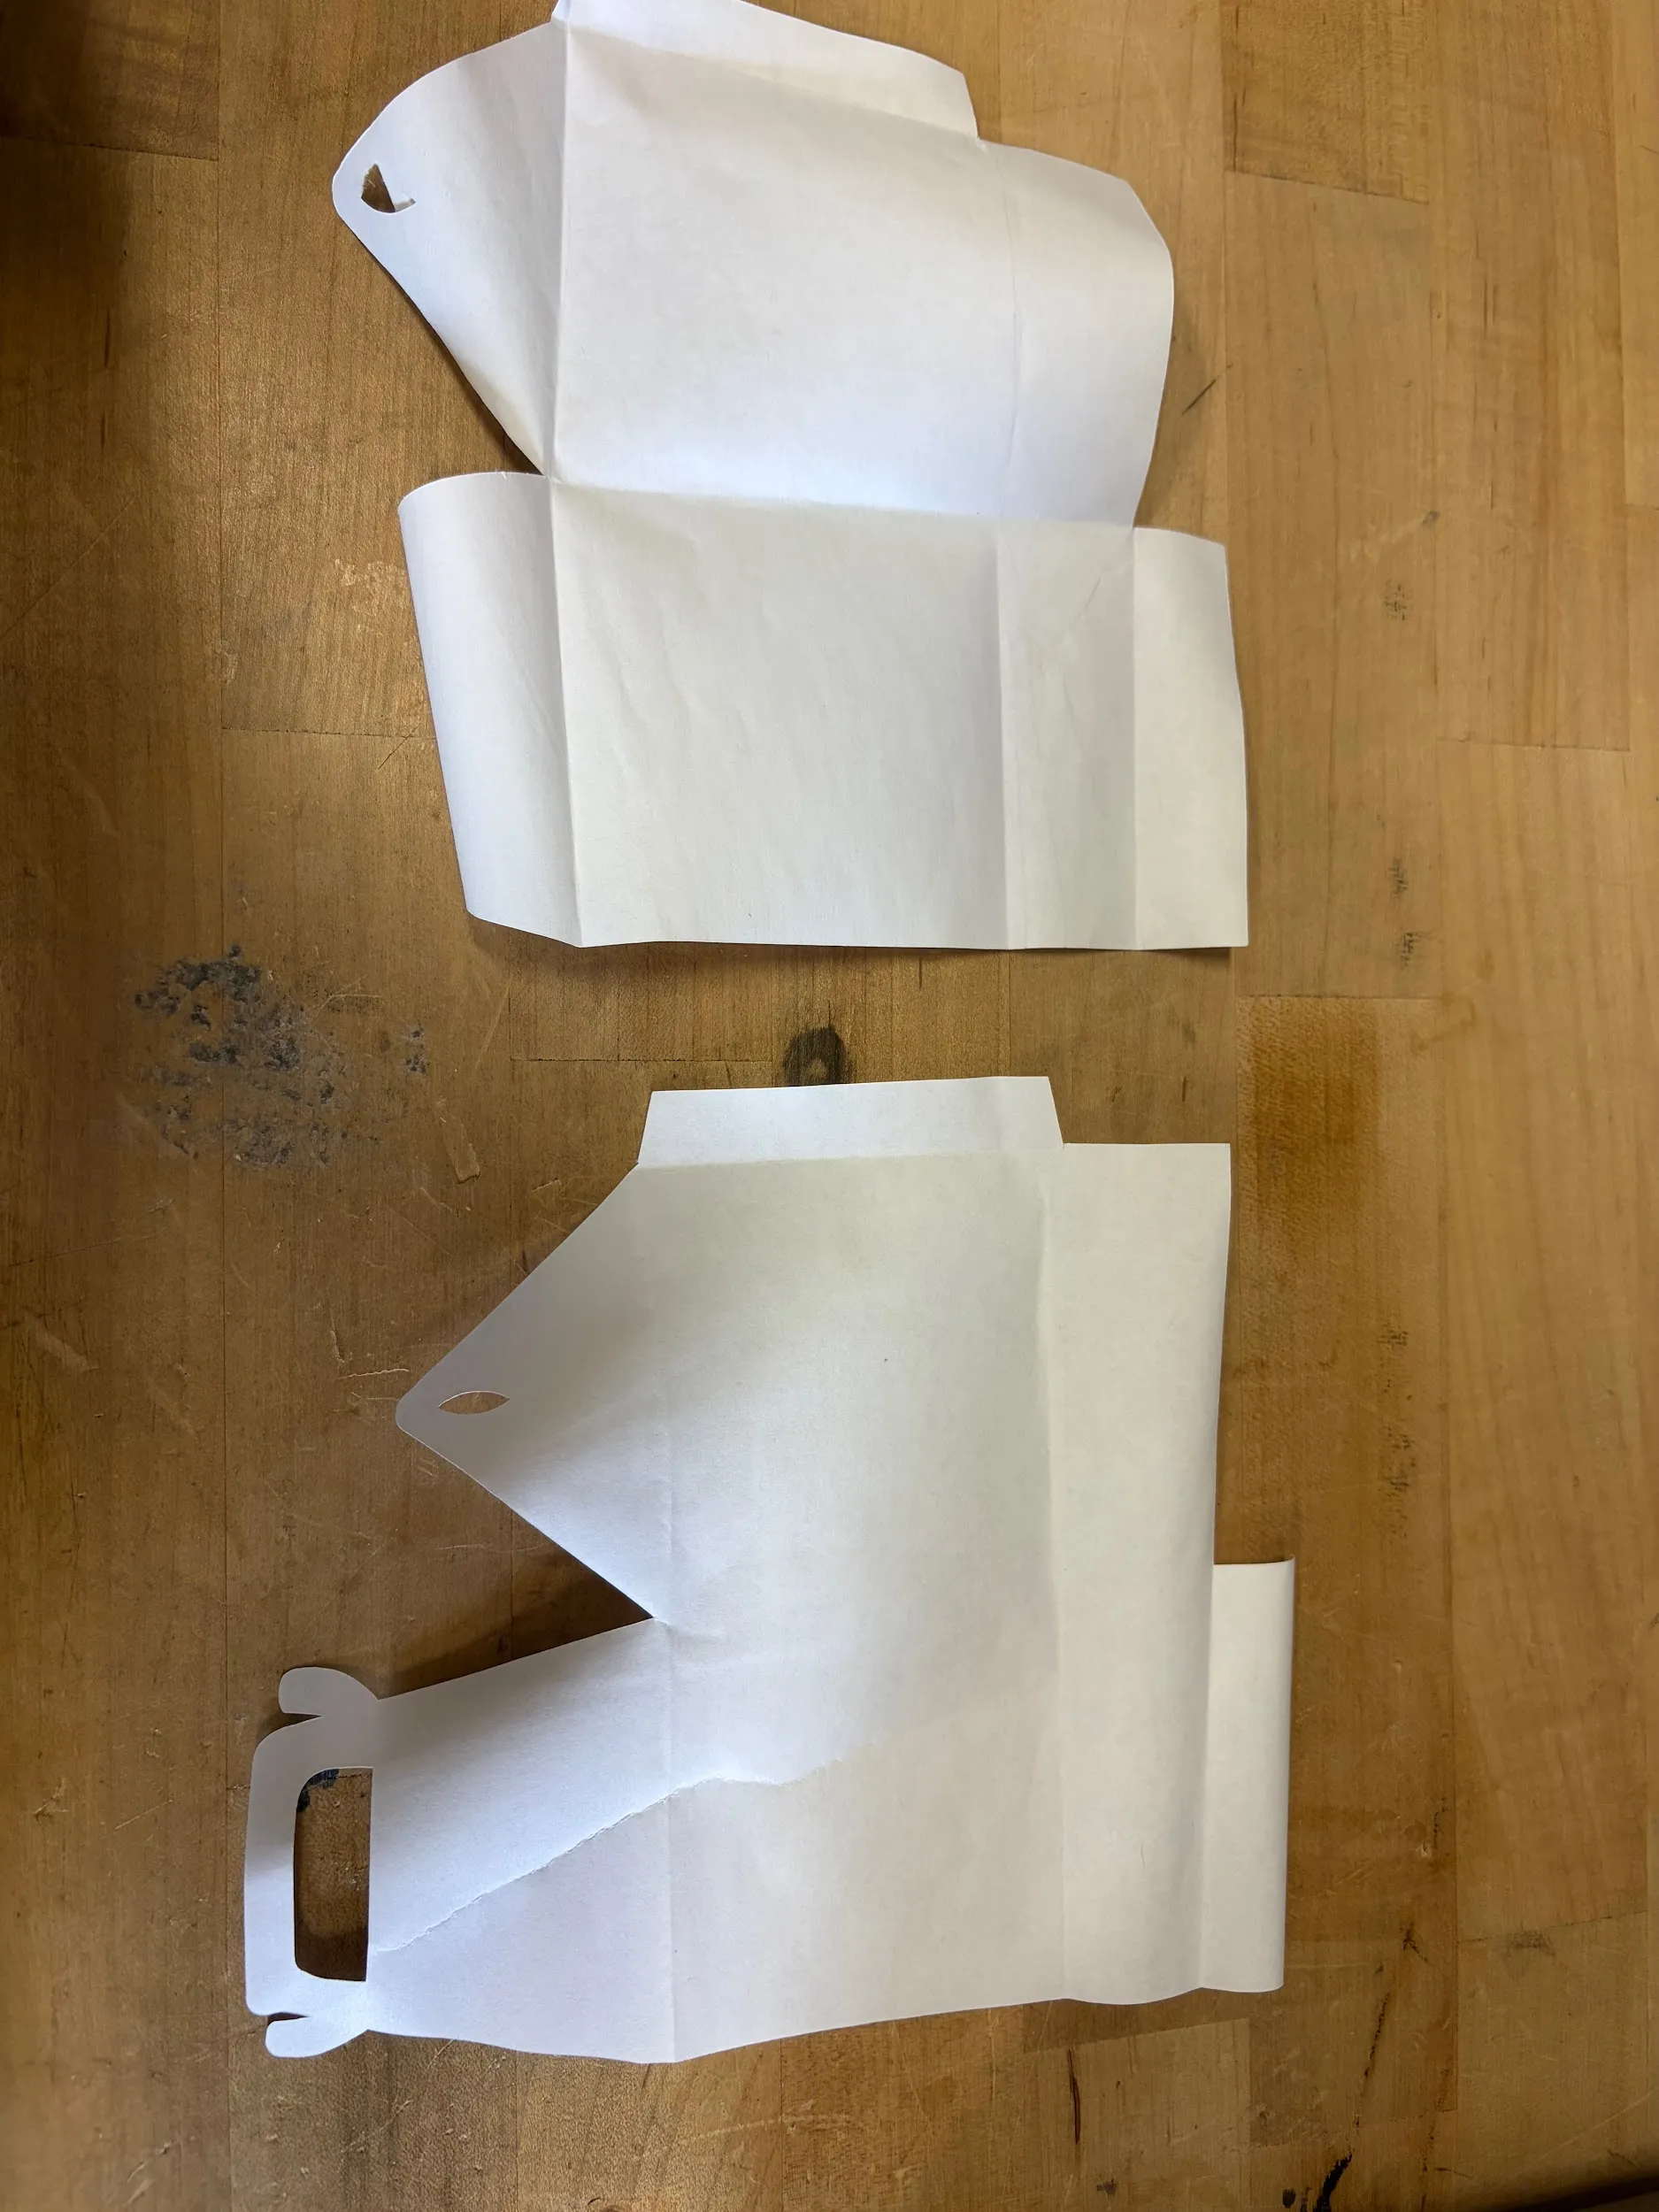
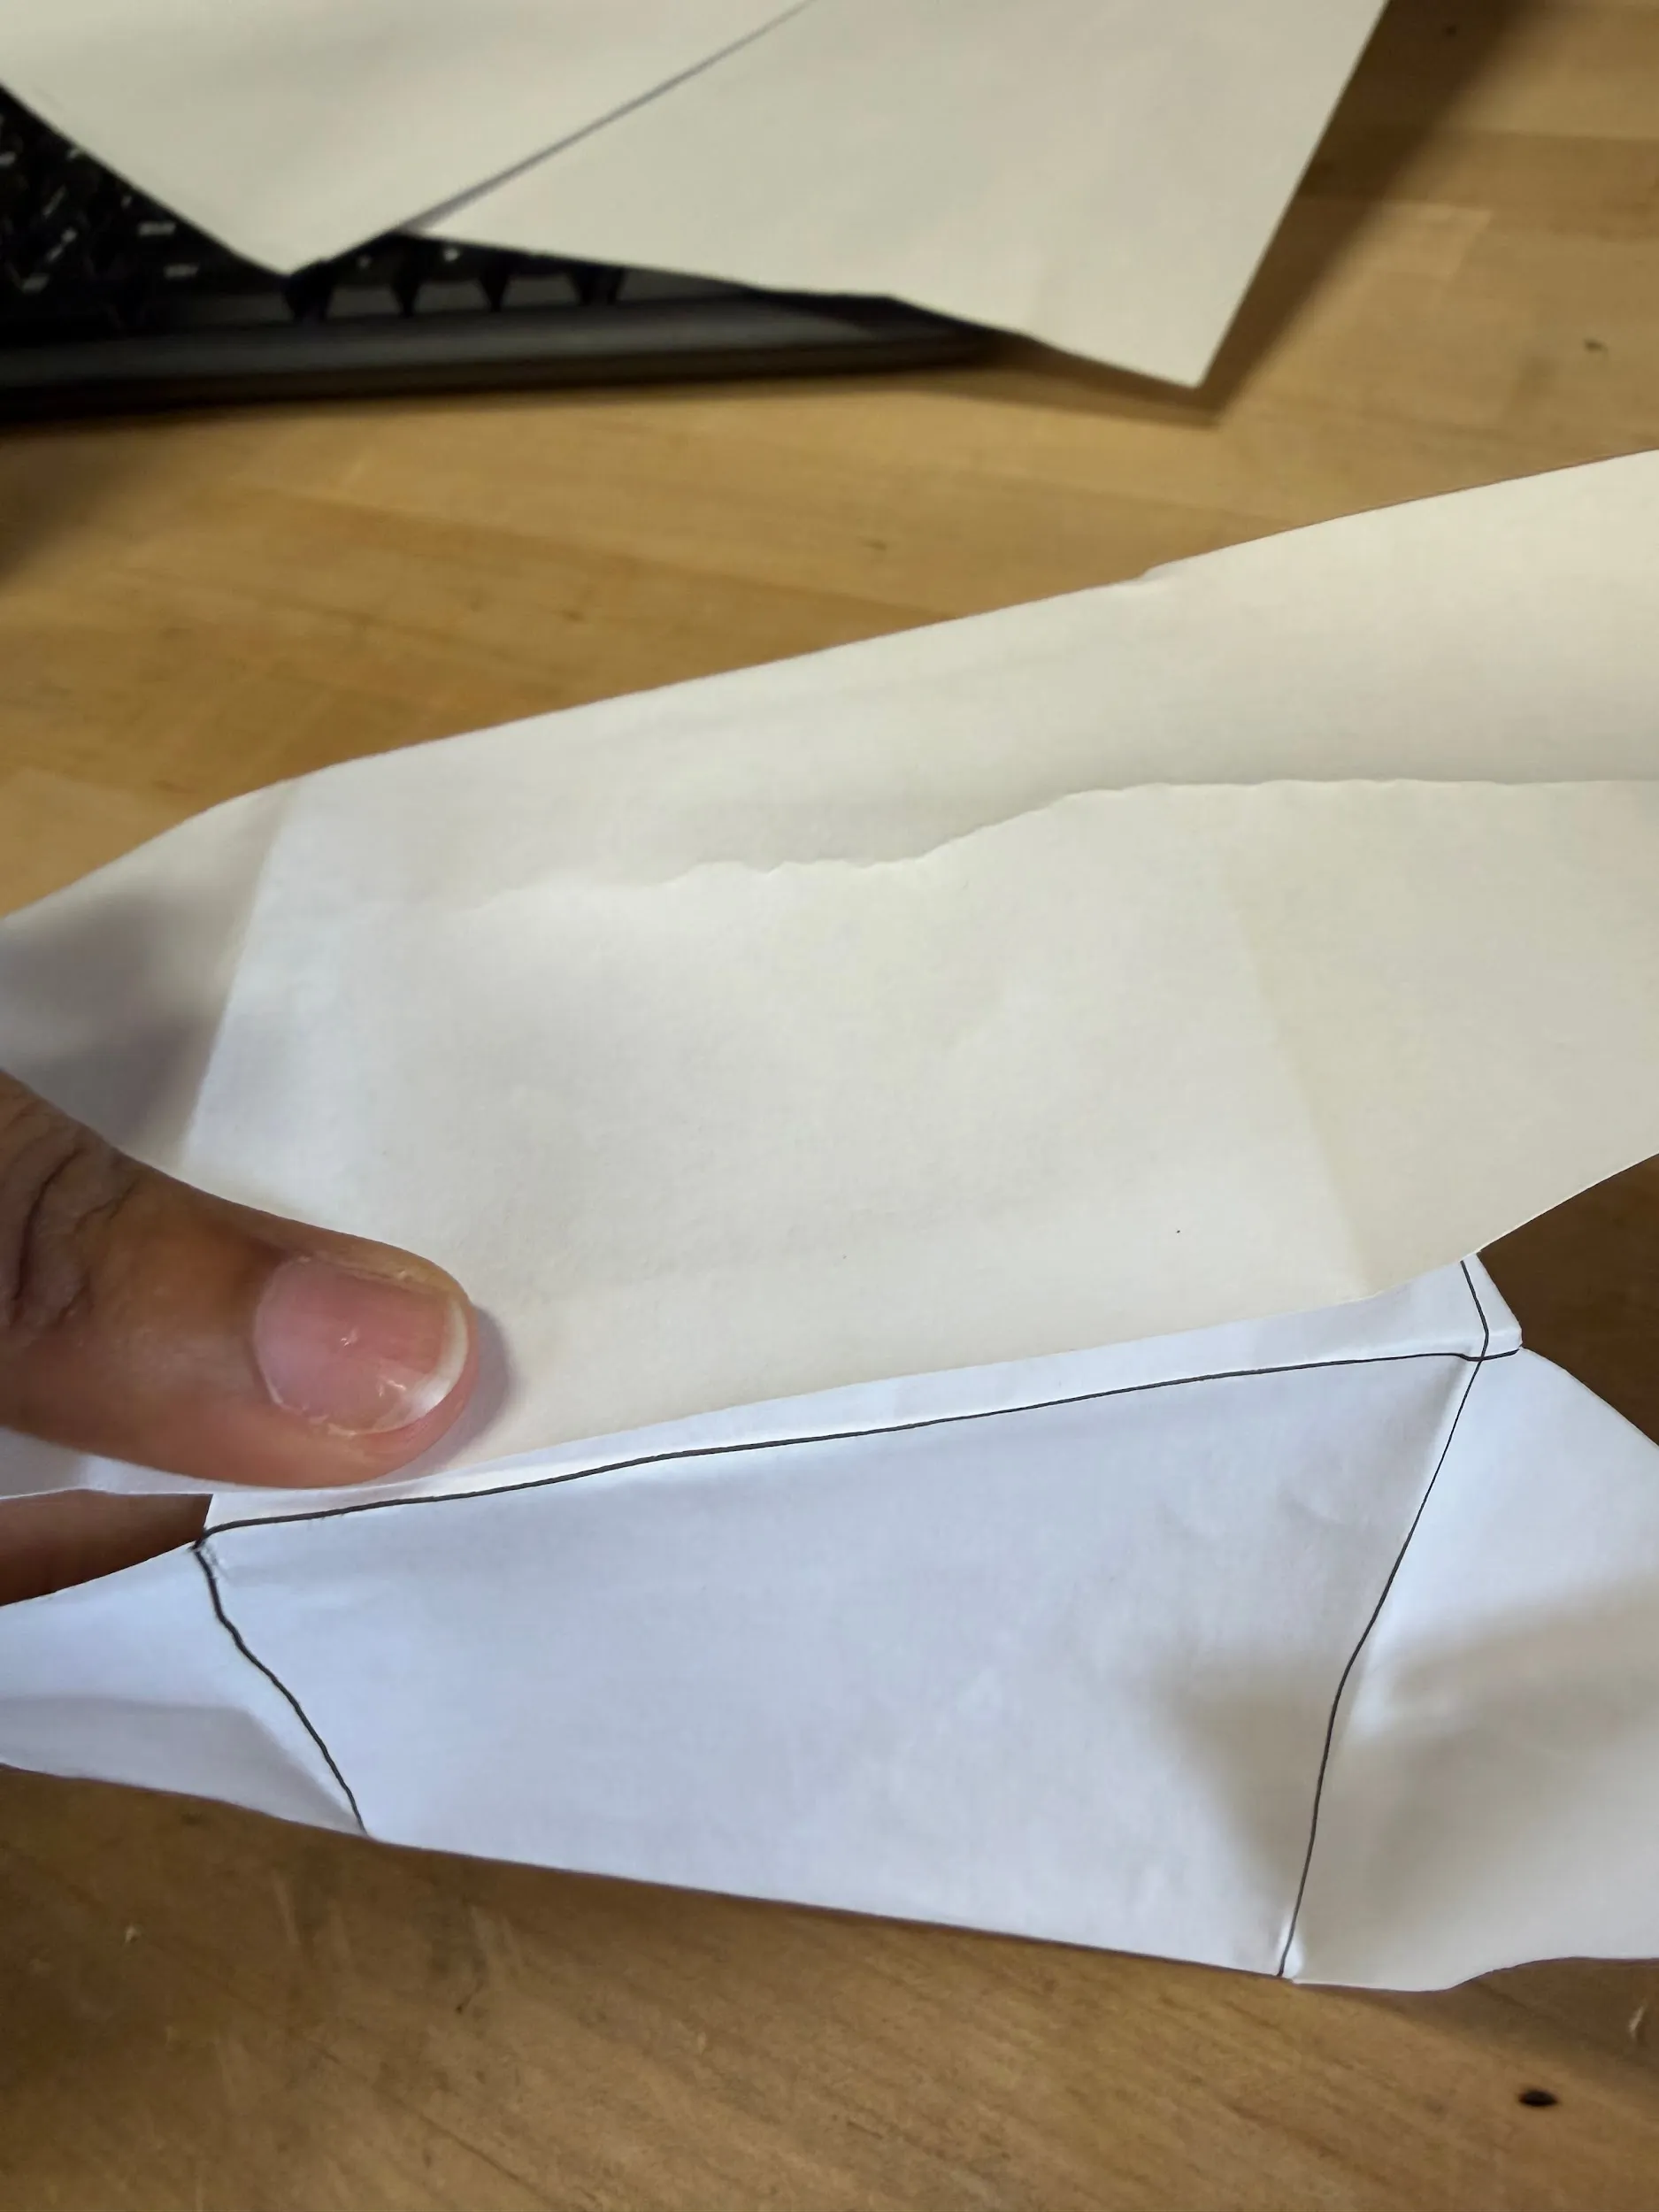
Tape the inner tab of the right-hand piece to the body of the left-hand piece:
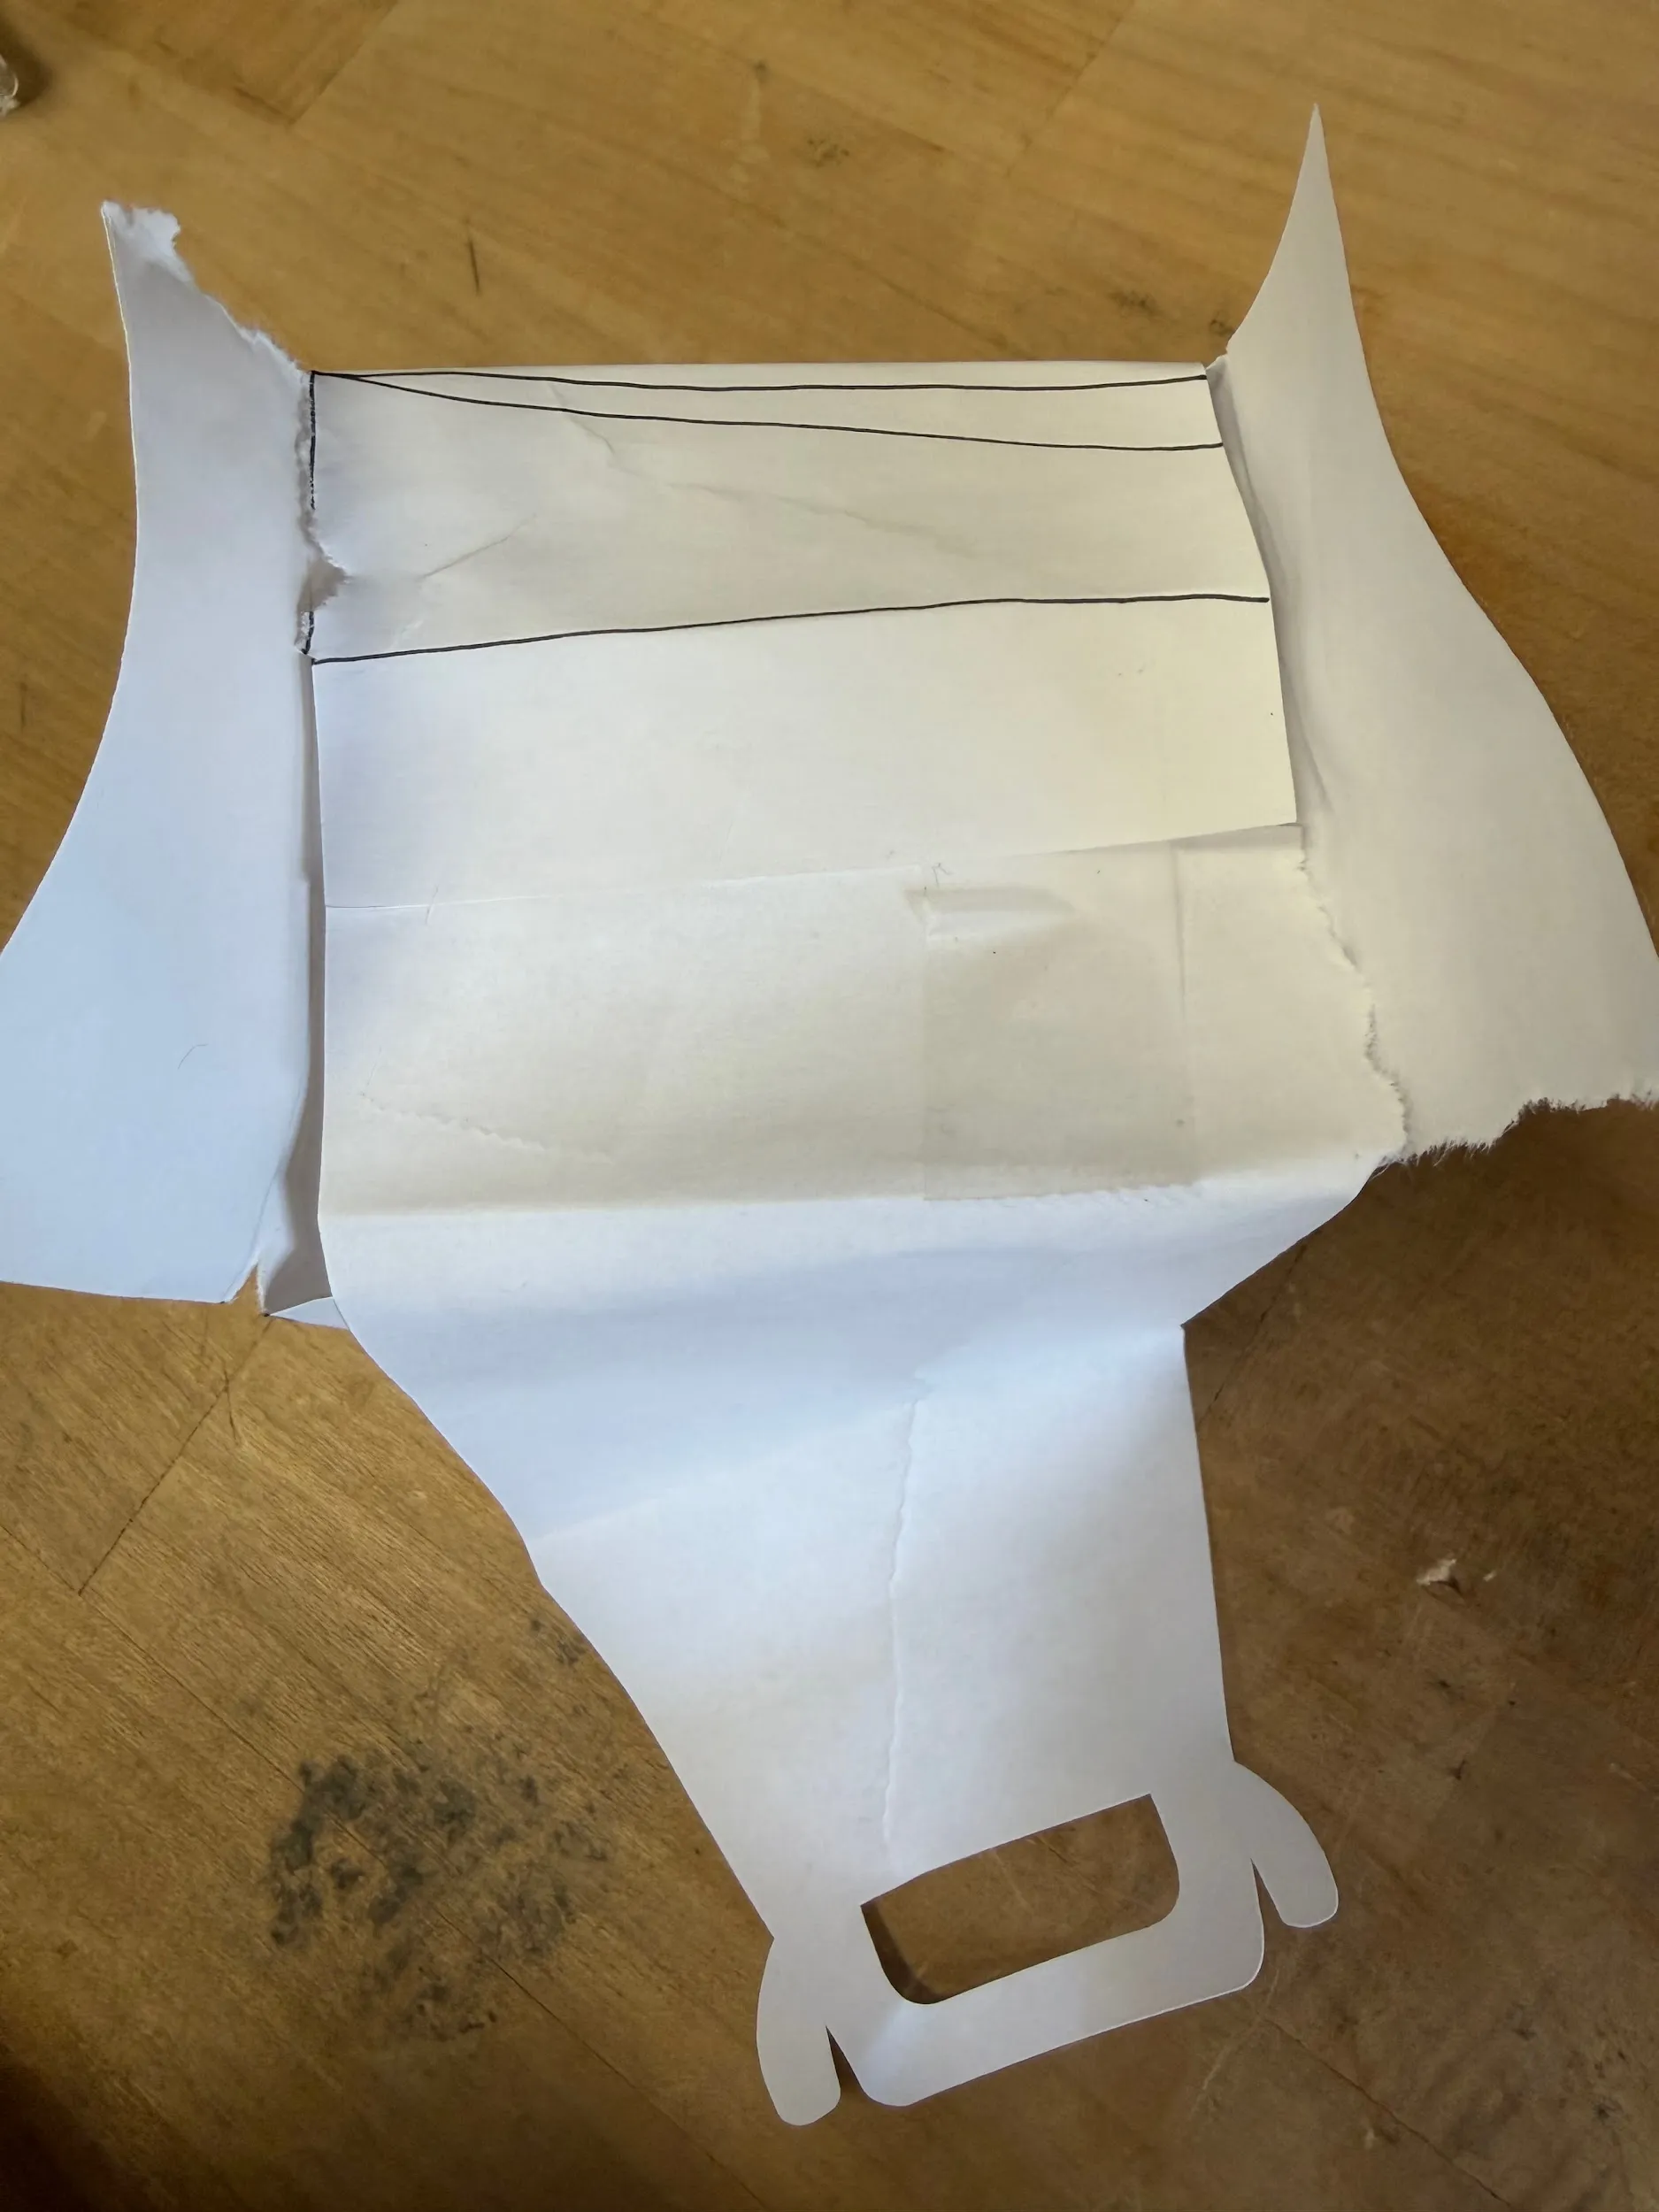
The tab on the outside left wraps around and tapes to the body of the right-hand piece:
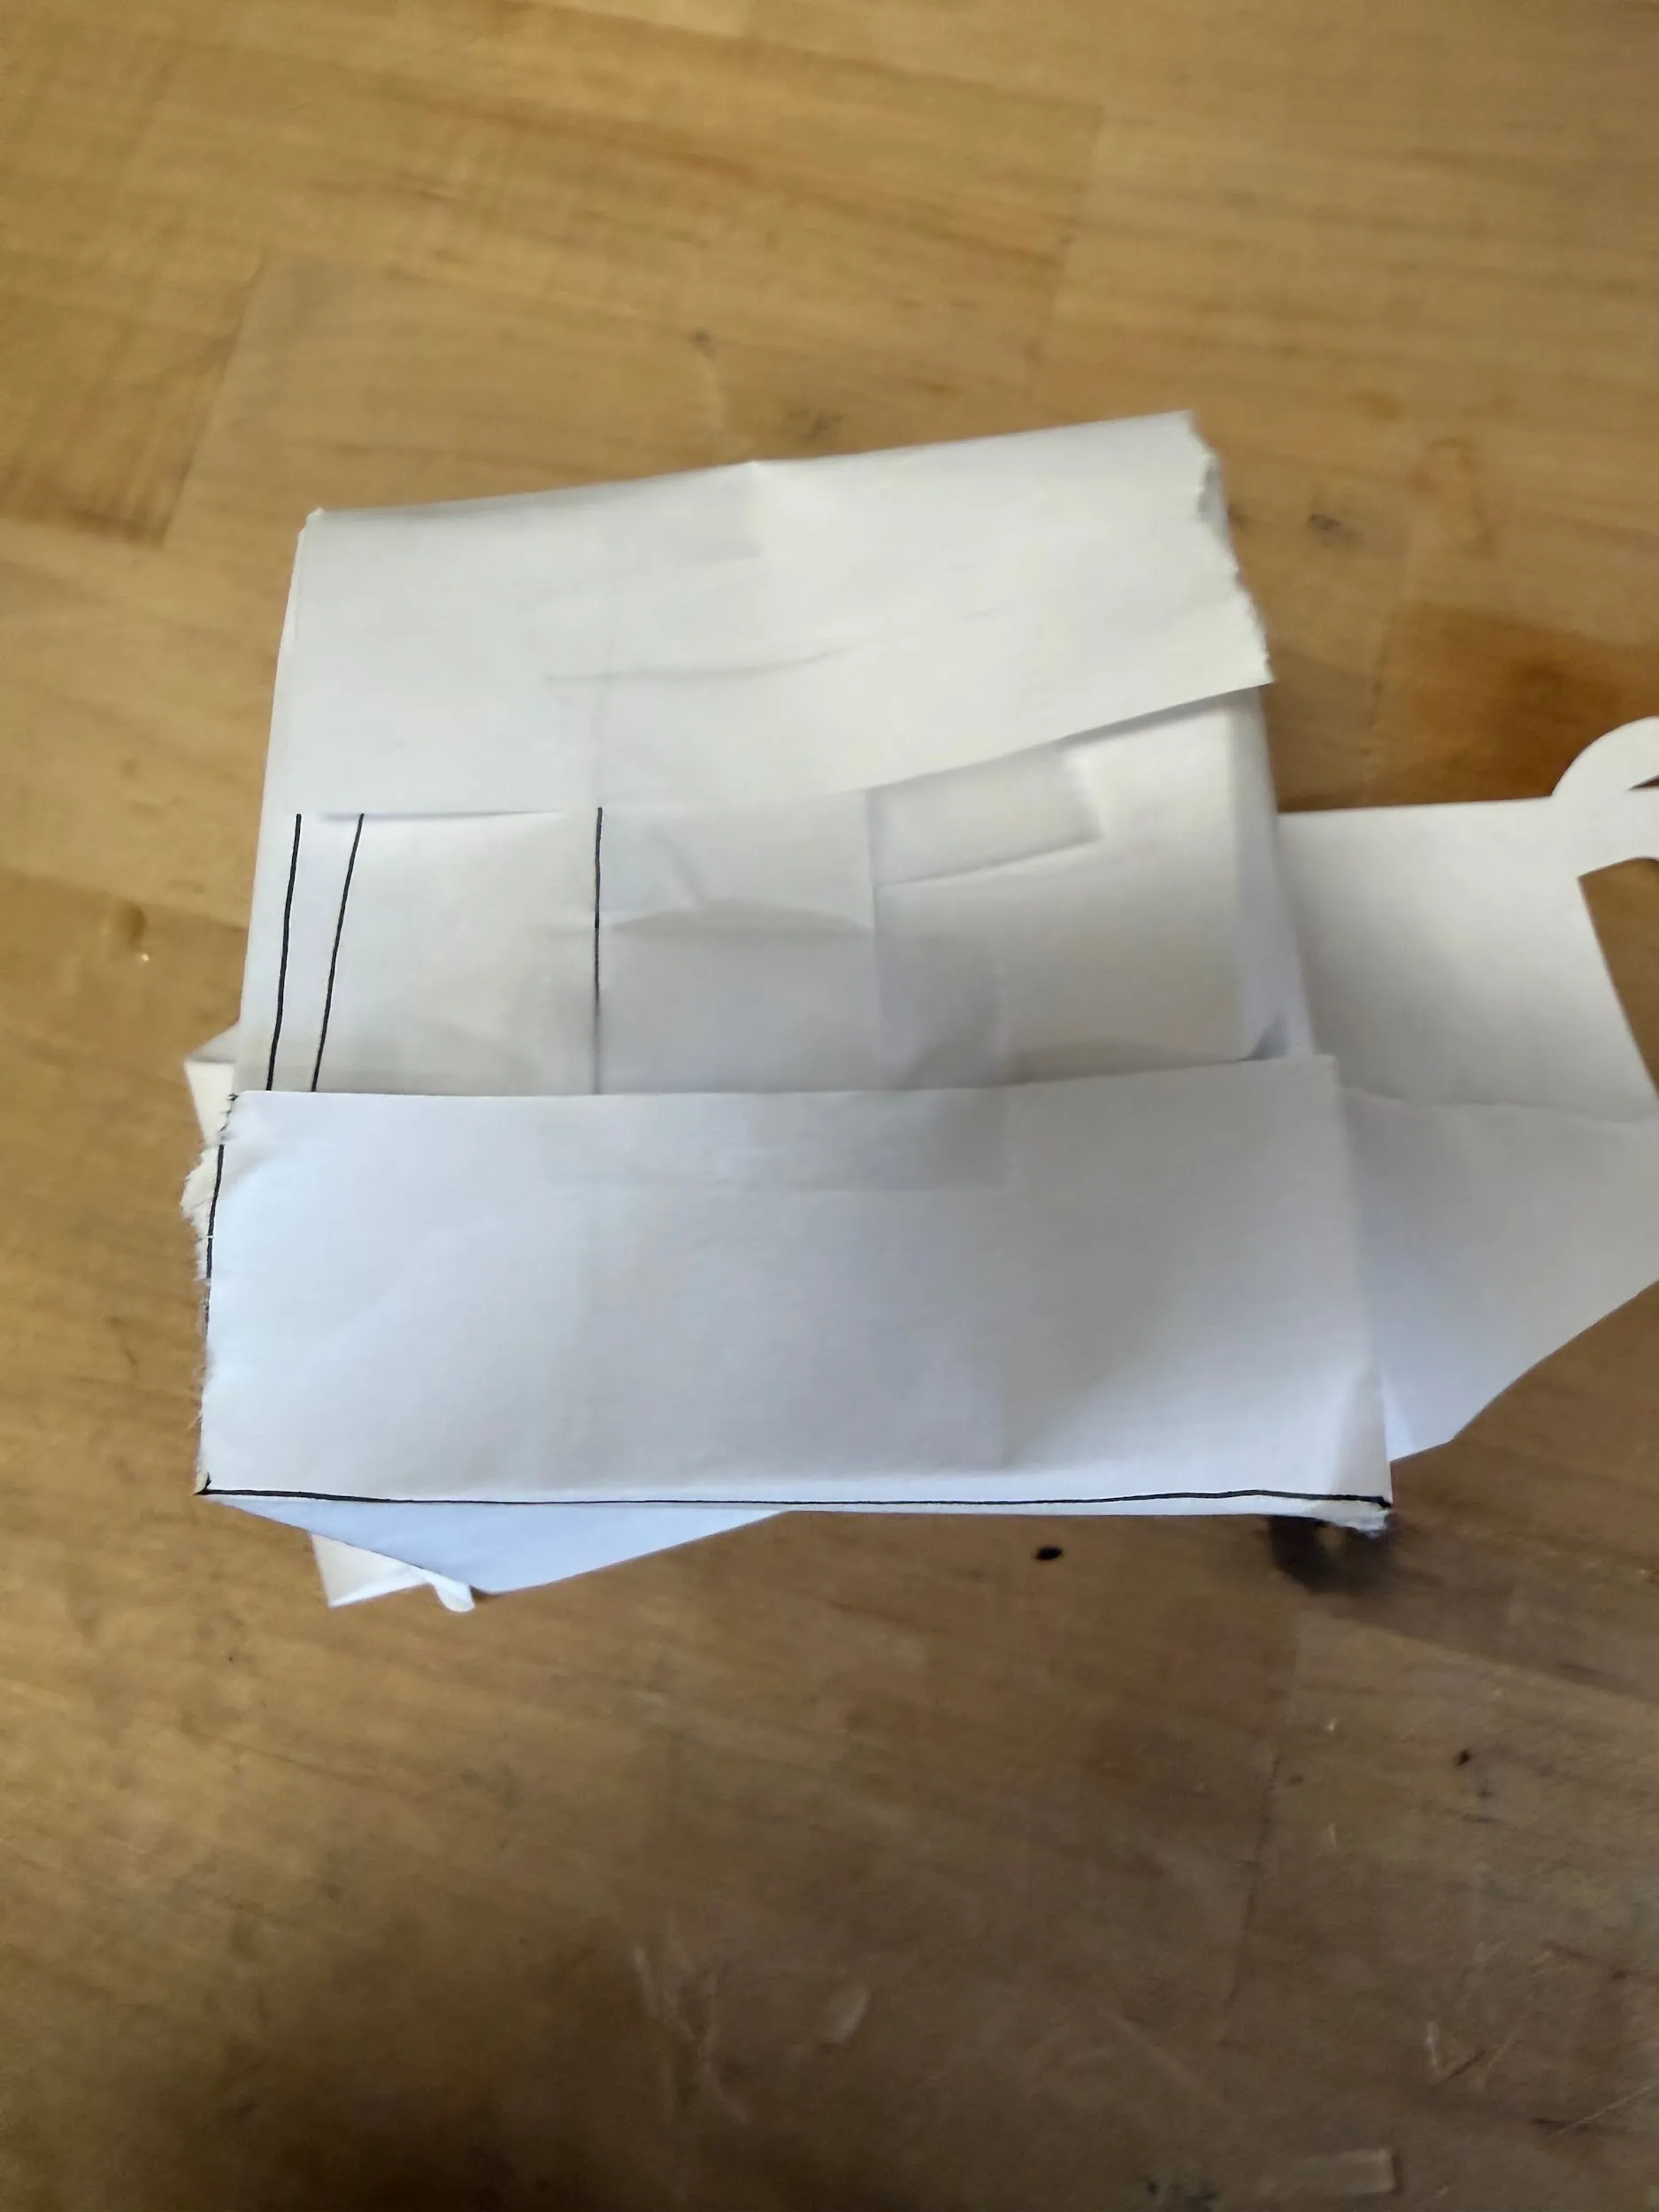
Tape the two horizontal bottom flaps together:
Then the vertical bottom flaps:
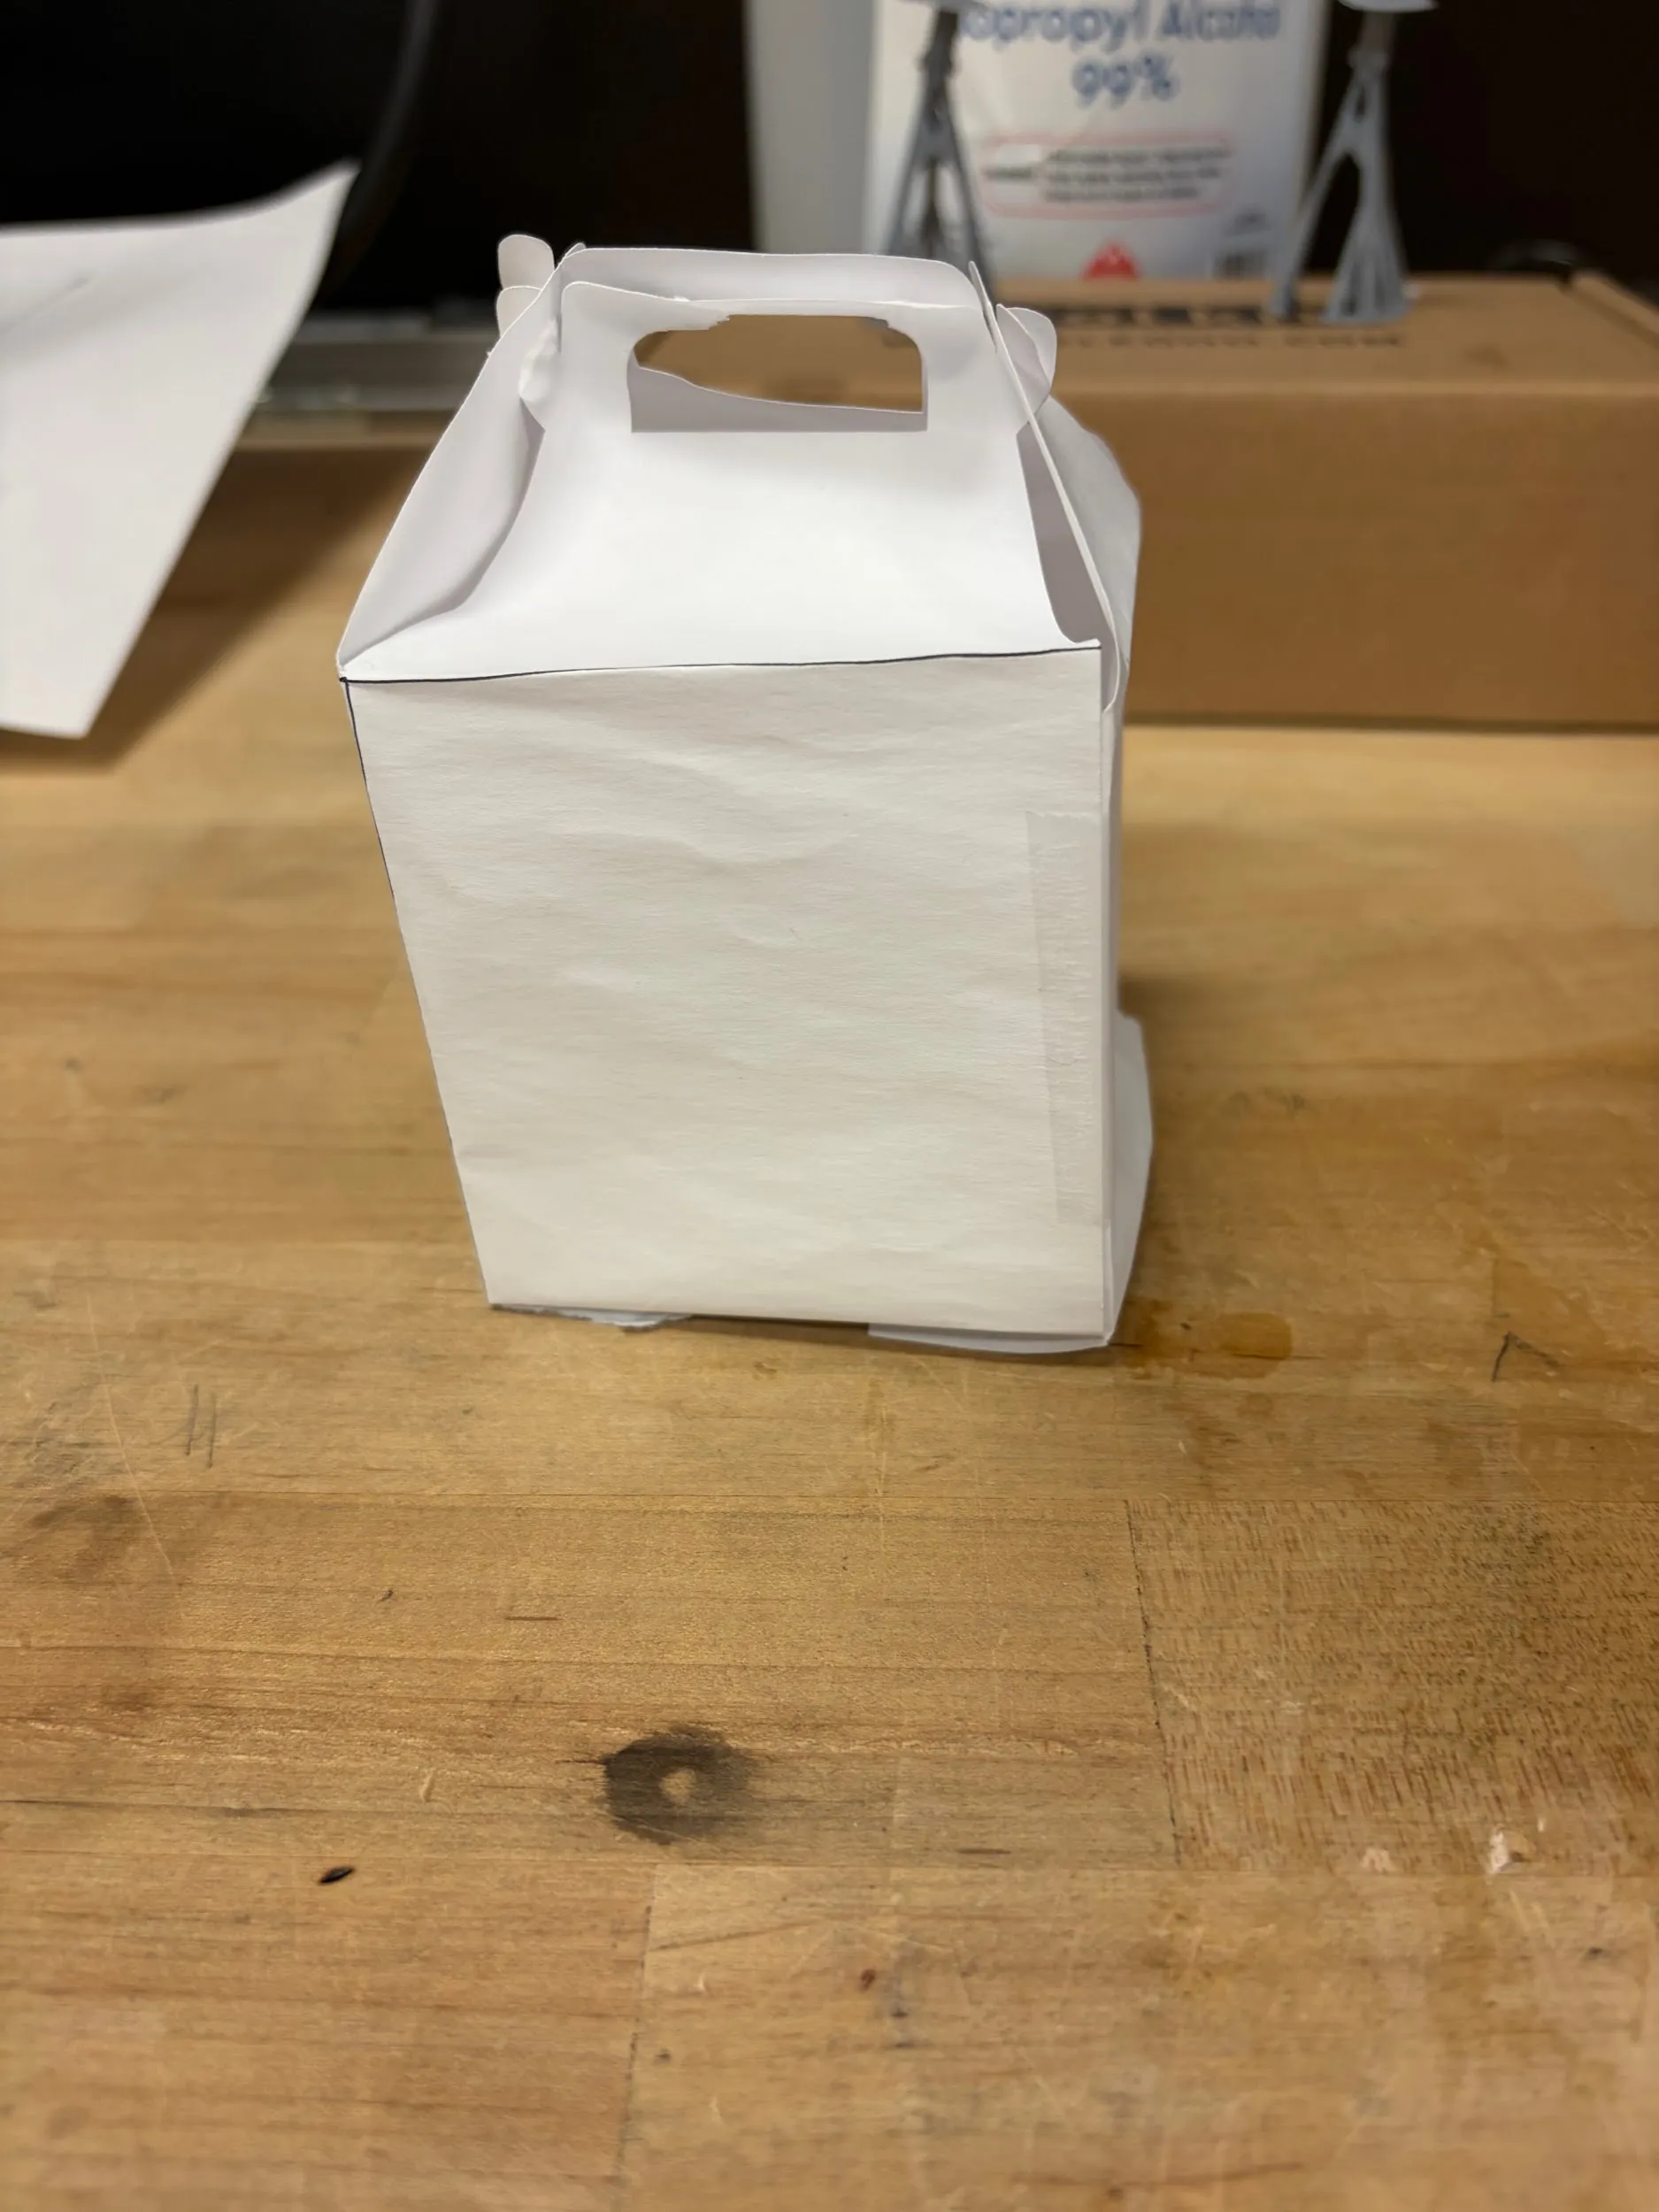
Finally, tuck the protruding ends of the handles into the holes on the top side flaps.
6. Clean up
Section titled “6. Clean up”Follow Finishing up in the manual.
Comments
Something on this page wrong, missing, or not matching the machine in front of you? Say so here — comments are public and staff read them. Posting needs a free GitHub account, the same one the Edit page flow uses; if you already know the fix, editing the page is the faster route. Comments are readers talking to each other, not checked instructions — for anything urgent or safety-related, ask staff in the lab or on Discord.