Business Card
Engrave your own aluminum business card on the Glowforge. As an engineering student, a business card helps you stand out, and this one showcases your engineering skills.
Read this first: the Laser Cutter (Glowforge Pro) manual. It covers the machine’s controls, the pre-flight and post-flight checklists, and what to do if something goes wrong.
You aren’t really engraving the aluminum. You’re removing the coloured coating on top of it.
1. Prepare your design
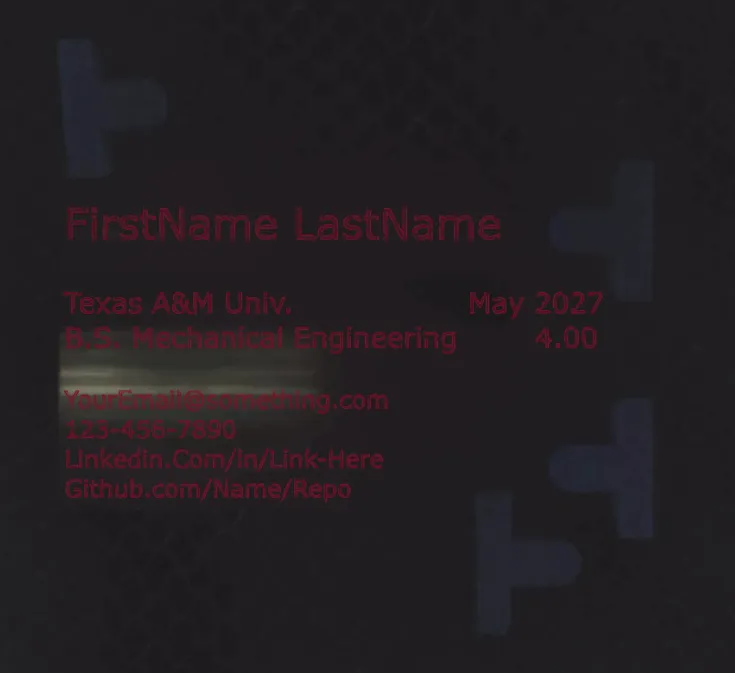
Section titled “1. Prepare your design”Download the business card template, and install Inkscape to edit it. This activity won’t teach you Inkscape, but the basics you need are below.
- Double-click the text box and change the text to describe yourself, however you see fit. If you’re on a design team (SAE, DBF, and so on), consider adding a QR code or logo.
- Select the text, then choose Path → Object to Path. This converts the text into shapes — the Glowforge software handles text badly, so it needs to be shapes.
- Export the file as an SVG.
2. Load the blank
Section titled “2. Load the blank”- Check the machine isn’t in use or about to be used by someone else.
- Grab a business card blank in the colour you want.
- Turn the Glowforge on if it isn’t already.
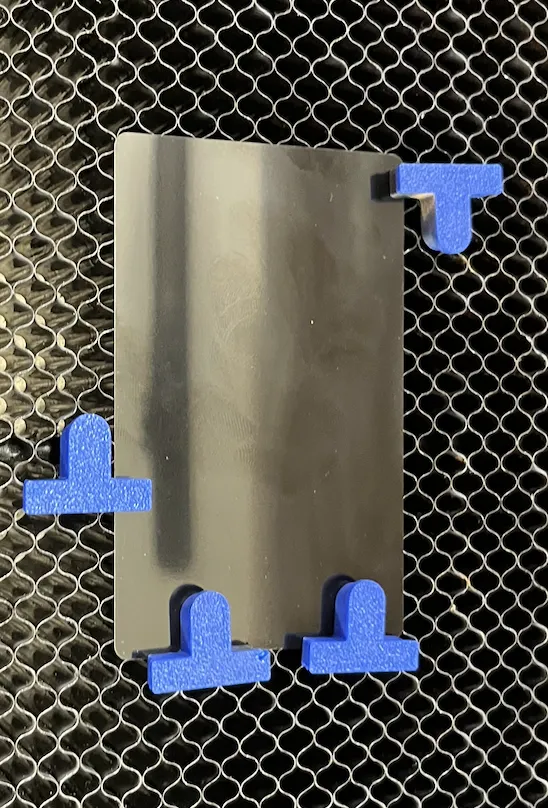
- Insert the blank and place the hold-down pins around it. They help align the blank, and they stop it moving — the laser alone provides enough force to shift a loose card.
- Close the lid so the Glowforge camera can rescan the work space.
3. Upload and set up the job
Section titled “3. Upload and set up the job”-
Get your file onto the Fab Lab PC.
-
Open the Glowforge app on the Fab Lab computer — go to Google and click the starred Glowforge link.
-
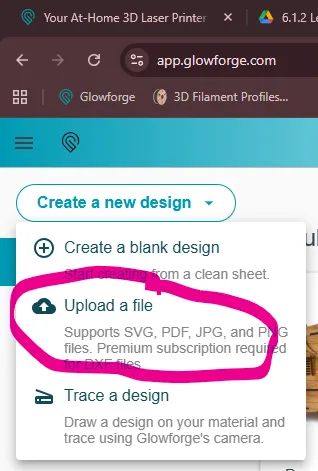
Click Create a new design → Upload a file, then pick your file.
-
Drag the design until it lines up on the blank, clear of the plastic hold-down pins.
-
Set the material: click Unknown Material → Use uncertified material → Set focus, then click anywhere on the blank. This sets the thickness automatically. For a known material like wood or acrylic you’d pick that material instead.
-
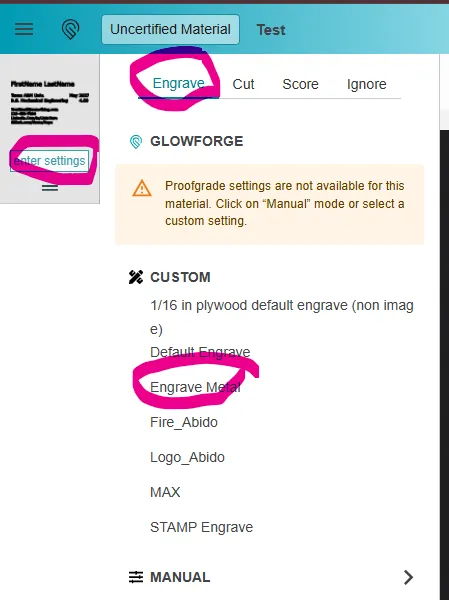
Click Enter settings for the file, then Engrave → Engrave Metal. That preset is already tuned for metal.
-
Click Print in the top right to calculate the job.
4. Run the engrave
Section titled “4. Run the engrave”- Work through the pre-flight checklist in the manual.
- Make sure the fan is on so it extracts the fumes.
- Get a staff member.
The trained person presses the glowing button to start.
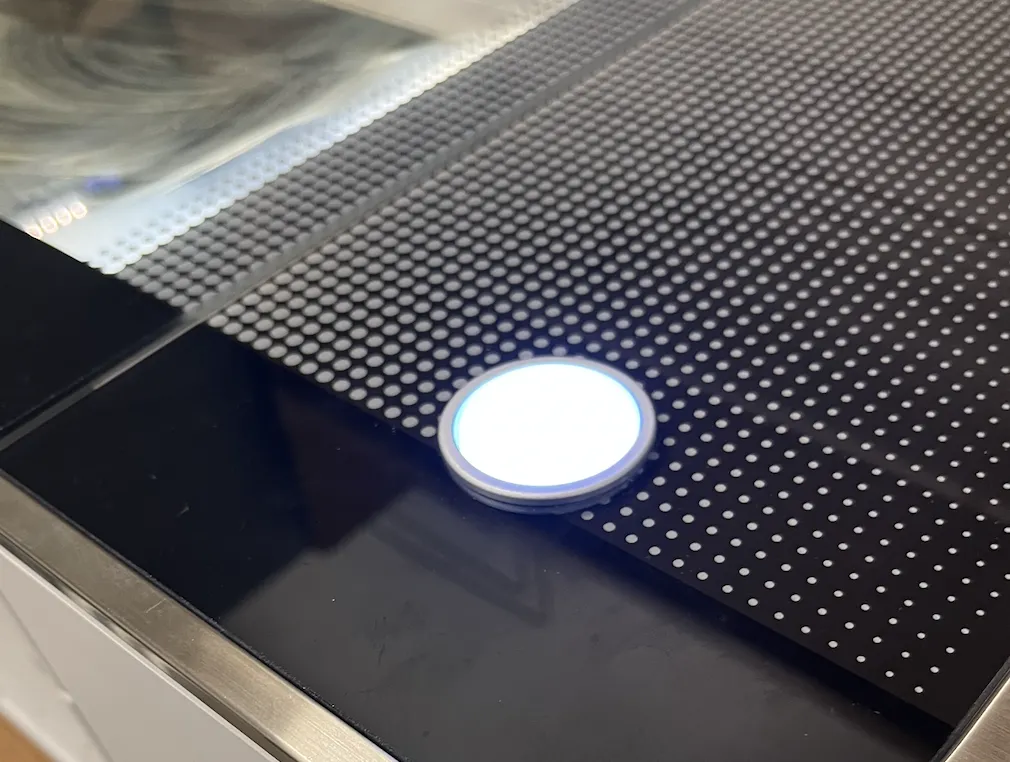
Watch the job while it runs and check everything looks right. The on-screen UI tells you when it’s safe to open the lid.
5. Finish up
Section titled “5. Finish up”Once the website says the job is fully done — not “cooling down” — take the card out and clean up.
Metal cards need washing to remove the burned-off coating. Take yours to the sink and wash it by hand, and be careful not to rub the residue into your fingers or stain them.